No time to chit chat? Skip straight to the recipe here.
I have a slight infatuation with motivational books. Whenever I am down, or in a funk, want to learn something new, or create a new habit, my knee jerk reaction is to get a book on it. Inevitably, it will always make me feel better, clearer and more in control – like I have a plan.
Oh. You’re judging me. I can feel it. But that’s okay. I figure, there are worse addictions to have. Don’t worry. I have no plans of self-motivating you guys. So just bear with me.
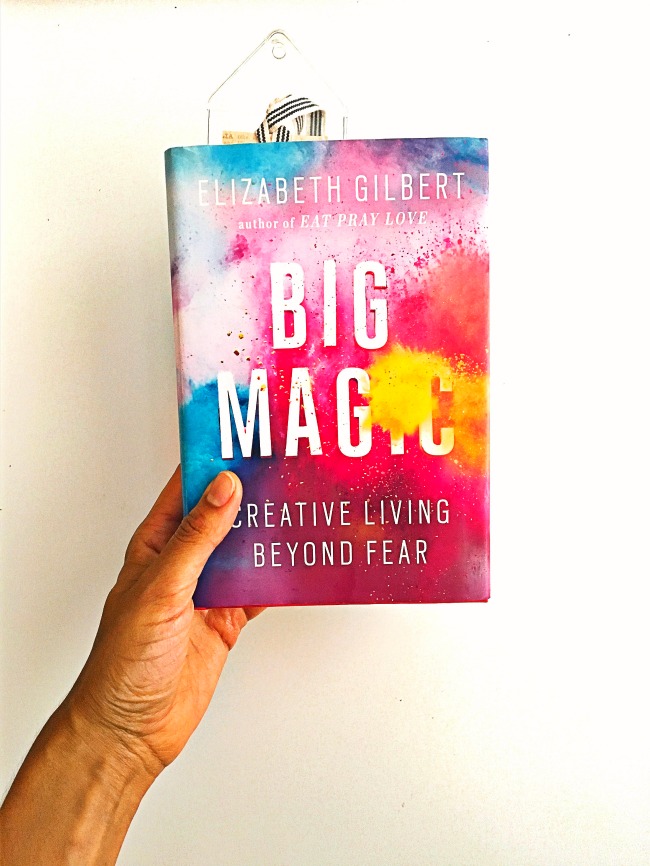
Currently, I’m on my second go round of “Big Magic,” by "Eat, Pray, Love" superstar Elizabeth Gilbert. It’s composed of little mini lessons on how to live a creative life. One of my favorite excerpts reads:
Creativity is sacred, and it is not sacred.
What we make matters enormously, and it doesn’t matter at all.
We toil alone, and we are accompanied by spirits.
We are terrified, and we are brave.
Art is a crushing chore and a wonderful privilege.
Only when we are at our most playful can divinity finally get serious with us.
Make space for all these paradoxes to be equally true inside your soul, and I promise – you can make anything.
Deep, right?
Actually, the first time I read it I didn’t think so. I thought it was a little too fluffy for me. And honestly, at that point, I thought I didn’t have time for a creative life. And if I did, I wasn’t really creative enough to consider myself an “artist.”
My art, after all, isn’t poetry or oil paintings, lettering or instruments. My art is healthy food. Cooking it, researching it, eating it, sharing it, and seeing how good it makes me feel – inside and out.
Here’s the irony. The WHOLE book is all about squashing this kind of assumption. The thought that we all have to be crazy, amazing, volatile “artists” to be creative. When really, human beings, by nature, are creative beings.
Some of us just choose to express it more than others. And those who don’t, have a million excuses why. Each chapter of “Big Magic” is dedicated to combatting those excuses.
If you are a type A, perfectionist like me, you need to read this book. It's like your permission slip to mess up, go crazy, be irresponsible and ugly and gramatically incorrect.
Reading it made me worry less about being the first, the best, and the original. And focus more on just being unapologetically myself. It made me giddy and excited to spend time with my art. Or as Gilbert calls it, “have an affair with your art.” But of all the lessons, there is one that really stuck with me.
It’s the lesson she called “Motives.” In it, she states,
“You are not required to save the world with your creativity. Your art not only doesn’t have to be original…it also doesn’t have to be important.”
I love this.
So Gilbert. You’re telling me that, when I cook, I don’t have to cure diseases? Heal guts? Get all of America to stop eating processed food?
Wow. Freeing.
In her opinion, people don’t want to be “helped” or “saved” by your art. That’s not what art is for. It’s a personal expression of yourself.
As soon as I finished the book, I was immediately inspired to create.
Handcuffs are off. Nobody is watching. This is just for me. Do your thing, Stacey.
(Okay. I realized that by talking to myself I inched at least one dot past motivational book-reader. Sorry. Won’t happen again).
So I made something totally and completely indulgent, unnecessary and unhelpful with the most extravagant ingredients I could think of – just for the hell of it.
Here it is. My art.
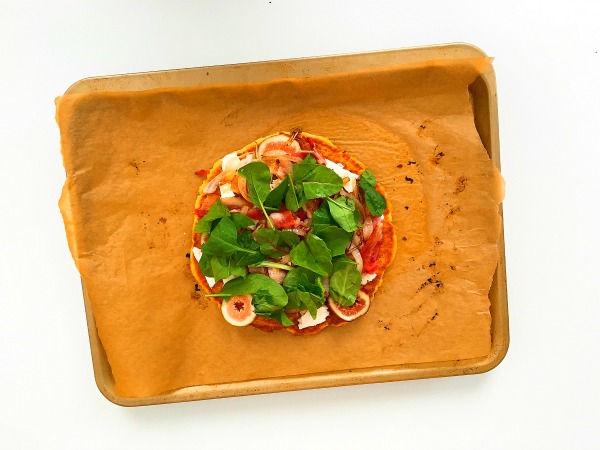
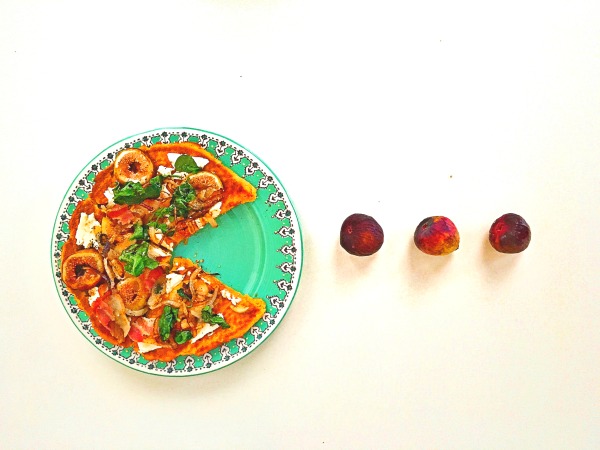
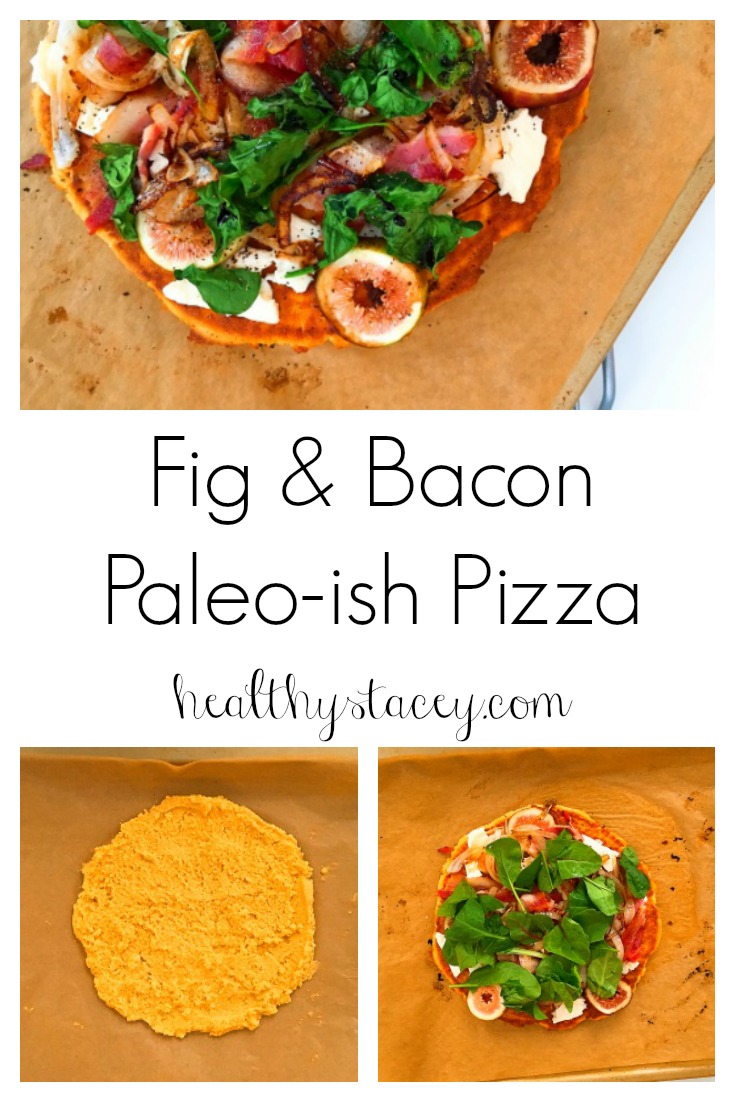
Paleo-ish Fig and Bacon Pizza.
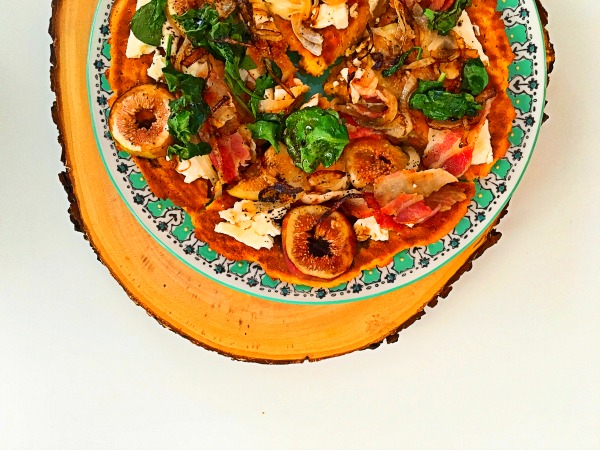

It's full of umami and rich fruit flavor, with a caramelly base, an herby touch and a crispy finish. It's made from gluten and grain-free ingredients (coconut and arrowroot flour crust), and topped with indulgent organic toppings. I broke the "Paleo rules" and used feta because I felt like living on the dangerous side. I probably overcooked my bacon and under-melted my cheese, but none of that mattered. It was damn delicious and absolutely beautiful in my eyes. And that's all that matters, right?
Much Love,

Fig and Bacon Pizza Recipe

Pizza crust recipe adopted from the book, “Everyday Paleo Around the World: Italian Cuisine” by Sarah Frogoso
Yeast Mixture:
- ¼ cup warm water
- 2 teaspoons raw honey
- 2 teaspoons active dry yeast
Dry ingredients:
- ¾ cup almond flour
- 3 tablespoons coconut flour
- 2/3 cup arrowroot flour
- pinch of sea salt
Wet Ingredients:
- 1 egg
- 2 teaspoons extra virgin olive oil
- 1 teaspoon raw apple cider vinegar
Toppings:
- 4 strips of pasture-raised bacon
- ½ onion, thinly sliced
- 4-5 figs, sliced to about ¼ inch thick
- Handful of organic Arugula, chopped up
- Grass-fed feta cheese, thinly sliced
- Optional: Balsamic vinegar
Pizza Crust Directions:
- Preheat oven to 425
- Put the yeast ingredients into a bowl and mix together. Let them sit for about 5 minutes to activate and foam a bit.
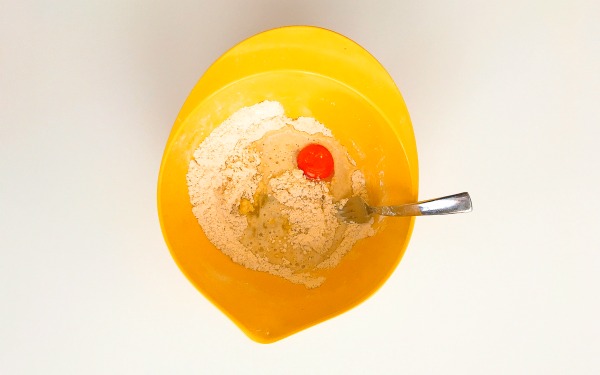
- Place the dry ingredients in a second bowl and whisk to combine.
- Add the yeast mixture and the wet ingredients into the dry ingredients. Mix well with an electronic hand mixer.
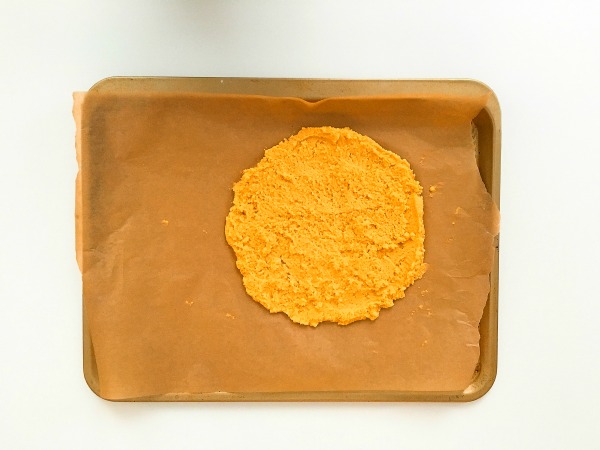
- Scoop the mixture onto a pan lined with parchment paper.
- Use a rubber spatula to spread into an even circle.
- Stick your pizza crust in the oven and bake for 9-10 minutes.
Topping Directions:
- Turn a skillet to medium high heat and lay your bacon on the skillet. Don’t cook until crispy or burnt. As you are also going to put this back in the oven on the pizza. 5 minutes-ish should be good.
- Place the bacon on a paper-towel lined plate, reserving the fat.
- Use the fat to cook your thinly sliced onions. Again, don’t overdo it as you will be putting these back in the oven with the crust.
- Slice your figs and chop up your arugula.
Putting it all together Directions:
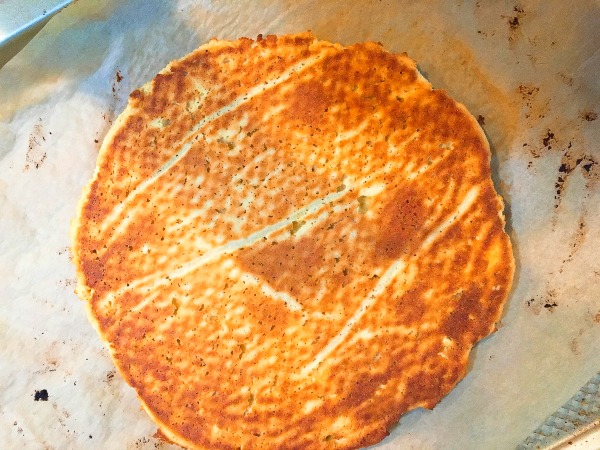
- Remove crust from the oven and flip over with a spatula.
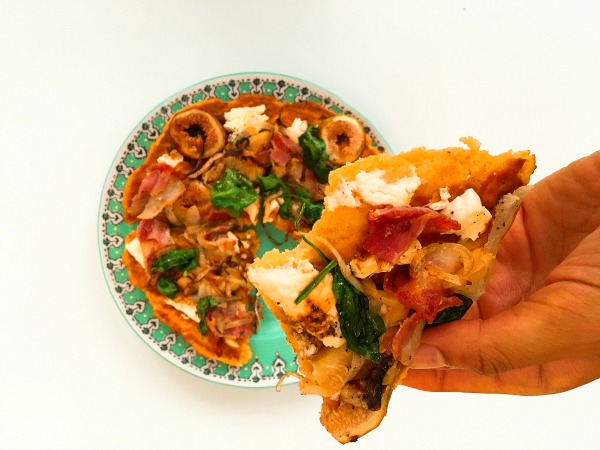
- Add your toppings like so: 1) Lay feta in one layer across crust (note: I did not add enough feta myself so I am telling you to make a layer so you do not repeat my mistake), 2) Lay strips of bacon over feta, 3) Lay slices of figs over bacon, 4) Sprinkle chopped arugula evenly across the top
- Put back in oven and cook for another 5-10 minutes.
- Take out, drizzle a little balsamic vinegar across the top and totally and completely indulge.
- Now. Go make your own art.
p.s. Save this baby for later and pin it. Oh! And while you're there, I would really really appreciate the follow.

- Paleo-ish Fig & Bacon Pizza
- 1/4 cup warm water
- 2 teaspoons Raw Honey
- 2 teaspoons active dry yeast
- 3/4 cup almond flour
- 3 tablespoons Coconut Flour
- 2/3 cup arrowroot flour
- 1 pinch of sea salt
- 1 egg
- 2 teaspoons extra virgin olive oil
- 1 teaspoon raw apple cider vinegar
- 4 strips of pasture-raised bacon
- 1/2 Onion thinly sliced
- 4-5 figs sliced to about ¼ inch thick
- 1 Handful organic Arugula chopped up
- Enough to cover your crust Grass-fed feta cheese thinly sliced
- Drizzle Balsamic vinegar optional
- Preheat oven to 425
- Put the yeast ingredients into a bowl and mix together. Let them sit for about 5 minutes to activate and foam a bit.
- Place the dry ingredients in a second bowl and whisk to combine.
- Add the yeast mixture and the wet ingredients into the dry ingredients. Mix well with an electronic hand mixer.
- Scoop the mixture onto a pan lined with parchment paper.
- Use a rubber spatula to spread into an even circle.
- Stick your pizza crust in the oven and bake for 9-10 minutes.
- Turn a skillet to medium high heat and lay your bacon on the skillet. Don’t cook until crispy or burnt. As you are also going to put this back in the oven on the pizza. 5 minutes-ish should be good.
- Place the bacon on a paper-towel lined plate, reserving the fat.
- Use the fat to cook your thinly sliced onions. Again, don’t overdo it as you will be putting these back in the oven with the crust.
- Slice your figs and chop up your arugula.
- Remove crust from the oven and flip over with a spatula.
- Add your toppings like so: 1) Lay feta in one layer across crust (note: I did not add enough feta myself so I am telling you to make a layer so you do not repeat my mistake), 2) Lay strips of bacon over feta, 3) Lay slices of figs over bacon, 4) Sprinkle chopped arugula evenly across the top
- Put back in oven and cook for another 5-10 minutes.
- Take out, drizzle a little balsamic vinegar across the top and totally and completely indulge.