Dinner Rut Parchment Pocket Salmon
Inspired by Nom Nom Paleo's Fiona's Phenomenal Fish Packet
This recipe was the solution to my dinner rut. I had cooked the same salmon and asparagus nearly every Sunday night for the past 137 weeks (or something like that) and I needed a change. Thank God for the genius of Nom Nom Paleo (Michelle Tam). She opened me up to the idea of cooking in a pocket. It's what the French call, "en Papillote." Not just with salmon, but pretty much anything that you would bake in the oven. Chicken, tuna, Brussels sprouts. It IS the perfect solution to all of your tired recipes. You like where I'm going with this? Good. Read the rest of the blog post after you finished drooling over this Salmon. Thank you, Michelle Tam. You are truly the queen of the Paleo recipe.
Sauce Ingredients:
*Makes enough for four servings so save some for later!
- 1 medium sweet onion, chopped
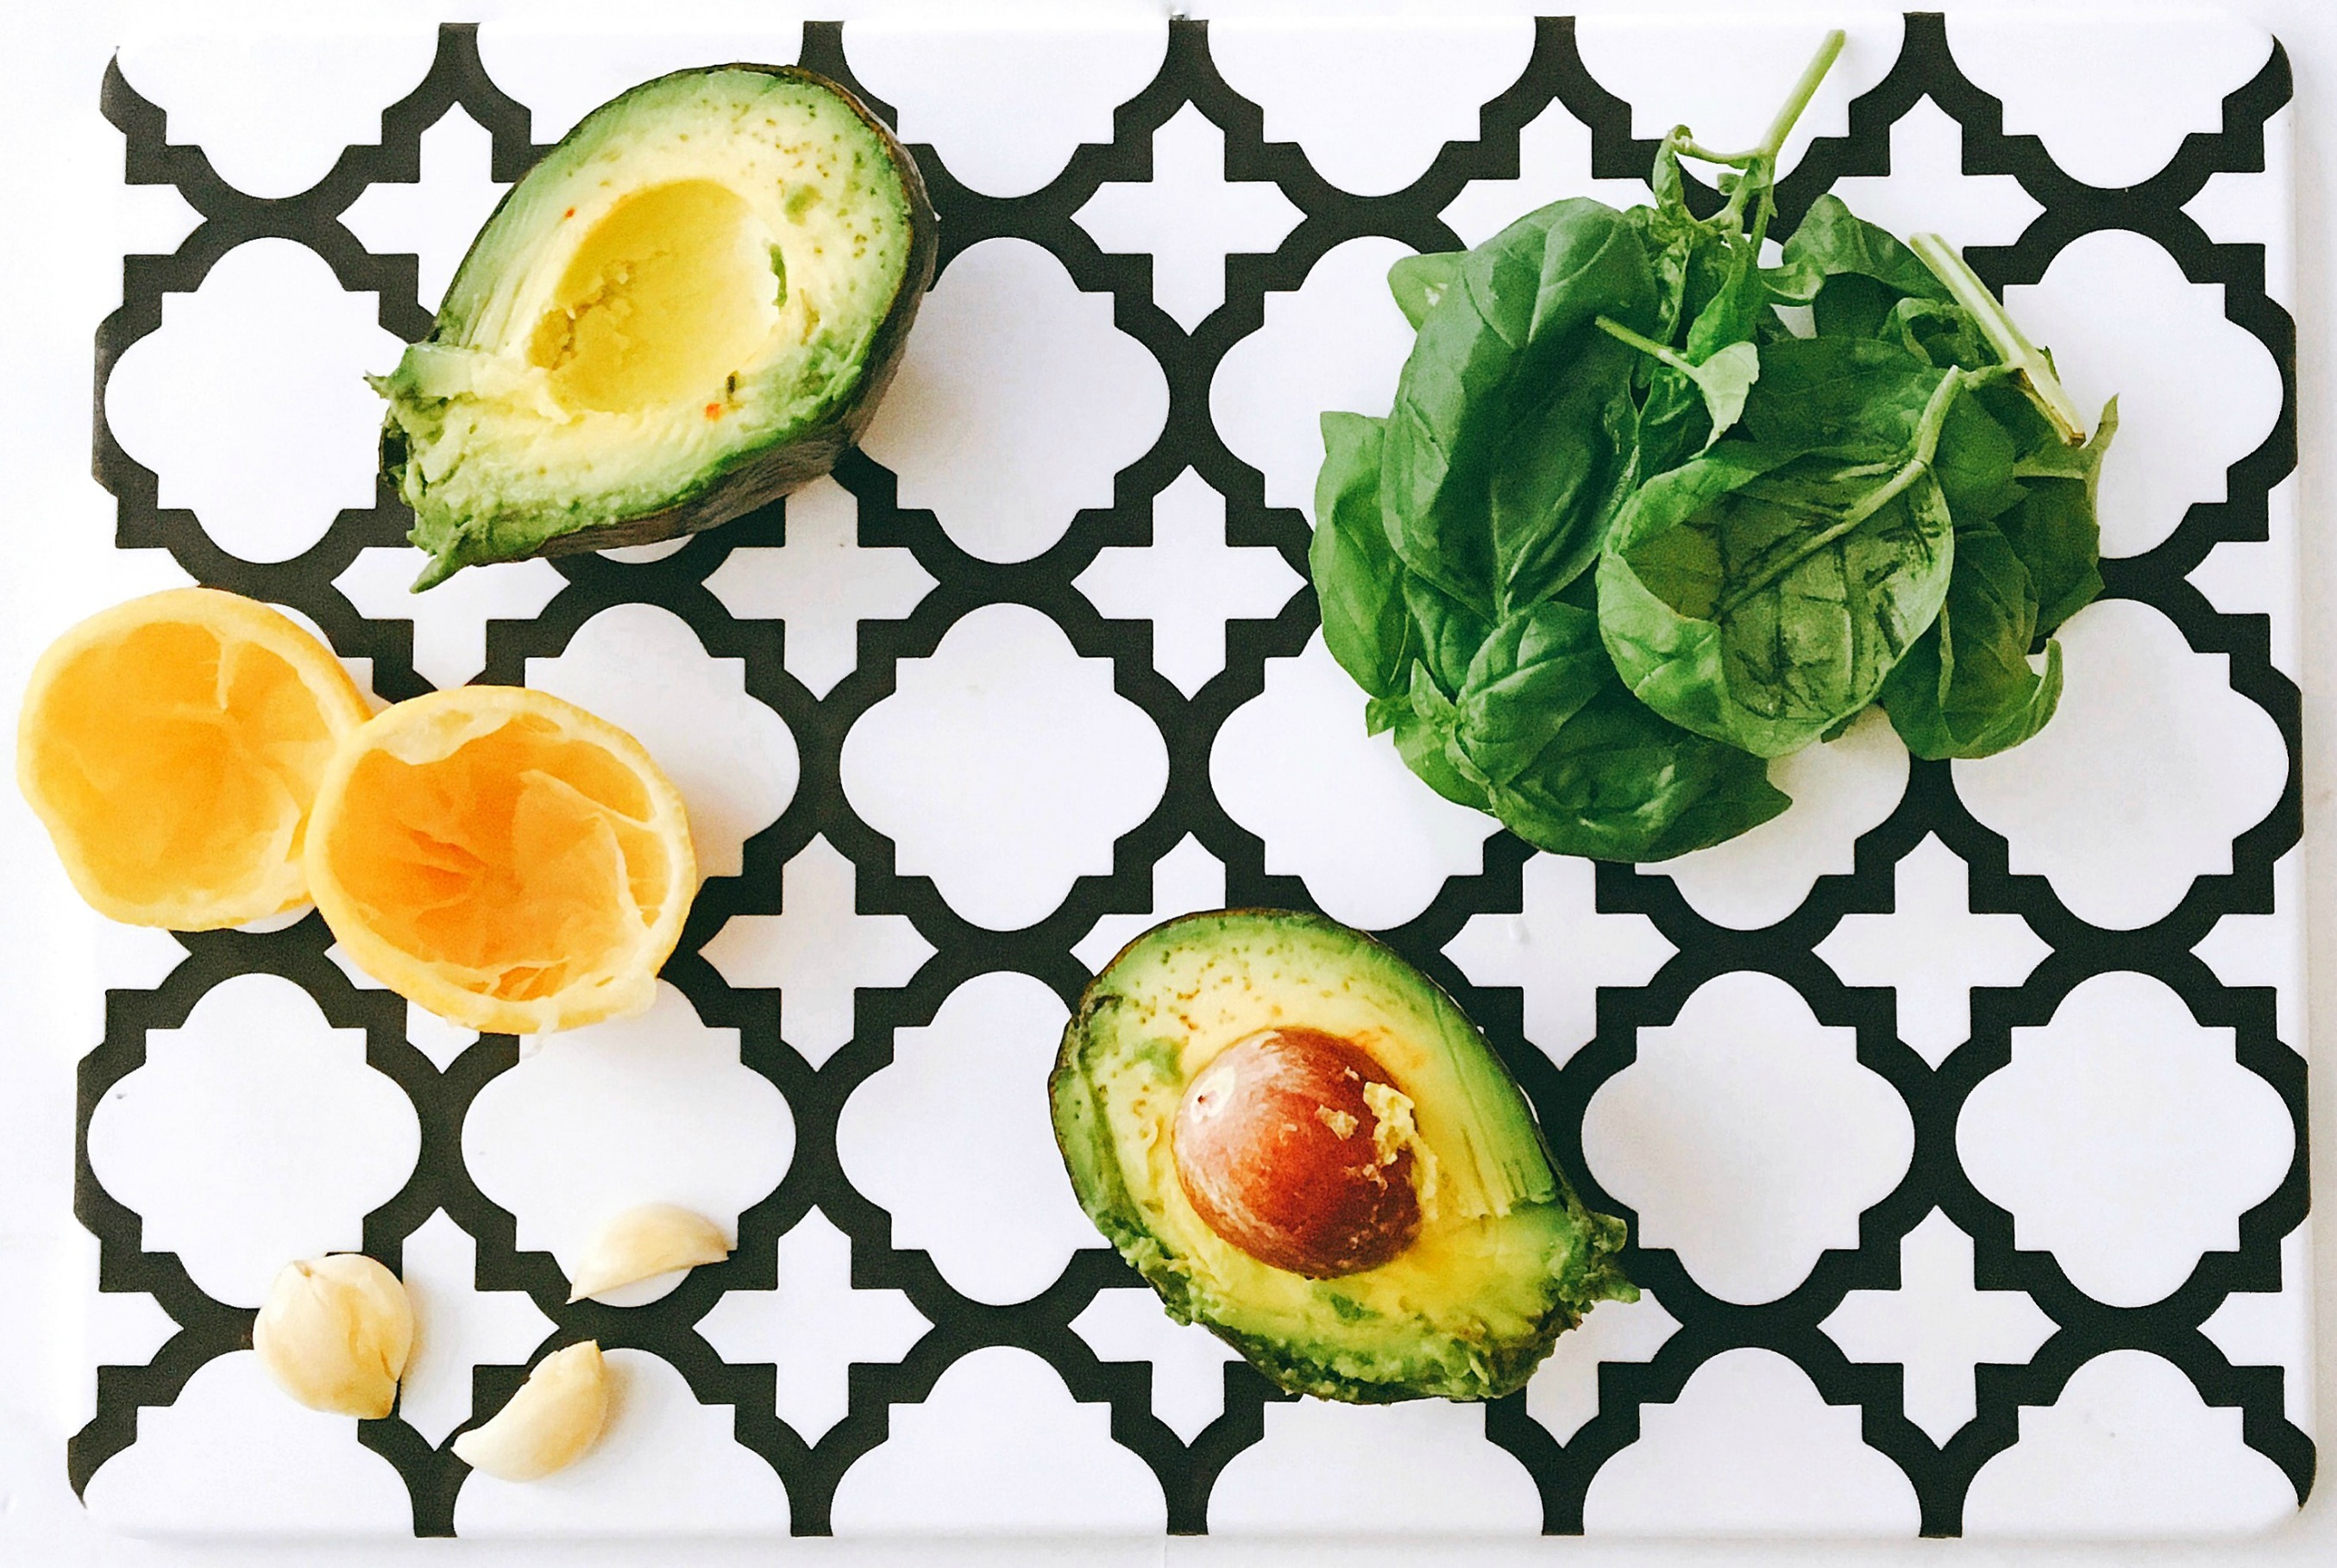
- 1¼ cups packed basil leaves
- 1 cup packed parsley leaves
- ¼ cup packed mint leaves
- ¼ cup worcestershire sauce
- 3 peeled garlic cloves
- ¼ teaspoon freshly ground black pepper
- 1 teaspoon red pepper flakes
- 1 teaspoon coconut nectar
Pocket Ingredients:
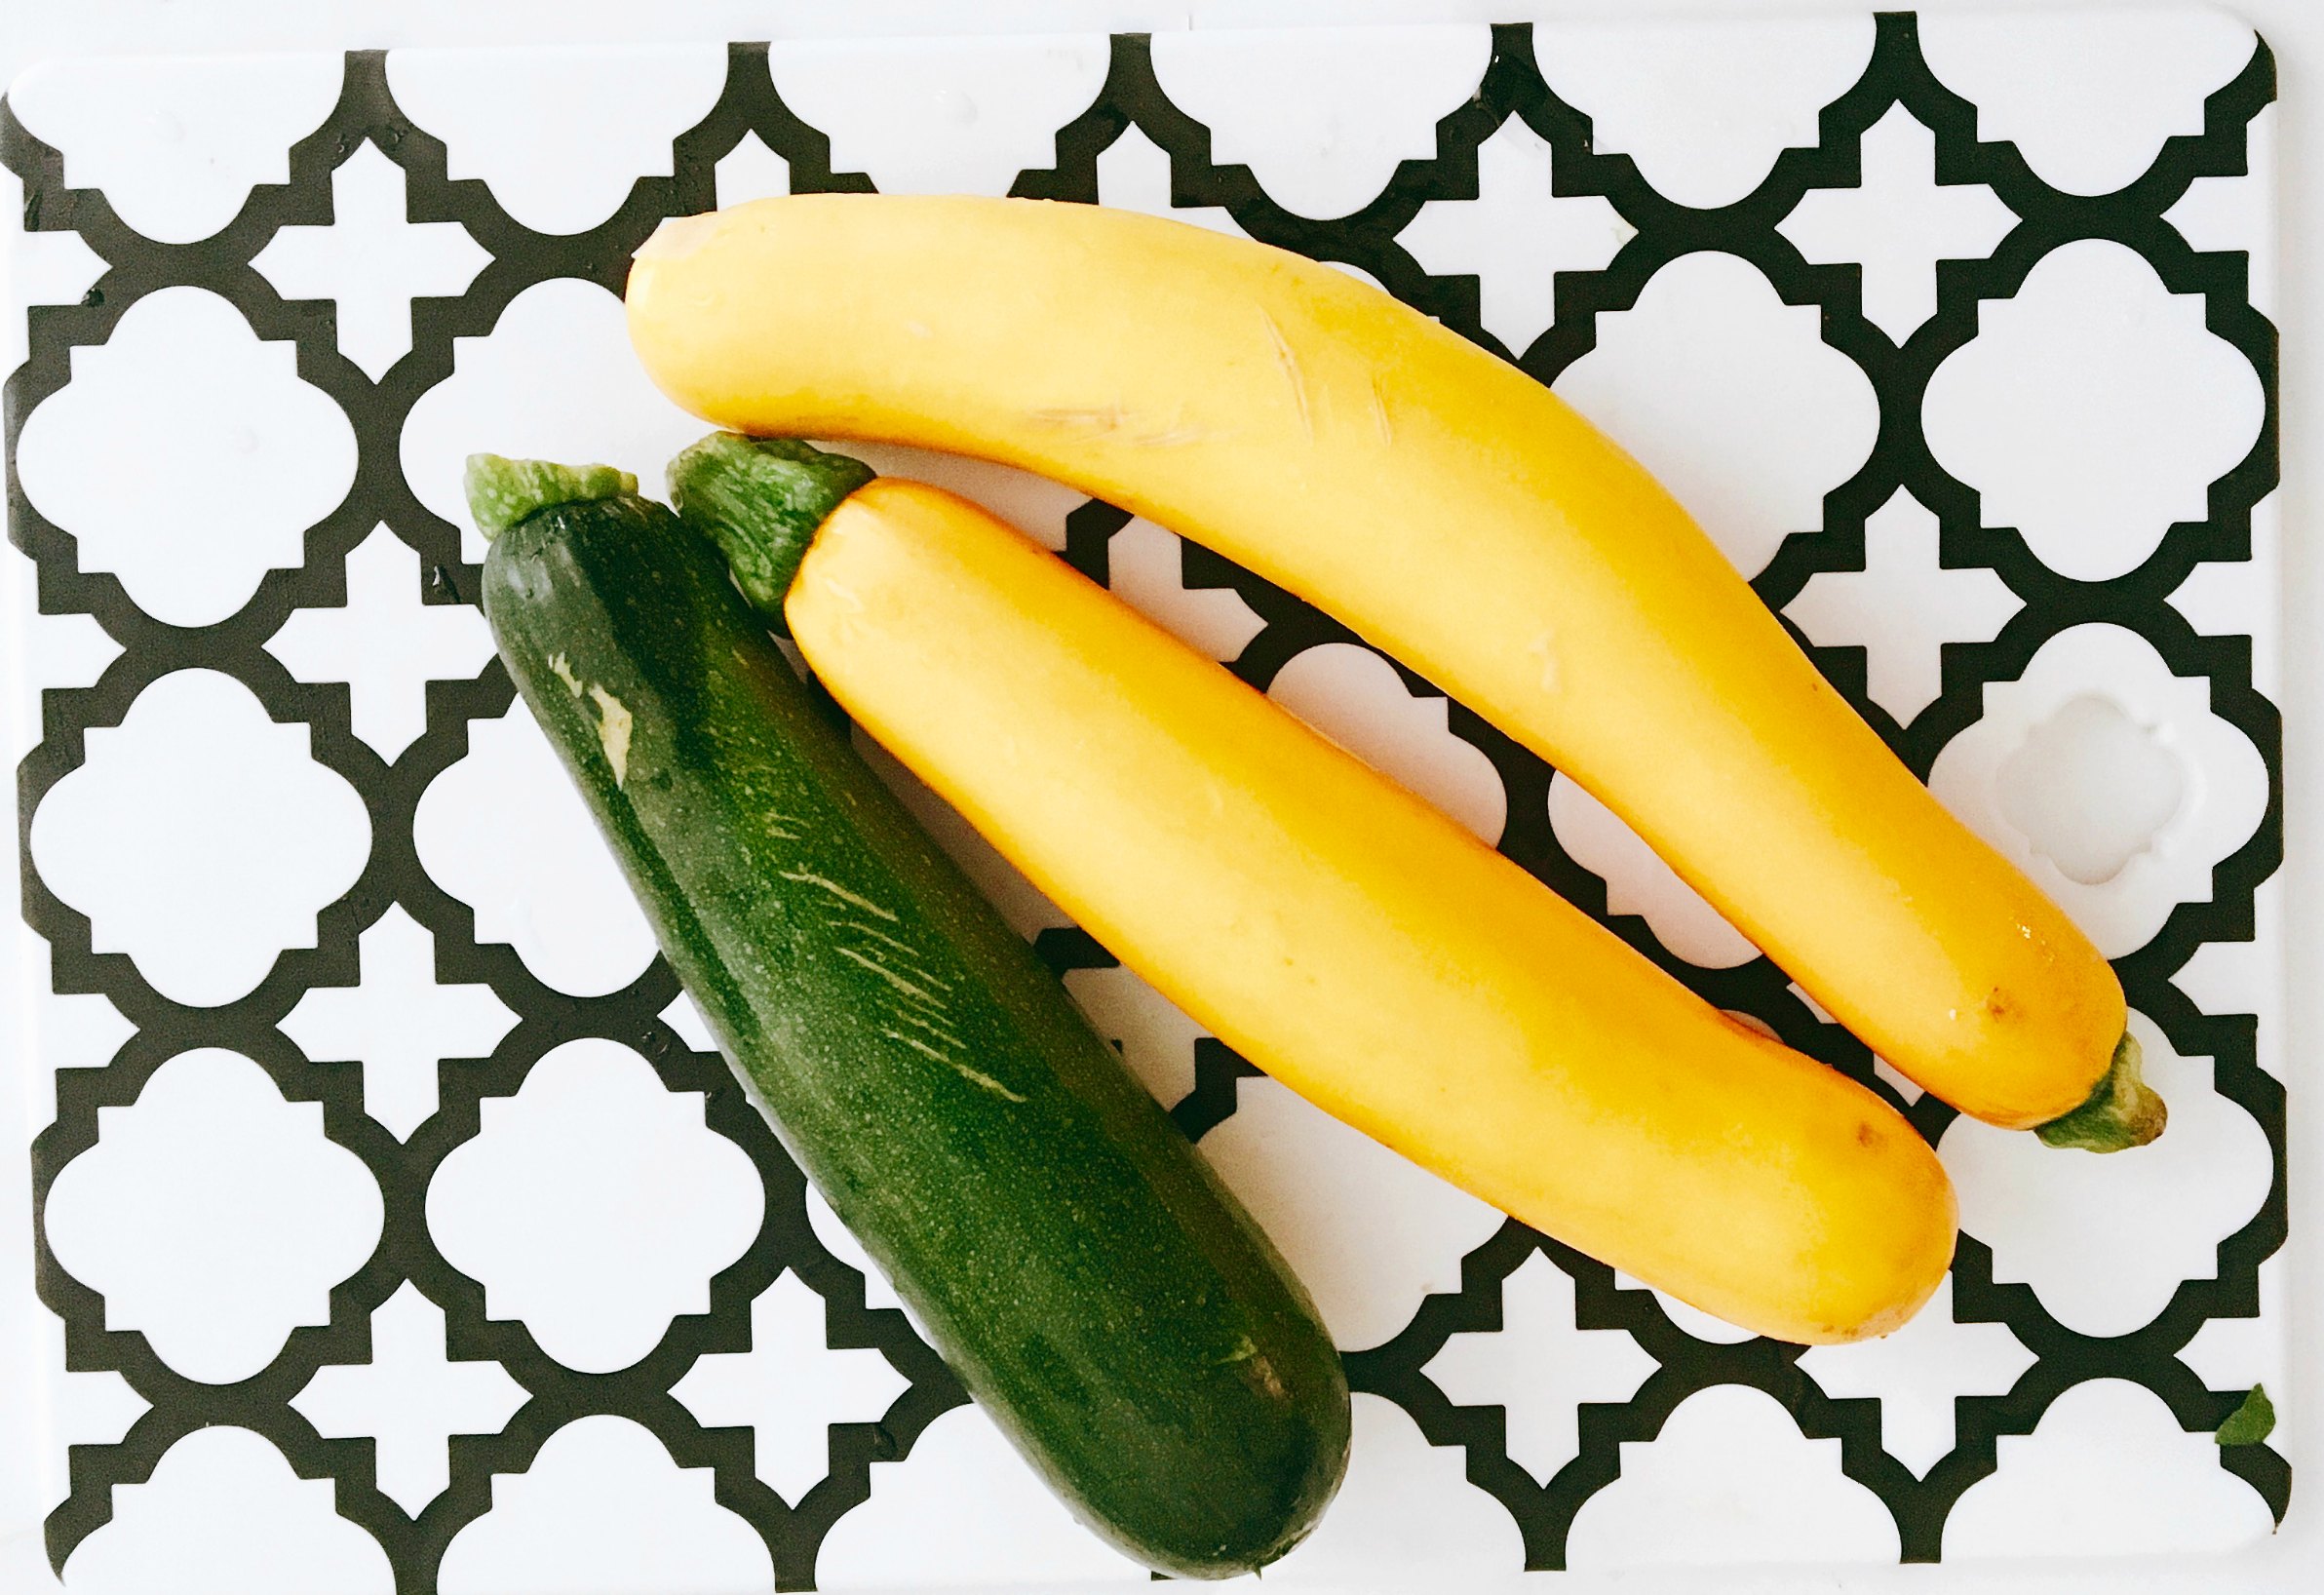
- 2 medium carrots, peeled and ends trimmed
- 2 medium zucchini, ends trimmed
- Back of the Yards seasoning OR Salt & Pepper
- 2 salmon filets
- ¼ cup green marinade (see above)
- 2 limes
- 1 tablespoon coconut oil, melted
- Freshly ground black pepper
- 12 cherry tomatoes, halved
Directions:
- Preheat the oven to 450°F and put your rack in the middle.
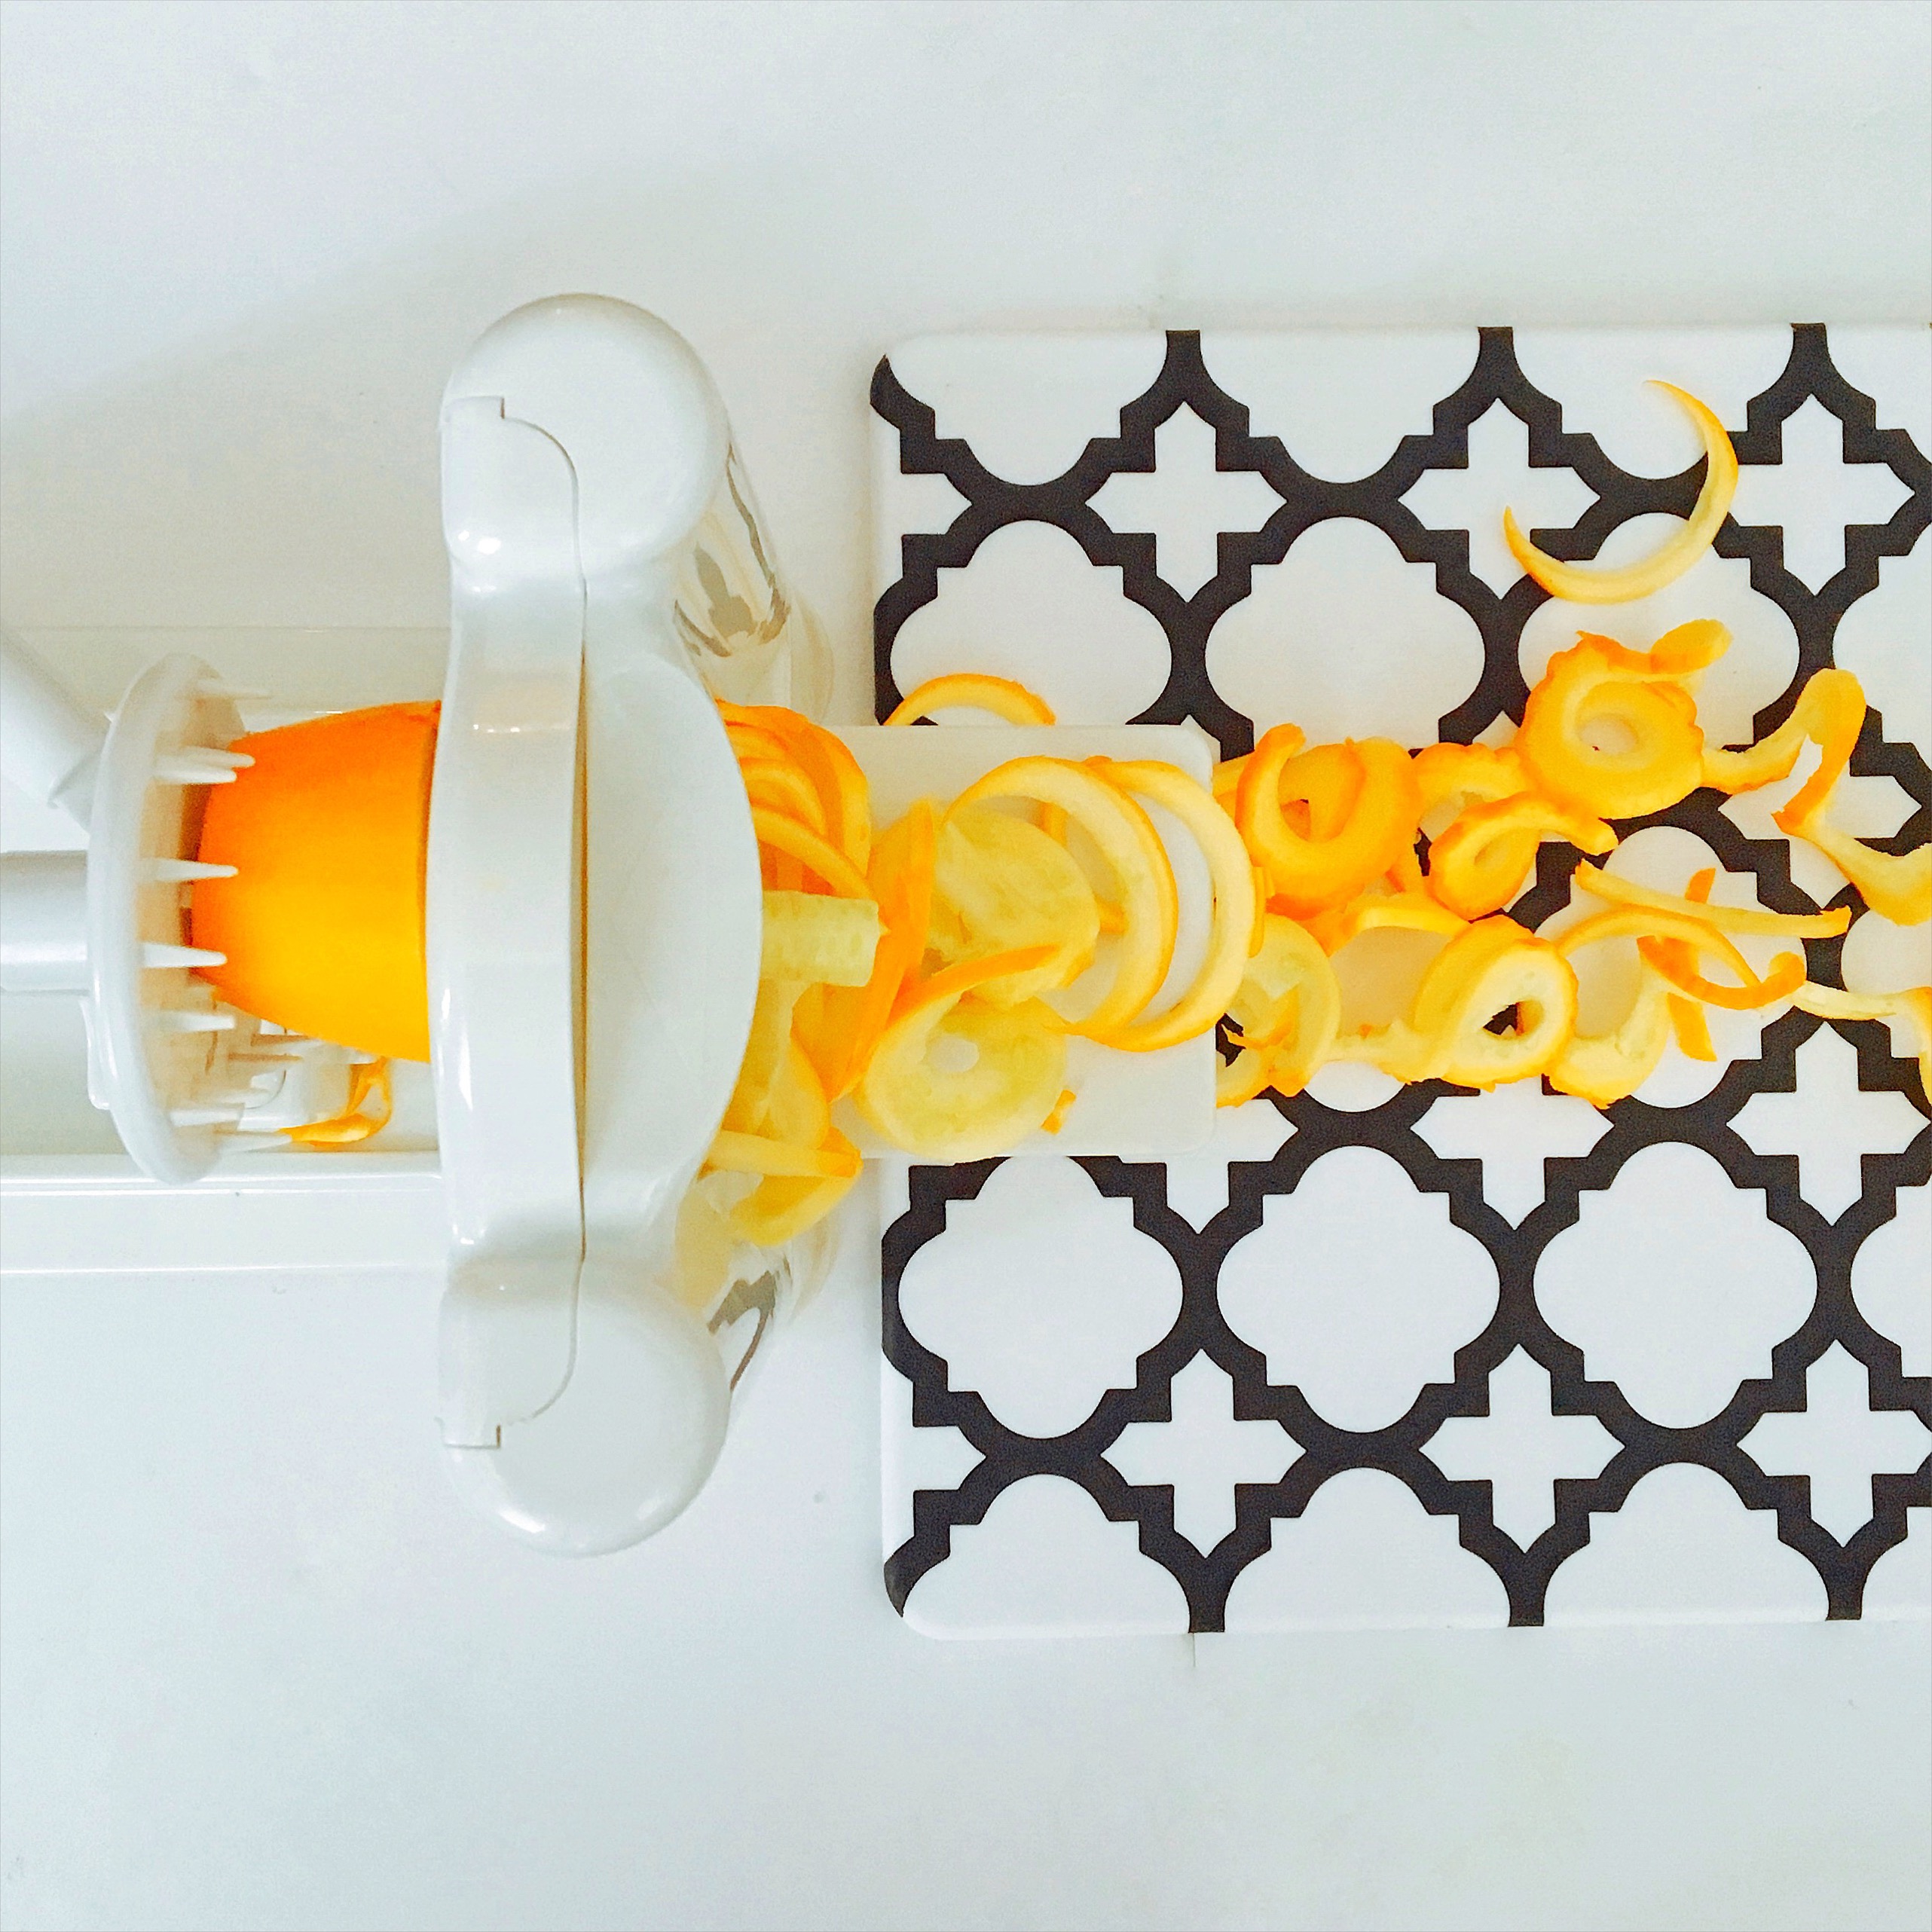
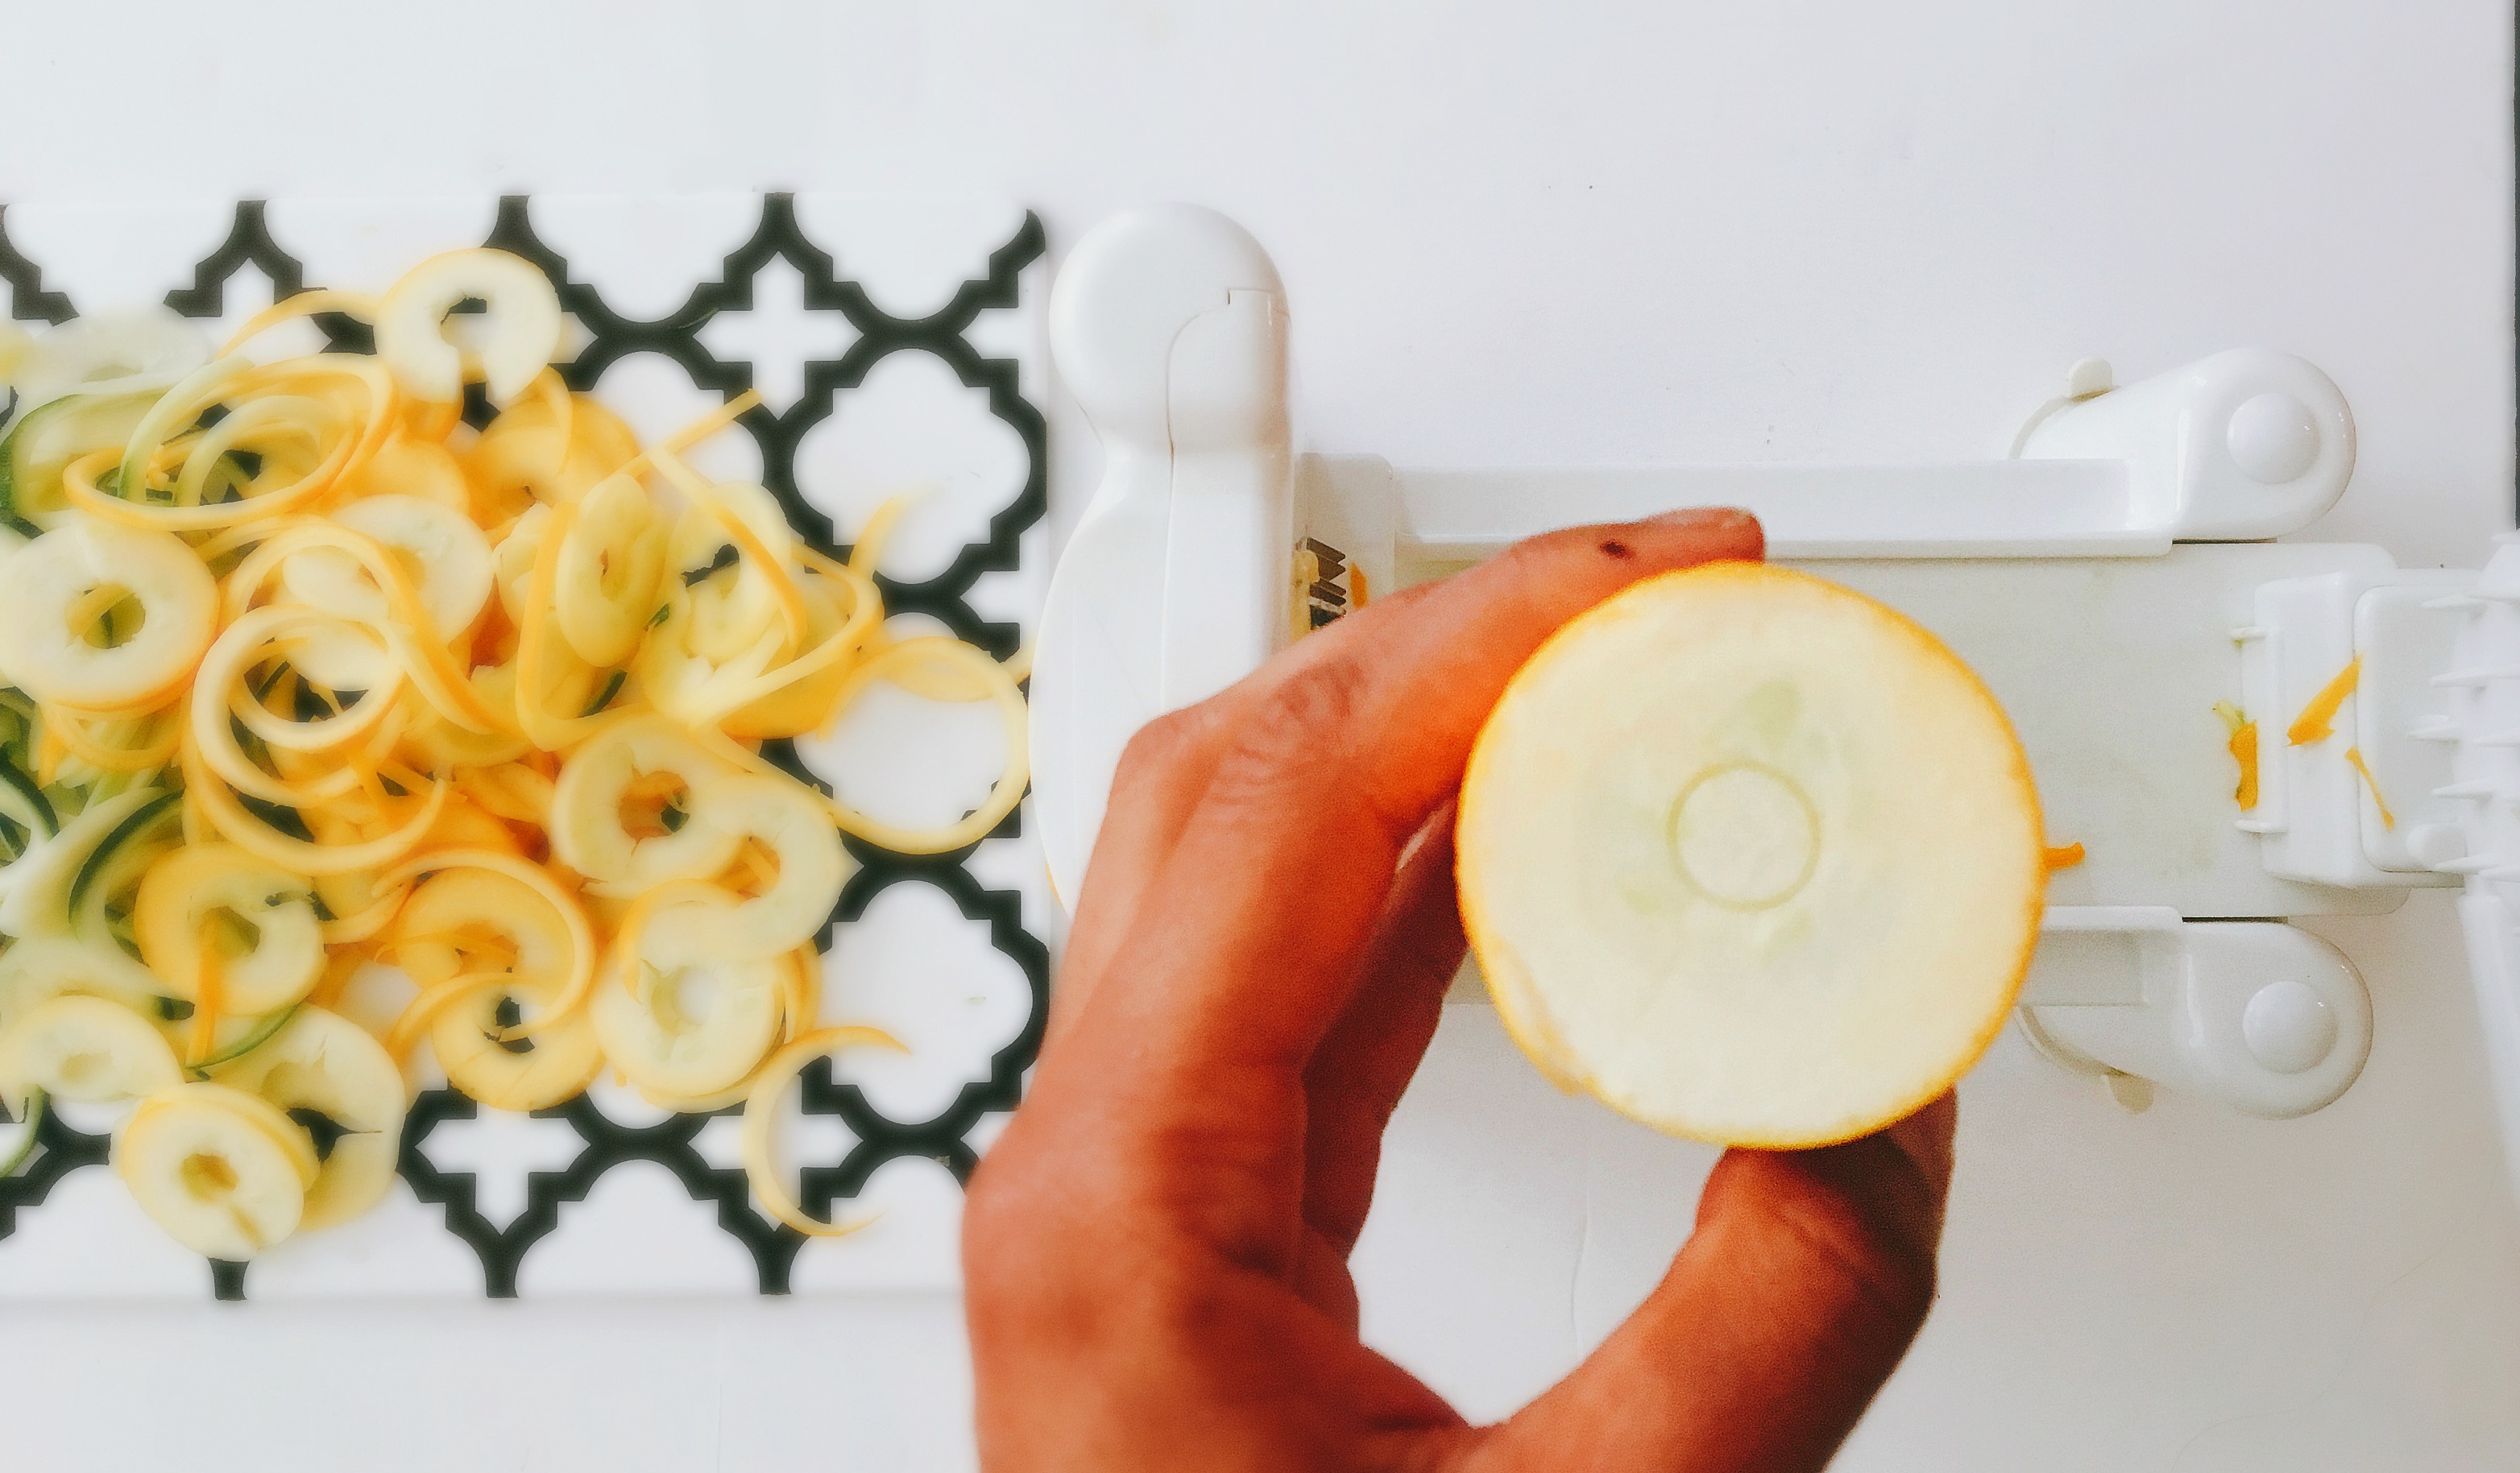
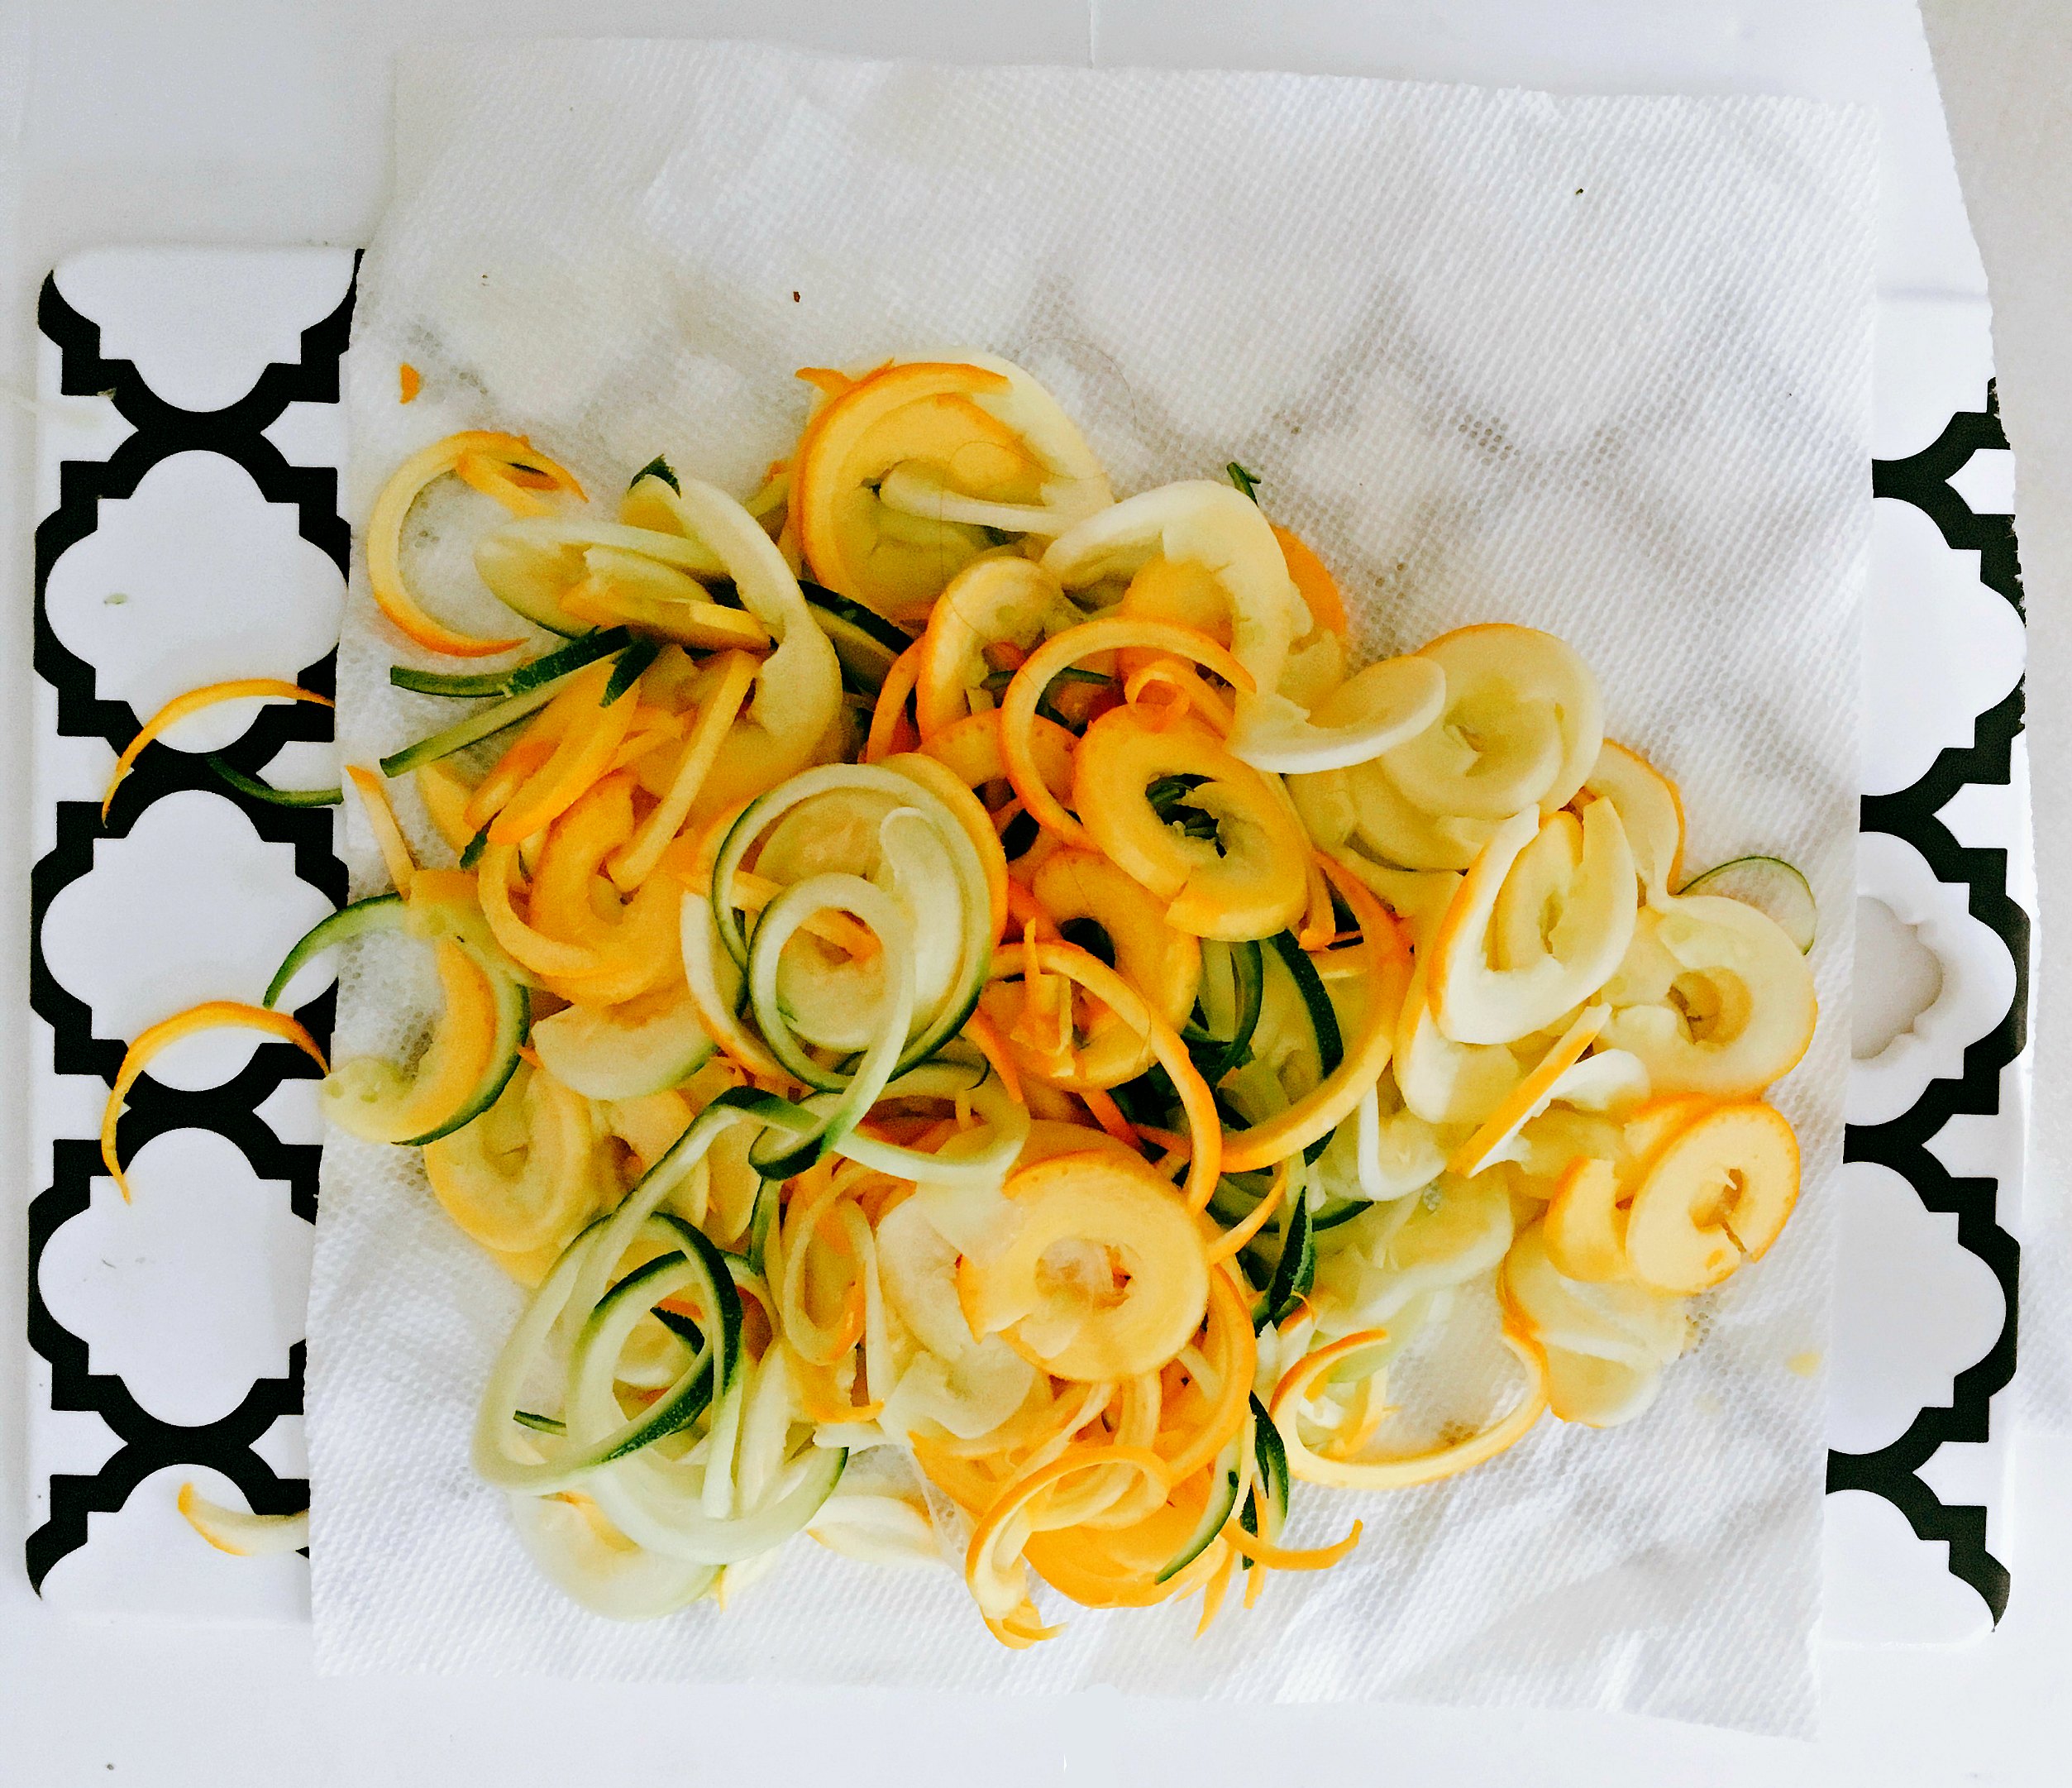
- Spiralize your zucchini and carrot (or if you don't have a spiralizer, shred them or simply slice them into disks). Put them aside in a bowl.
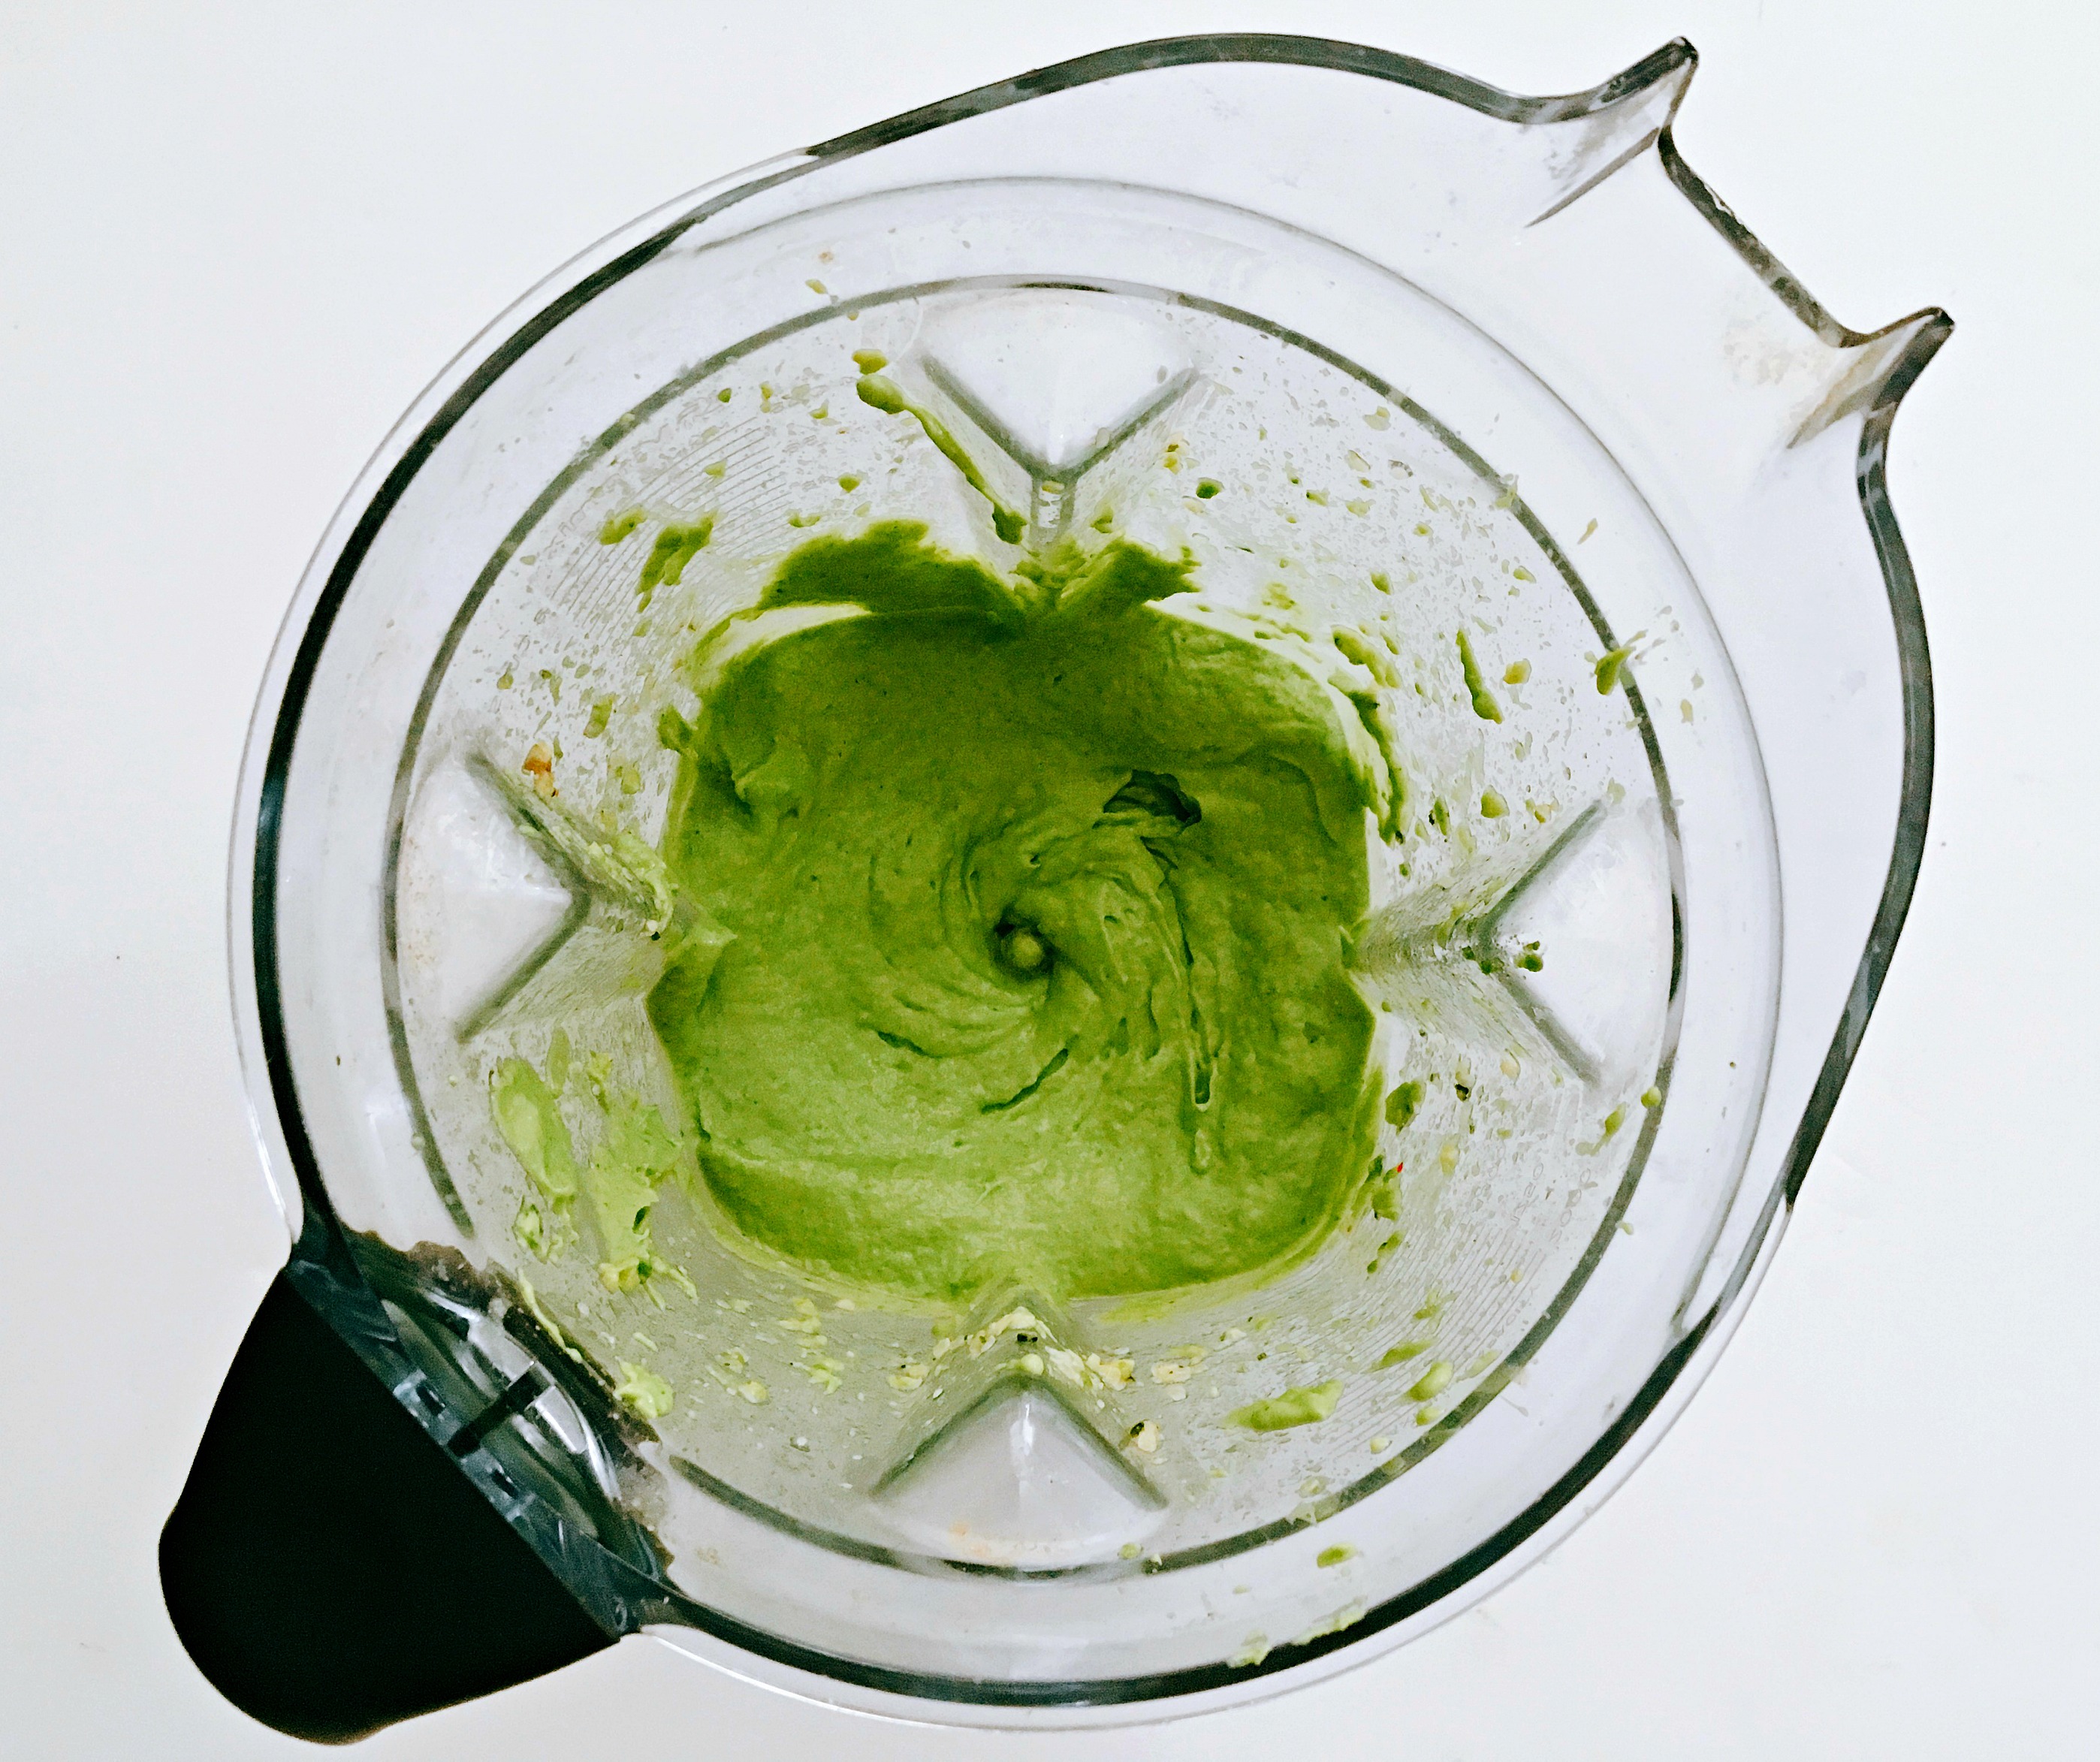
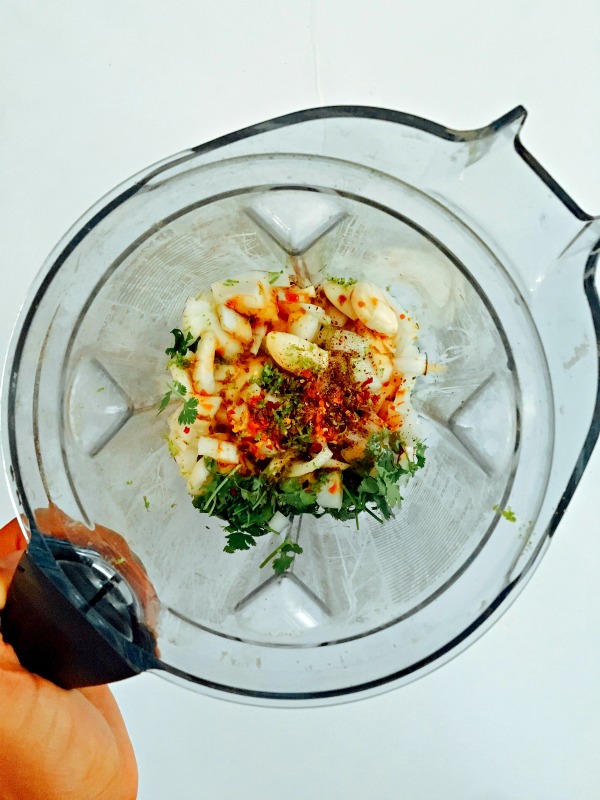
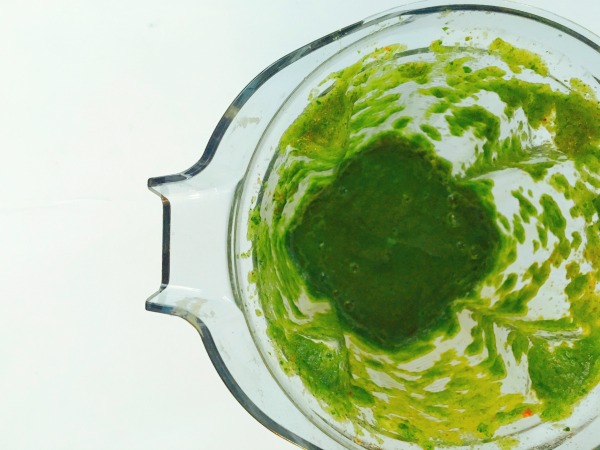
- Blend all ingredients in a high speed blender until smooth and bright green. Reserve a 1/4 cup for this recipe and put the rest in your refrigerator for later in the week when you want to use the same marinade for chicken.
- Rip off 2 pieces of parchment paper and fold each piece in half. Draw half a heart on each piece of paper, so that when you cut them, they look like full hearts! We're going back to Elementary School here, people.
- Open up the parchment heart and lay it flat.
- Split your veggies between the two pieces of parchment paper, putting a small pile on one side of the heart.
- Place your salmon filet, skin side down, on top of the veggies.
- Spread about a tablespoon of the sauce on the filet.
- Squeeze half a lime on the fish. Drizzle with 1/2 tablespoon of melted ghee or coconut oil.
- Repeat with other parchment heart and filet.
- Fold the other half of each parchment heart on top of the fish and tightly crimp the edges together, starting at the top center of the heart and working your way down. You want to tightly crimp the edges by turning them under. This is actually a lot easier than it sounds. You'll see when you try it.
- Place the packets on a rimmed baking sheet.
- Cook in the oven for 7 minutes, then pull out to check the temperature with a thermometer so you don't have to cut into your beautiful little pocket. Fish should be about 135 degrees if you like it flaky. Put it back in if it needs more time.
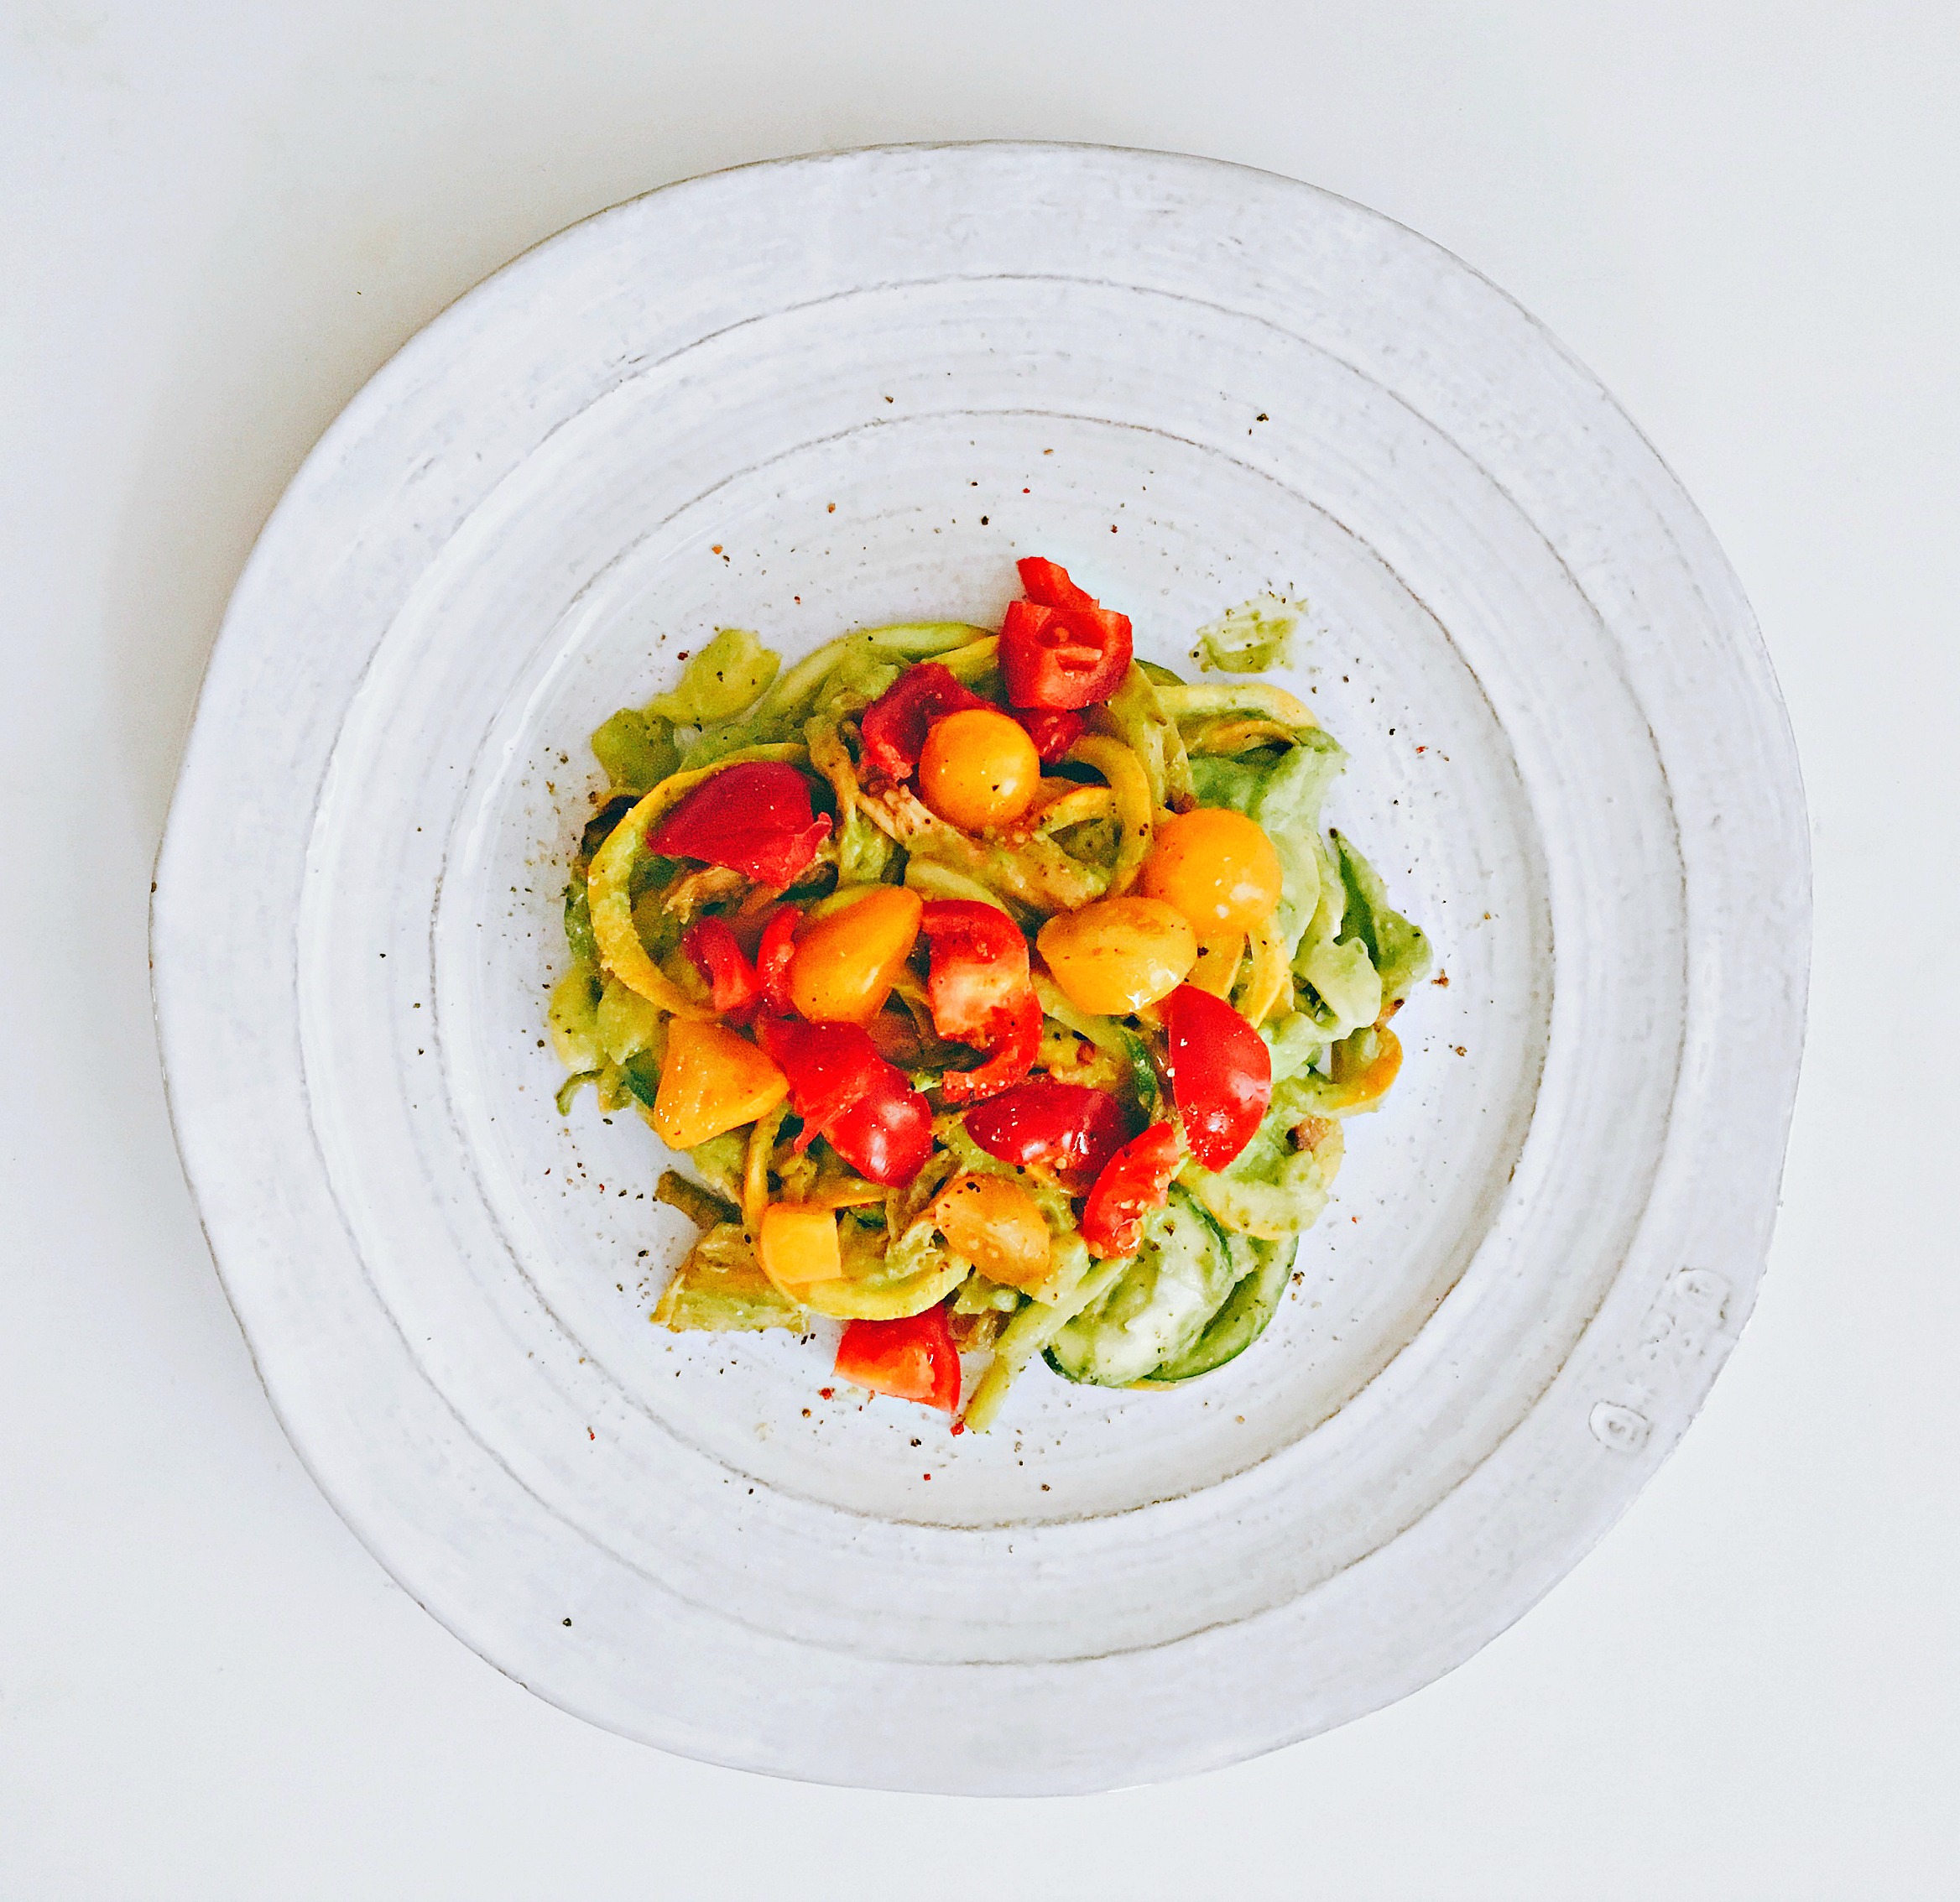
- Cut open the packet with scissors as soon as they're done cooking and toss on cute toppings like cherry tomatoes or an herb garnish.
- Serve it up to a very impressed crowd.
The Dinnner Rut
I asked you all on Facebook what your "Dinner Rut" Dish is. And this is what you said:
- Chicken, Rice and Broccoli
- Chicken with Lawry’s Sauce and a bag of steamed veggies
- Tuna steak w. brussels sprouts or asparagus
- Salmon + asparagus or veggie egg omelet + sweet potato hash + bacon
- Frozen pizza
- Quinoa and grilled chicken garbage salad! Whatever veggies we have in the fridge
- Quinoa, broccoli and a piece of fish. Over and over and over again.
- Good old spaghetti Bolognese. You can’t beat it. Or Shepard pie.
- Roasted Brussels sprouts + grilled chicken + brown rice
- Spicy Veggie hodgepodge stir fry with long grain brown rice
- Tacos!
- Alfredo ziti bake with shrimp and spinach
- Ribeye topped w/goat cheese, parsley, and balsamic glaze, side of asparagus
- Turkey burgers and sweet potato fries… or tacos!
- Stuffed peppers!
- Grilled Chicken w/ rice and green beans.
- Grilled chicken, steamed broccoli, roasted potatoes
- Whole wheat pasta + parm + lots of garlic + red pep flakes + canned tuna packed in oil + spinach
- Omelet and multi-grain toast
I am shocked. I mean. I’m not even mad. I’m IMPRESSED.
I don’t know if I have particularly healthy friends, or you all were just trying to impress me when you responded because most of these dishes sound FANTASTIC.
Roasted Brussels sprouts? Stuffed peppers? Ribeye with goat cheese? Why am I even food blogging to you people?? These are your RUT dishes? You obviously are seasoned cooks. Well, except maybe Frozen Pizza guy. Just kidding, Bob. Totally kidding.
Funny thing is, we (home cookers) still roll our eyes at our “regulars” (as my Mother in Law calls them) because we’ve made them a million times. But to other people, our regulars sound new and exciting and mouthwatering.
Why do we get so fed up with them then? (Fed up. Ha. See what I did there?) Because we THINK we need to whip up something extraordinary. You know, after we got up early, went to the gym, trekked to work, ate over our keyboards, trekked back home (with take home work in tow), threw a load in the laundry in the washing machine and unloaded the dishwasher. Oh. And I’m not even addressing all the added tasks for those of you who have kiddos.
So here’s what I think. I think you give yourself a big pat on the back for being awesome. You made dinner you crazy over-achiever you!!!
Heck yes. You are some kind of wonderful.
But this IS a food blog. So I guess I have to give you actual advice on how to cook things, huh. Here’s what I got.
Four Ways to Switch Up Dinner
ONE. I just gave you a whole LIST of new ideas. They may be other people’s rut dishes, but they’re brand new to you. Got recipe questions? (What's in those stuffed peppers??) Just comment below so we can all do a little recipe rut swapping. You know what they say. One man's trash is another man's dinner. Oh. That came out weird. Nevermind.
TWO. Find a new seasoning mix or marinade. You could cook the exact same chicken every night, but when you dash it with a GOOD seasoning mix or marinate it in a really flavorful sauce, it can taste completely different. You're in luck because the recipe above (and below) just happens to have an awesome marinade included. And it's set to make you four times more than you'll need for this recipe. You know what that means? You can use this marinade in OTHER recipes throughout the week or freeze it in ice cube trays for later. I used the same Green Sauce just a few days later as a chicken marinade.
My go-to seasoning is from The Spice House Chicago called Back of the Yards Seasoning. It's got peppers, garlic, shallots. And it tastes good on EVERYTHING. I'm not joking.
But if you're feeling adventurous and would like to make your own seasoning mix, this particular mix is one of my absolute favorites. Especially for your oh-so-popular grilled chicken dishes.
Jim Carrey Smokin' Seasoning:
- 1 tablespoon chipotle powder
- 1 tablespoon smoked paprika
- 1 tablespoon onion powder
- 1/2 tablespoon cinnamon
- 1 tablespoon sea salt
- 1/2 tablespoon black pepper
THREE. Try a new vegetable. You guys love your Brussels sprouts and broccoli because you’re comfortable with it. But have you ever considered trying one of those ugly looking vegetables in the produce section? You know. The ones with twigs and roots protruding out of them? In my experience, the uglier they are, the tastier they are. Especially when you roast them in the oven, drizzled in coconut oil and generously seasoned with Salt and Pepper.
Here are three ugly vegetable recipes that I know and love:
Parsnippity and Sunchoky Fries Recipe
Kohlrabi Fries Recipe (this one is only on my Instagram for now, but I have big plans for it here on the blog)
FOUR. Switch up your cooking methods. Always steam your veggies? Try roasting or stir-frying. Do you think the only way to make chicken is baking it in the oven? It’s not. There’s braising it, broiling it, deep-frying it, grilling it, pan-frying it, roasting it, stewing it. And did you know that there are other parts to the chicken besides the breast?? (Okay, that came off condescending. I'll slow my roll.) There's the leg quarters and thighs, the drumsticks, the wings, split breast, and the whole chicken.
In today's recipe, that's exactly what I did. I highly encourage you to try "En Papillote" cooking. It's accessible. It's versatile (salmon, tuna, chicken, veggies, whatever!). And it's delicious. Confused? It’s all in the recipe.


| Servings | Prep Time |
| 2 people | 15 minutes |
| Cook Time |
| 7-10 minutes |
|
|
|
|
This recipe was the solution to my dinner rut. I had cooked the same salmon and asparagus nearly every Sunday night for the past 137 weeks (or something like that) and I needed a change. Thank God for the genius of Nom Nom Paleo (Michelle Tam). She opened me up to the idea of cooking in a pocket. It's what the French call, "en Papillote." Not just with salmon, but pretty much anything that you would bake in the oven. Chicken, tuna, Brussels sprouts. It IS the perfect solution to all of your tired recipes. You like where I'm going with this? Good. Read the rest of the blog post after you finished drooling over this Salmon. Thank you, Michelle Tam. You are truly the queen of the Paleo recipe.
|
- 1 medium Onion
- 1 1/4 cups basil leaves
- 1 cup cilantro leaves
- 1/4 cup mint leaves
- 1/4 cup Worcestershire Sauce
- 4 garlic cloves
- 1/4 teaspoon ground pepper
- 1 teaspoon red pepper flakes
- 1 teaspoon coconut nectar
- 2 medium carrots
- 1 zucchini
- 1 pinch Back of the Yards Seasoning
- 2 6 ounce salmon filets
- 1 tablespoon Coconut Oil melted
- 1 lime
- Dash black pepper
- 6 cherry tomatoes halved
- Preheat the oven to 450°F and put your rack in the middle.
- Spiralize your veggies or simply slice them into disks. Put them aside in a bowl. Season them with Back of the Yards Seasoning, or just salt, pepper and garlic powder if you don't have BOY.
- Blend all ingredients in a high speed blender until smooth and bright green. Reserve a 1/4 cup for this recipe and put the rest in your refrigerator for later in the week when you want to use the same marinade for chicken.
- Rip off 2 pieces of parchment paper and fold each piece in half. Draw half a heart on each piece of paper, so that when you cut them, they look like full hearts! We're going back to Elementary School here, people.
- Open up the parchment heart and lay it flat.
- Split your veggies between the two pieces of parchment paper, putting a small pile on one of the crease of the heart.
- Place your salmon filet, skin side down, on top of the veggies.
- Spread about a tablespoon of the sauce on the filet.
- Squeeze half a lime on the fish. Drizzle with 1/2 tablespoon of melted ghee or coconut oil. Repeat with other parchment heart and filet.
- Fold the other half of each parchment heart on top of the fish and tightly crimp the edges together, starting at the top center of the heart and working your way down. You want to tightly crimp the edges by turning them under. I know it sounds hard. But really, it's pretty intuitive once you start doing it.
- Place the packets on a rimmed baking sheet.
- Cook in the oven for 7 minutes, then pull out to check the temperature. Fish should be about 135 degrees if you like it perfectly flaky.
- Cut open the packet with scissors as soon as they're done cooking and toss on cute toppings like cherry tomatoes or an herb garnish.
- Serve it up to a very impressed crowd.