Browsing Tag

processed food

The Shitty Oils In Our Snacks + Plantain Chip Recipe

November 2, 2014

I try very hard to eat as much real, whole food throughout my day as possible – from my eggs in the morning and my sweet potato and hot sauce snack in the late morning, to my veggie-packed salads at lunch and my afternoon apple.

But every once in a while, I just need a REAL snack. You know what I’m talking about. The kind that crunches and maybe leaves a layer of seasoning on your fingers after you’ve reached into the bag 5 or 6 or 20 times. I’m not talking Doritos, Cheeze-its and Chex Mix, here. I ruled those out a long time ago when I realized how much crap they contained. I’m talking about the healthier snack options that give me all the satisfaction without ingesting unidentifiable ingredients. I’ll snack my heart out, but I made a personal choice that if I do, it at least had to begin as a whole food before it was transformed into a snack.  

Side note: Shout-out to my Cheeze-it-loving work neighbor Neil – you know I love you and support your snack choices as long as they make you happy 🙂

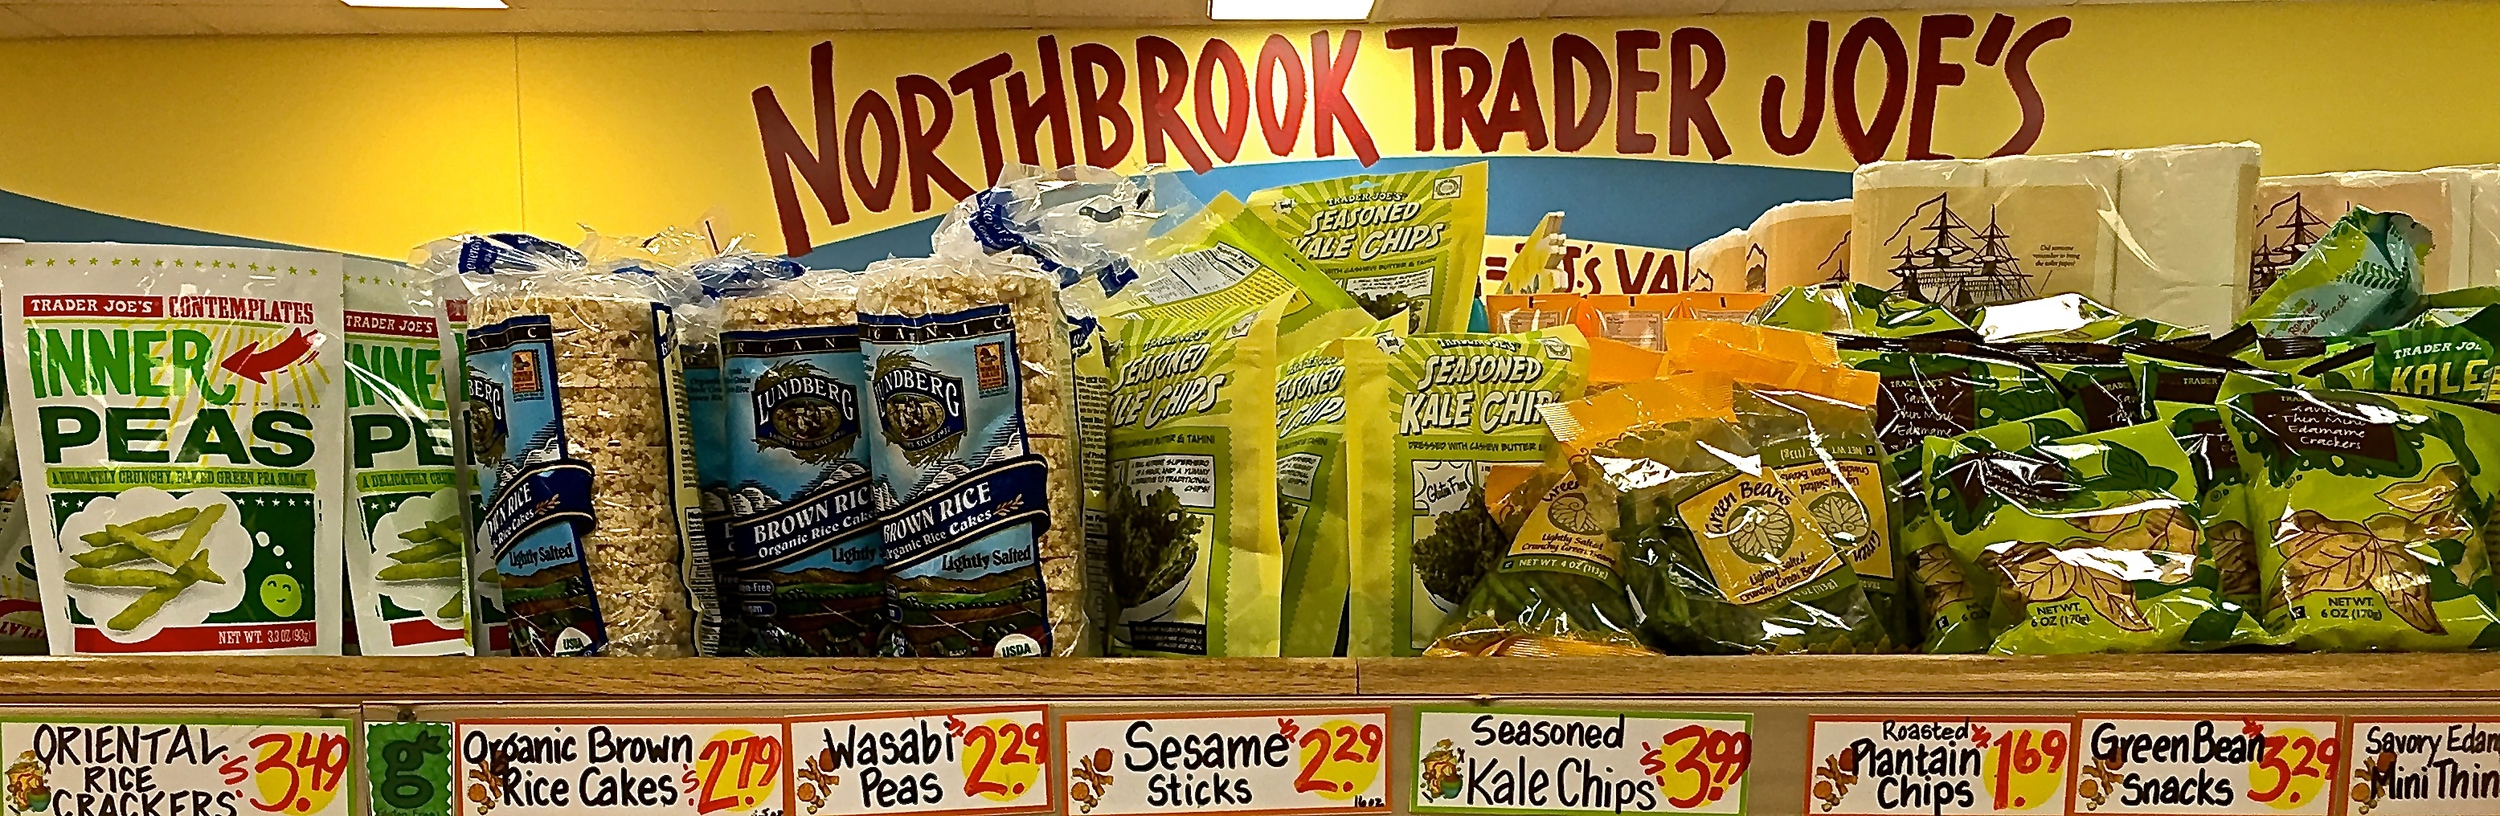
That’s why I fell hard and fast for the snack aisle at Trader Joe’s. Wasabi peas, dried snap peas, crispy veggies and crunchy chips made with every healthy ingredient imaginable – kale, flax seeds, chia, plantains, quinoa. For me, it was love at first sight. I thought, so I can have all of my favorite healthy foods in snack form? Bring. It. On.

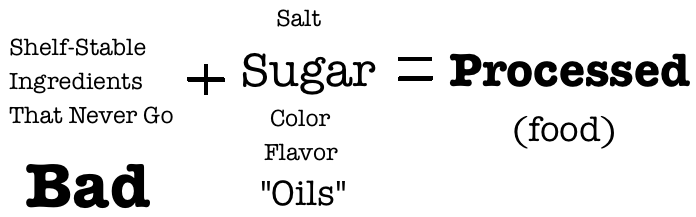
But, as usual, I couldn’t just accept this delicious convenience at face value. Why? Because any packaged food has a lot of mystery to it. No matter how healthy the label makes it look; you know very little about how the “food” you’re eating was created.

When inspecting, nutrition labels are always my first step. Trader Joe’s does a great job at using a short list of ingredients, all seemingly identifiable. 

Here are the ingredients in a few of my favorites:

Plantain Chips: Plantains, Sunflower Oil, Salt

Wasabi Peas: Green peas, corn starch, wheat flour, rice flour, sugar, palm oil, sea salt, wasabi (mustard powder).

Inner Peas: Whole green peas, vegetable oil (canola oil and/or sunflower oil), rice, salt, calcium carbonate, vitamin C

Pita Chips: Pita bread (unbleached wheat flour, yeast, sugar, salt, water), sunflower and/or safflower oil, sea salt

APPARENTLY (said in the voice of the apparently kid), these ingredients are a lot more deceiving than they look because of one key factor.

The oil.

I know, I know. It sounds a little dramatic to hate on these snacks when there’s a lot worse you can do. But bear with me.

Not all oils are created equally. And we’ve been conditioned to believe certain oils are good for us (or at the very least, harmless). THEY’RE NOT.

Let’s break it down.

There are three types of oils: Saturated, Mono-Saturated and Polyunsaturated. Think of them like Goldilocks and the Three Bears (kind of). 

  • Polyunsaturated  = very unstable (too hot)
  • Mono-saturated = pretty stable (a little better)
  • Saturated = stable (just right)

Unfortunately, it’s the highly processed, polyunsaturated oils (also lovingly known as PUFAs) that are the most common ones used in packaged snack food.

Here are the PUFAs you know and love:

  • Canola Oil
  • Corn Oil
  • Soybean Oil
  • “Vegetable” oil
  • Peanut Oil
  • Sunflower Oil
  • Safflower Oil
  • Cottonseed Oil
  • Grapeseed Oil
  • Margarine
  • Shortening
  • Any fake butter product (yeah Fabio, I’m talking to you)

THE REASON PUFA(S) SUCK:

Well, there are a few reasons. But the number one reason is these oils – believe it or not – CANNOT TAKE THE HEAT. In other words, they are not strong enough to stand up to the high temperatures that they are regularly cooked at. When you heat them, they deteriorate chemically (AKA, they go rancid). THIS IS BAD. 

You see, contrary to what you may think, PUFAs are not natural at all. Although they call them vegetable oils; they are actually manufactured chemically.

Let’s take canola oil. There is no such thing as a “canola.” It’s actually made from a hybrid version of the rapeseed. But they couldn’t use natural rapeseed to make oil because it contains high amounts of acid called toxic euricic acid. This baby is poisonous to the human body (say WHAT?). So to make it edible, they lowered the acid level by genetically modifying the seed.

To produce canola oil, they heat the rapeseed and extract the oil using a petroleum solvent. Then they do another round of heat to remove the solids that occur during the first processing. This is then followed by adding more chemicals to improve color, texture and smell. It gets more complicated, but I have no business explaining it because I am no scientist. Which is exactly the point.

I shouldn’t have to be a scientist to understand how my food is made. 

Saturated, stable fats like butter and coconut oil on the other hand, are made in a few simple steps with little-to-no processing, don’t release foreign chemicals into your body when ingested and CAN TAKE THE HEAT (they’re stable. Duh). Milk cow, let cream separate naturally, skim off cream, shake until it becomes butter. DONE.

Unfortunately, these stable fats are expensive. They’re the last thing that food companies want to use when processing mass amounts of a snack. PUFAs, however, are nice and cheap to use. Which means they are EVERYWHERE. If you’re not cooking with them, you’re definitely eating them in any pre-packaged foods, i.e. SNACKS. The worst part is, now that I’ve told you, you won’t be able to ignore it (please don’t hate me for doing that to you). Yep. Every time I turn over a snack package to read the ingredients, 95% of the time, one of the aforementioned oils are on the list.

Sometimes it really sucks knowing this much. 

DON’T HATE ON TRADER JOE’S

With all this said, I don’t fault Trader Joe’s at all for their ingredients. In the grand scheme of things, their snack options are worlds healthier than a lot of the other shit out there. And I am eternally grateful to them for providing me with those options for me and others on tight budgets.

However, in my quest to make the healthiest choices for my body (and be a test dummy for you, my readers), I am going to do my darndest to make sure my snacks are made with the right oils.

Wouldn’t it be nice if that just meant picking the good-oil snacks up at the store? Yeah, when pigs fly out of my butt (said in the voice of Wayne Campbell). Of course, there are options out there, but they are expensive and hard to find. So what is the best option? (Yell it out if you know it).

MAKE IT MYSELF

As always, if I can make it myself (and get it right), not only will I feel better about what I am eating, but it will taste better too (way better).

If I had to pick one packaged food snack that I love the most it would be Trader Joe’s plantain chips – hands down. If you’ve never tried them, I encourage you to ignore everything I said in this post, run to Trader Joe’s, and devour a bag in one sitting, just so you can understand where I am coming from.

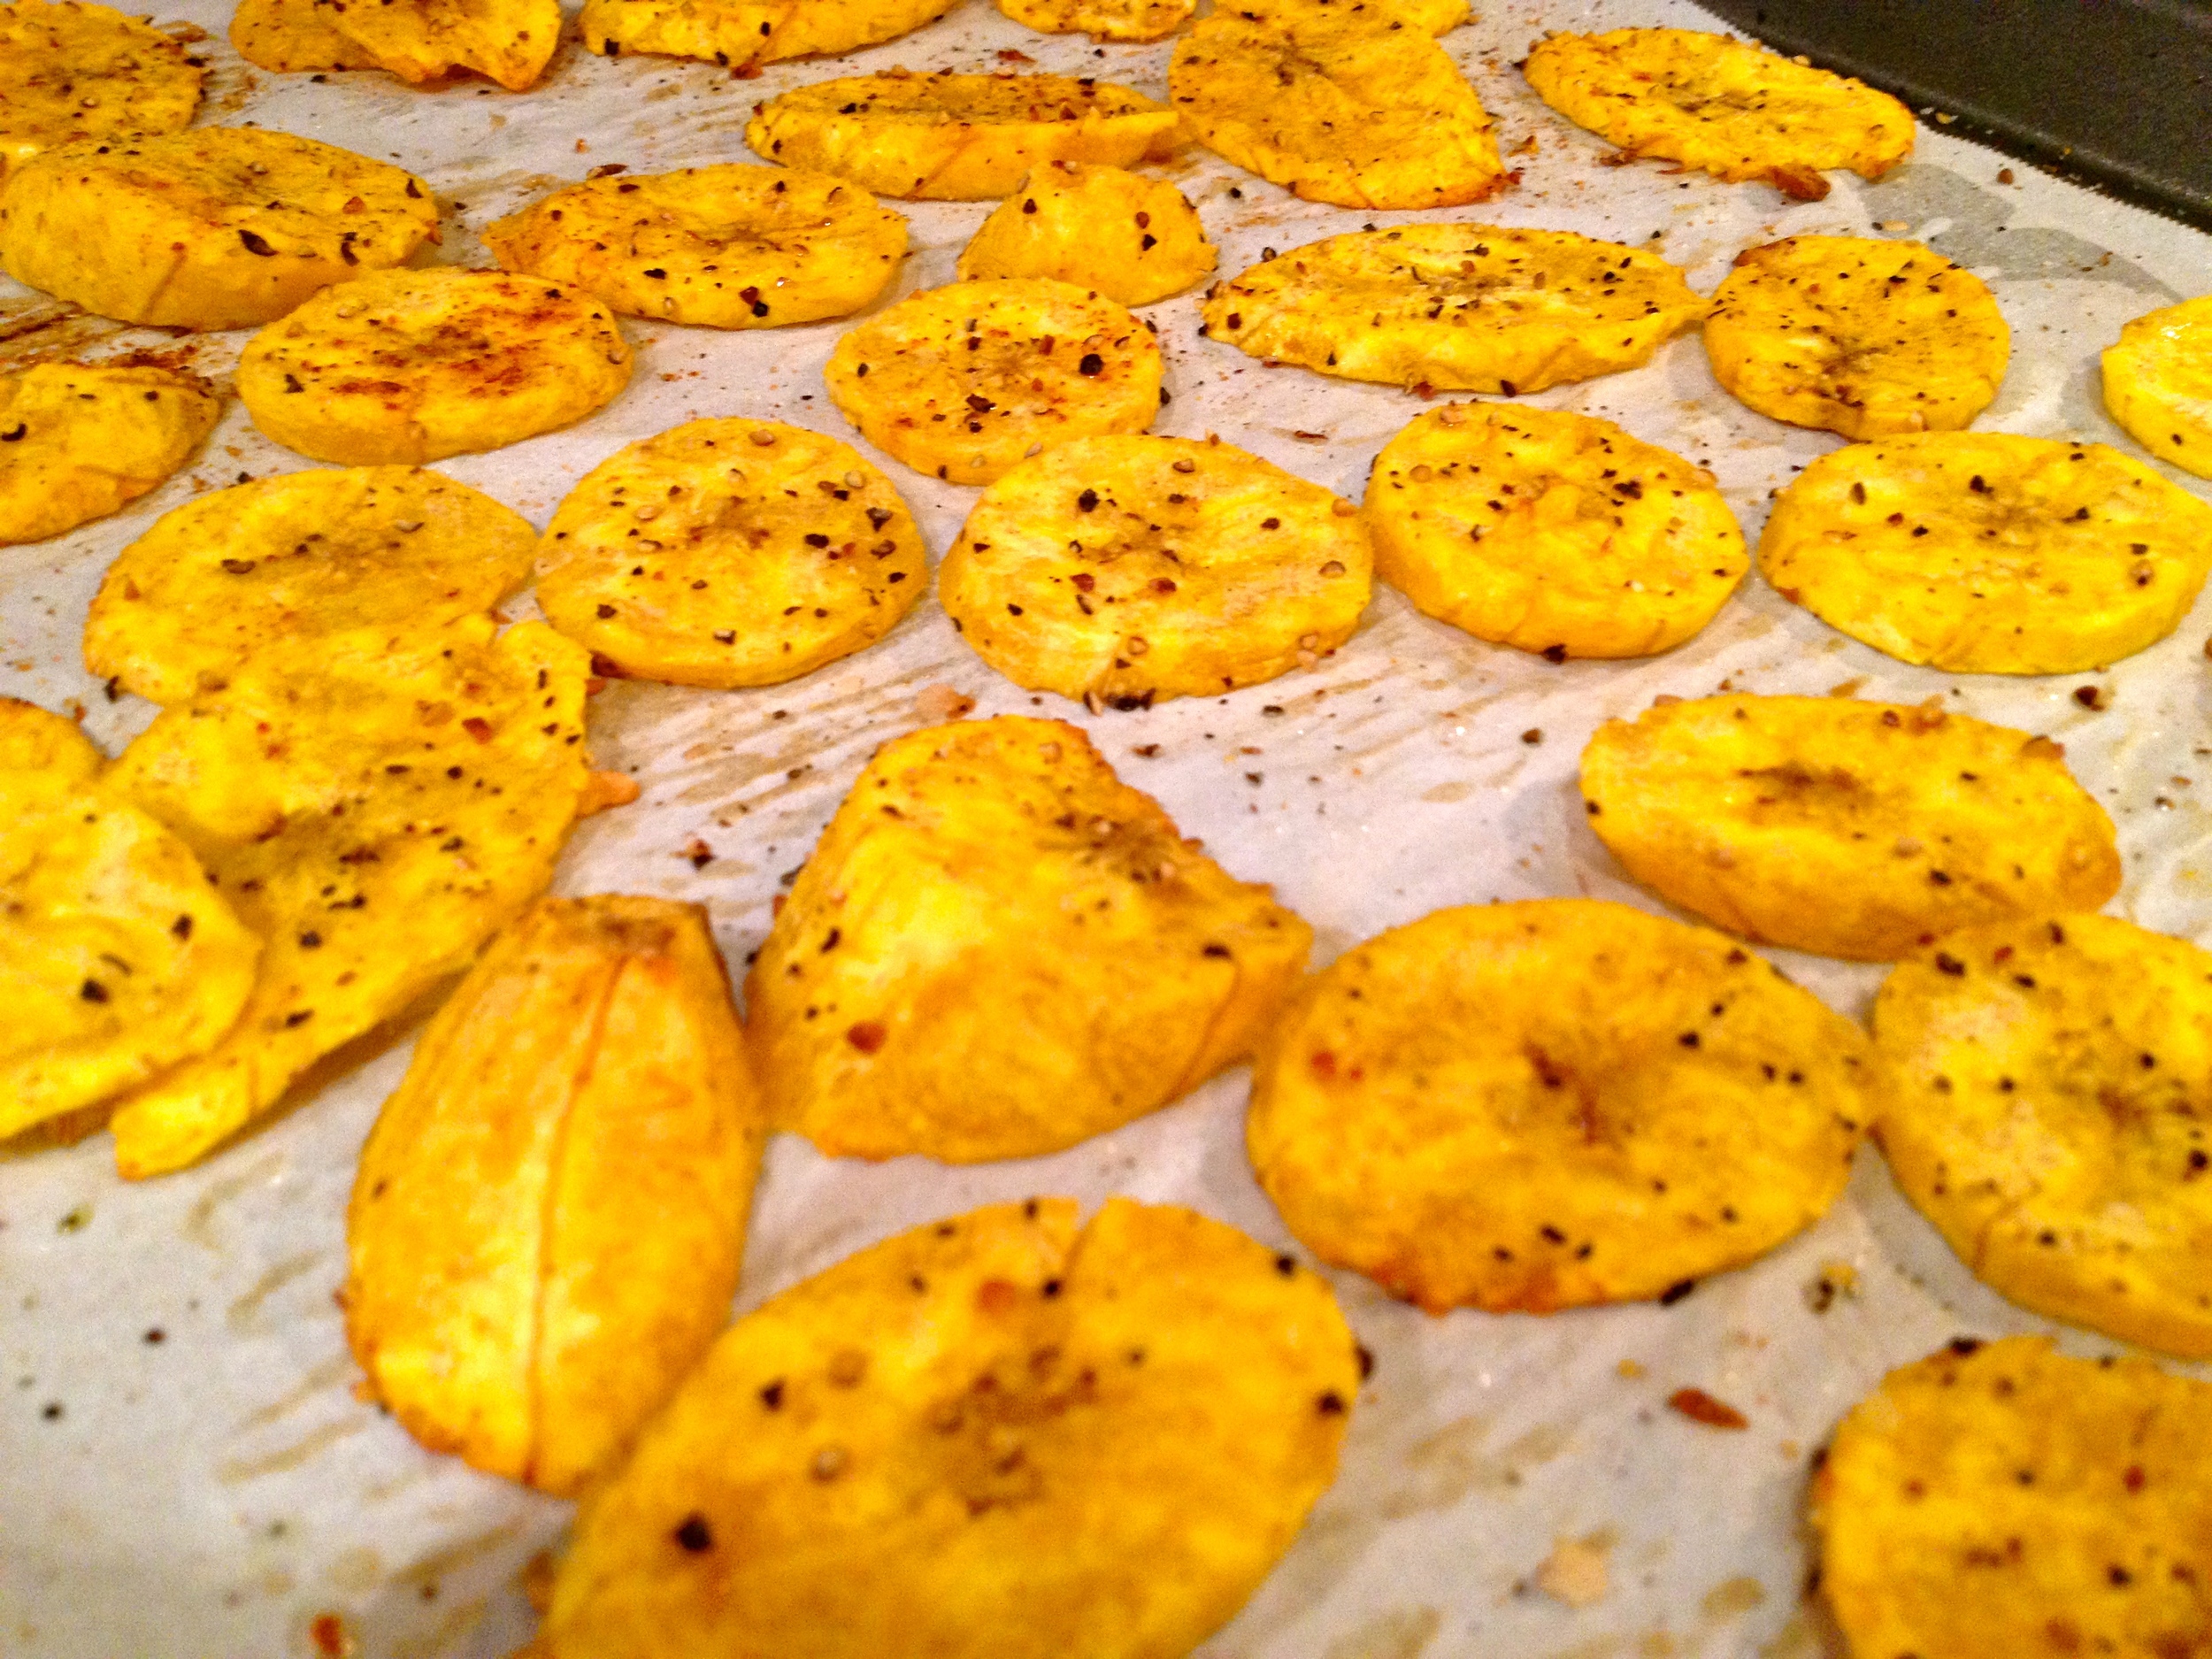
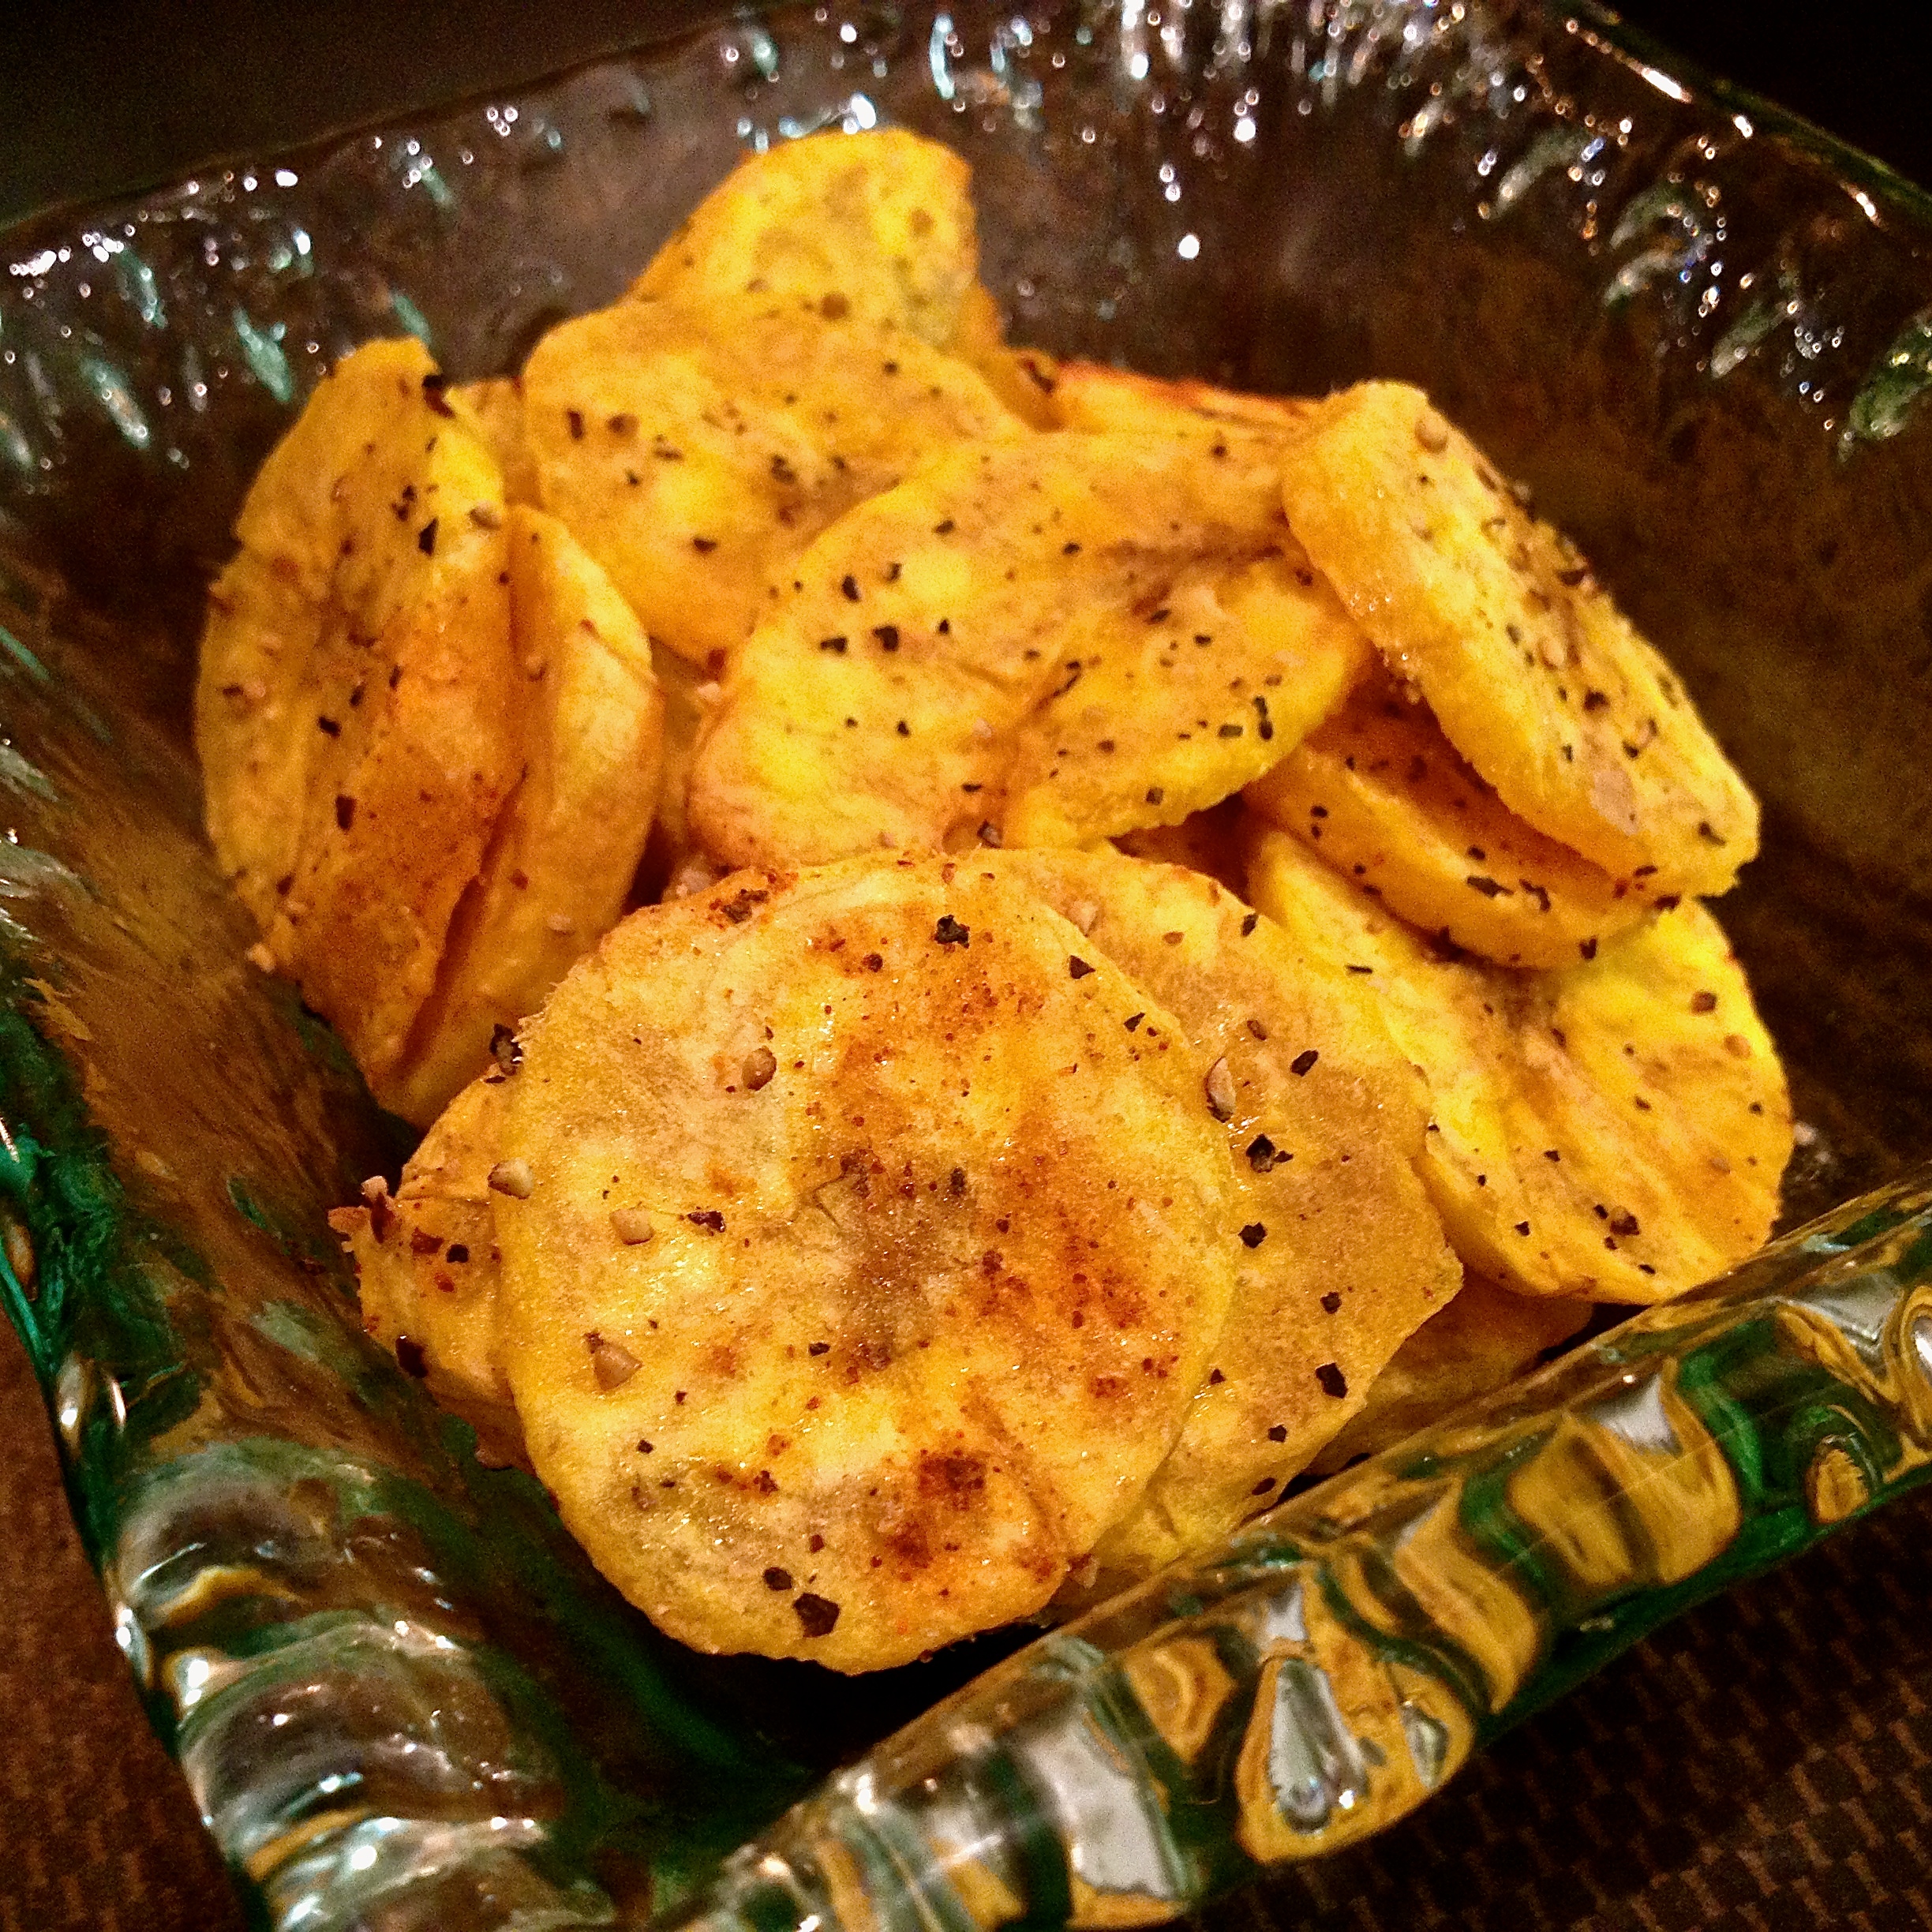
Okay, back to the point. I made it my mission to create Trader Stacey’s Plantain Chips: A whole-r, better plantain chip made with the oils of my choice.

The result? Well, they don’t taste like the TJ brand. But they are pretty damn good. And I plan to make them many more times, which means they are bound to get better with every try. So please proceed with an open mind and an open jar of saturated, stable oil. Here’s the recipe.

TRADER STACEY’S PLANTAIN CHIPS

INGREDIENTS:

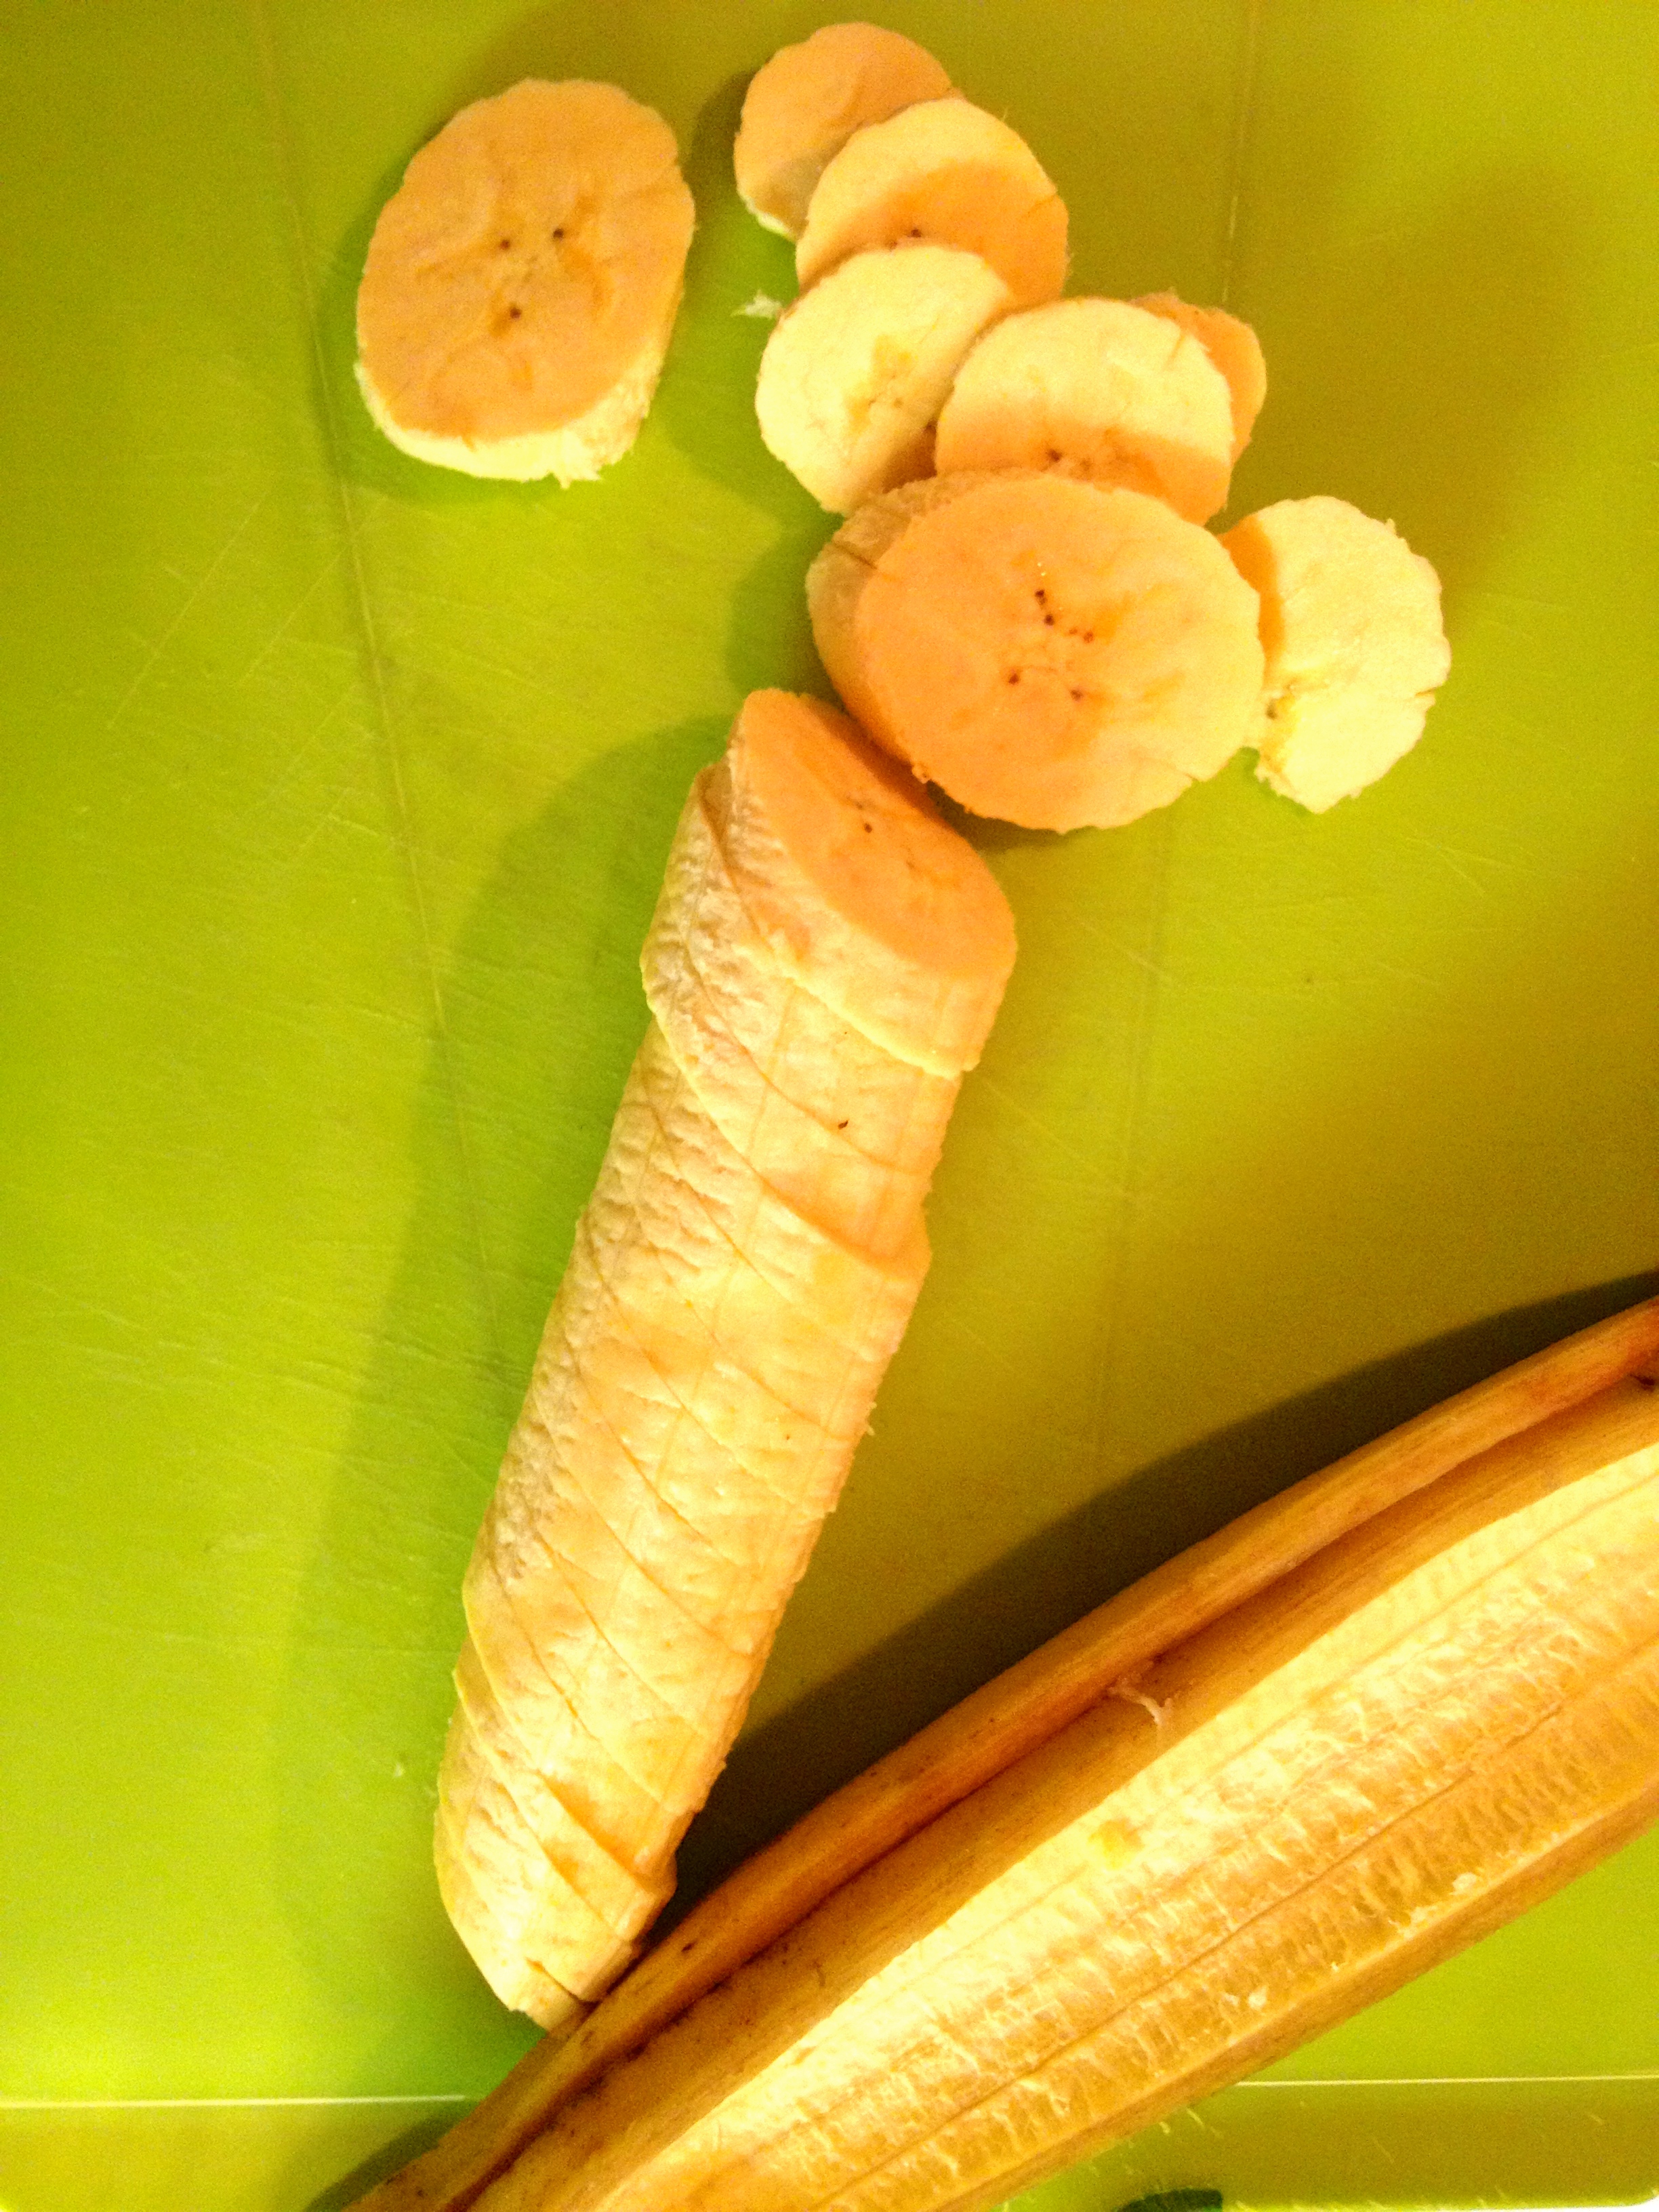
  • 3 GREEN plantains (the less ripe, the less sweet and the more savory)
  • 1-2 tablespoons of Coconut oil or Ghee (eyeball it)
  • Seasonings of choice (I used garlic, cayenne and paprika)
  • Salt & Pepper

DIRECTIONS:

  1. Pre-heat oven to 425 degrees
  2. Slice open peel by chopping the ends first and then scoring the sides with a knife
  3. Slice the plantain VERY thin (I don’t have a mandolin so I just used my steady hand, but if you have one, I’m sure it would make things easier). I also sliced them on the diagonal so they would be flatter and wider.
  4. Repeat with the other two plantains
  5. Toss in a bowl with the melted coconut oil
  6. Sprinkle seasonings on both sides
  7. Place on baking sheet over parchment paper
  8. Put in oven for 15 minutes
  9. Pull them out of the oven, flip them over and MASH THEM DOWN with a spoon, a spatula or the bottom of a glass. THIS IS WHAT HELPS THEM GET CRISPIER without frying them.
  10. Stick them back in the oven for another 10 minutes. Check on periodically until they are a little browned and you’re happy with them. I think it depends on personal taste how “done” you want them. I like to err on the side of undercooked rather than overcooked.

ONE LAST NOTE:

I only just scratched the surface of this oil discussion in this post. And it made me realize, this has HEALTHY STACEY SERIES written all over it. So far I’ve told you that most of the oils we eat (in packaged foods) are chemically processed. And although we all know that’s not a great sign, it doesn’t necessarily translate to how it hurts you by eating it. And it doesn’t tell you what oils you should eat instead? Or what packaged foods ARE out there that are safe to eat? SO MANY UNANSWERED QUESTIONS. So get excited. Because I just got inspired to write THE OIL SERIES.

Next Up:

Omega-3 is from Mars, Omega-6 is from Venus


Sources:

  • http://www.marksdailyapple.com/oil-fat-overheat-smoking-point/#ixzz3HHcsNLgT
  • http://wellnessmama.com/2193/never-eat-vegetable-oil/ 
  • http://articles.mercola.com/sites/articles/archive/2003/10/15/cooking-oil.aspx


Processed Food Takeover Guide

August 17, 2014

Your guide to getting rid of the processed food in your diet, and replacing it with REAL FOOD with three stupid-simple recipes. 

I decided about 6 months ago, when I first understood the implications of eating processed food, that I would remove all the stomachache-inducing, weight-gain causing, chemical crap from my diet as much as my lifestyle would allow. As promised, per my last post, I thought it would be nice to provide you with a roadmap of how I did it. I’m expecting a few eye rolls here…

Seriously Stacey, you want me to stop buying conveniently wrapped food and start making everything from scratch? CHA. And monkeys might fly out of my butt. (Said in the voice of Wayne Campbell).

I was right there with you. I thought, when the hell am I going to find the time to do that? “Homemade” is for Grandma Elsie and Stay-At-Home Marcy. But I started small by replacing one snack in my day. And once I did it, I realized I had to do it again, and again. When you begin to experience what real food tastes like (and feels like) in your daily meals, you won’t want to go back to the old way.


PROCESSED FOOD TAKEOVER GUIDE

This guide is not rocket science. My goal is to simplify the transition from processed food to real food as much as possible for you – so that you'll actually do it. Please use it, love it, and put your own spin on it. Oh yeah, and enjoy my awesome illustrations, hand-drawn with Paintbrush.

BEFORE YOU BEGIN

1.     Start slow. Pick at least one processed food that you want to attack first. If you decide to do a whole overhaul all at once, you’ll go to the grocery store with this huge list of ingredients, get overwhelmed, and decide it’s not worth the trouble.

2.     Don’t buy the processed food you chose. If you pick it up – just in case – you will not be motivated to make its real counterpart, and you are defeating the whole purpose (sorry to be harsh).

3.     Pick a night to make it. You will never feel like making your real food replacement when it’s time to eat it. Choose one night of the week that will be your food prep/making time. I found that even though I had the best intentions of doing my food prep on Sunday night, my weekends usually got the best of me, so I have declared Monday night my prep night. (It’s perfect because I’m feeling guilty from the weekend and super motivated to start my week off right).

4.     Prep your station (like a real chef!). Get out your chopping board and cutting knife, preheat the oven, fill a pot with water for boiling, put on some music and pour a glass of wine (ya, that’s a step).

5.     Get the right containers. For the longest time, I was incredibly stubborn when it came to buying real Tupperware. I would use plastic containers that I got from doggie bagging it at a restaurant or wear out cheap Target brand containers until I started to wonder if the smudged and scratched plastic was cancer-causing. My good friend Marta finally turned me on to these beauties:

Snapware Pyrex Glass Food Keeper Set

Yes, they are glass, and yes, they are heavier than plastic, but I swear, the food tastes better in them. Plus, when you get the variety pack, you will have a size for everything. So as you grow your real food habits, you won’t have to worry about resorting to sketchy containers wrapped in aluminum foil.

RECIPES TO GET YOU STARTED

  1. BREAKFAST: Perfectly Perfect Hard Boiled Eggs
  2. LUNCH: No Excuses Veggie Salad With Homemade Dressing
  3. SNACK: Unprocessed Protein Bars


BREAKFAST: Go from boxed cereal to that perfect straight-from-nature protein, the egg

Perfectly Perfect Hard Boiled Eggs

This is the easiest recipe to make while you are doing other things. Put the eggs in the pot, boil and wait. It’s so simple. But the result is one of the most nutritious breakfasts the world has to offer – made convenient! P.s. Don’t forget, fat is good, so eat the yolks.

Ingredients:

  • 6-10 Cage-free eggs (depending on how many you’ll eat in a week)
  • BIG pot of water

Directions:

  1. Fill BIG pot with water
  2. Place eggs in pot
  3. Bring to boil, uncovered
  4. Once boiling, turn off burner, cover pot and let eggs sit in hot water for 20 minutes
  5. Once done, run eggs under cold water immediately
  6. Transfer to a bowl and voila! You have the perfect ready-to-go breakfast/snack/salad topper to grab during the week. I eat them post-workout with a side of roasted sweet potatoes, topped with Siracha. 

Other common processed breakfast choices: cereal (yes, even the kinds that are filled with fiber, flax and fabulousness), instant oatmeal, breakfast bar, McDonalds breakfast

Real food alternatives: roasted sweet potatoes, eggs over easy, poached eggs, Stovetop Oatmeal, Buckwheat


LUNCH : Forget the oh-so-convenient frozen cuisines and go for a veggie-packed salad

No Excuses Veggie Salad

Ever since I started to cut up all my vegetables at once, one night a week, it has made me eat so many more vegetables because suddenly they are so easy to grab and go. What a concept. There’s never an excuse not to bring in my lunch because all I have to do is throw a handful of pre-cut veggies on top of lettuce and I’m good to go. Every month, I try to get a vegetable that I haven’t tried yet so that I keep things exciting. 

Ingredients:

  • Carrots
  • Red Peppers
  • Mushrooms
  • Snap Peas
  • Radishes
  • Cucumbers
  • Whatever veggies you like (try changing with the seasons)

Directions:

  1. Cut up enough veggies to fill a large container 
  2. Every night or morning, throw a handful of lettuce in your Snapware and top with pre-cut veggies
  3. Add fun toppings like hemp seeds, pumpkin seeds, pecans, pine nuts and walnuts for added texture (and health benefits)

Tip: Always try to make leftovers for dinner so you can also easily add a protein like grilled chicken breast or salmon. If I have nothing available, canned tuna is my go-to.

Lovely Lemon Vinaigrette

The majority of store-bought salad dressings these days use oil that comes from genetically engineered canola or soy, high-fructose corn syrup, and chemicals that prevent you from absorbing the nutrients in your food 1 (isn’t the whole reason for eating salad to get nutrients from the vegetables?).  Long story short, just make your own. It tastes better, it’s more satisfying and it’s so much better for you.

Ingredients:

  • 3 tbsp. fresh lemon juice (sometimes I squeeze straight from the lemon, but I do have organic lemon juice as a back-up if I’m feeling lazy)
  • ½ tsp. Dijon mustard
  • ¾ cup extra-virgin olive oil
  • 1 tsp. your favorite herb seasoning
  • pinch of salt, pinch of pepper (to taste)

Directions:

  1. Mix all ingredients together with a fork, except the oil
  2. Add the oil slowly, whisk vigorously
  3. Shake it like a polaroid picture before you pour it on your salad

A word on salad dressings:

There is no limit to the types of flavors you can create for yourself. So be creative with them. All you need to know when it comes to homemade dressings is this.

  1. They are generally a combination of oil, acid and seasoning.
  2. Always mix the acid and seasonings first, then whisk in your oil.
  3. When creating, a good rule of thumb is: 1 part vinegar to 3 parts oil.

Other common processed lunch choices: Fast food (Subway, Jimmy John’s McDonalds, etc), protein bar (because you don’t have time for lunch), sandwiches with pre-packaged deli meat

Real food lunch alternatives: Pre-cooked quinoa or faro, roasted veggies or sweet potatoes

SNACK: Make the change from crunchy carbs (often disguised as healthy), to homemade protein bars.

Unprocessed Protein Bar

This was my first foray into real food and now I am obsessed. Packaged bars got nothing on these guys. They’re soft, but still have a crunch. They’re not too sweet (unless you want them to be). And I always feel satisfied after I eat them, without even a twinge of a stomachache.

Ingredients:

  • 1 cup nuts + seeds of your choice (I like almonds, pecans, walnuts, sesame seeds, pumpkin seeds)
  • 1/4 cup unsweetened shredded coconut
  • 1/4 cup unsalted crunchy almond butter
  • 1/4 cup coconut oil
  • 1/3 cup almond meal (buy pre-made or pulse in food processor)
  • 1/3 cup coconut flour
  • 1/3 ground flaxseed
  • 1 1/2 tsp pure vanilla extract
  • 1/2 tsp of raw organic honey
  • 1 large egg
  • 1/2 teaspoon sea salt
  • 1/2 cup dried goji berries
  • 1/4 cup unsweetened coconut to sprinkle on top

Directions:

  1. Preheat the oven to 325 degrees
  2. Toast the nuts & seeds and shredded coconut on a sauté pan until golden brown. Watch closely so they don’t burn and shake up the pan a few times throughout. You’ll know when they’re done by the toasty smell.
  3. Pour toasted nuts & seeds into a food processor and pulse until coarsely ground (the size of bread crumbs).
  4. In a mixing bowl, melt coconut oil and almond butter (about 30 seconds). Remove from microwave and stir until smooth.
  5. Add vanilla extract, honey and sea salt. Mix thoroughly.
  6. Fold in nut & seed mixture with almond meal, coconut flour and ground flax seed until mixed thoroughly.
  7. Add whole egg and mix thoroughly.
  8. Fold in goji berries.
  9. Press mixture into an 8 by 8 loaf pan
  10. Stick in the oven for 10 minutes.
  11. When done, pull out of oven and sprinkle a ¼ cup of toasted shredded coconut
  12. Let cool for 10-15 minutes. Cut into 12 pieces/bars.
  13. Store in an airtight container and grab them to go whenever you need them.

A note on protein bars: I have tweaked the above recipe so many times trying different combinations of flours and nuts & seeds. As long as I don’t stray too far from the measurements, it always turns out well. And each time I get a different flavor.

Other common processed snack choices: processed snack bars (Nature Valley, Nutri Grain, Fiber One, Kashi), crunchy snacks in bags (chips, pretzels, veggie sticks), lowfat yogurts

Real food alternatives: whole milk yogurt, fruit, Kefir, homemade dip, nuts (non-salted), Frobana Ice Cream, frozen berries

1 http://www.drcate.com/salad-dressing-the-silent-killer/