Guess what?! I am taking a class on Food Chemistry. And being the geek that I am, I couldn’t be more excited about it. I am only one week in and I can already say that I have already learned A LOT. The thing is, it’s not what I expected. It’s better. Let me explain.
I had full intentions of finally finding answers to all of my burning health food questions…
Can we get all of our nutrients from our food or do we need supplements? Is a vegan diet fulfilling enough to our health? Is gluten-free healthy or necessary? What are the best superfoods? Is dairy good or bad for us?
But I can already tell you that the answers to these questions do not lie in a yes or no, a better or worse, but rather a very factual concept. Better said, it lies in science.
Taught by three esteemed professors from McGill University’s Office for Science and Society, the course is intended to teach the science of food, and moreover, clarify the confusing question: what is healthy eating? After 32 years of teaching this course, Dr. Ariel Fenster, Dr. David N. Harpp and Dr. Joe Schwarcz have seen every fad diet, health claim and miracle food to hit the media. And what they have to say about it all blew my mind.
In a nutshell:
-
There are no right foods. Just good diet.
-
Most health claims on food has not been proven scientifically.
-
When it comes to our diet, we should always be cognizant of who is delivering the message, what they are saying and where they found their information.
I realize that this nutshell leaves a whole lot of room for explanation. And honestly, I’m a little overwhelmed as to how to deliver it to you. I’m still trying to wrap my head around it. Ultimately, I’ve decided that breaking it up into short lessons is best. So over the course of my class, I would like to cover the following topics* with you:
- Vitamins and Minerals
- Carbs, Fats, Sugars and Proteins
- Food additives and sweeteners
- Chocolate
- Diets
- Health Food {C}{C}
*As always, I may stray a little off course depending on what I learn and what I think you will find interesting
In the meantime, I have to say that this new perspective has lifted a huge weight off my shoulders when it comes to my own diet. I know I will always be a healthy eater because it’s ingrained in my soul, and in my taste buds (I seriously don’t like the taste of junk food). But I do let my health obsession get the best of me at times.
The topics I have learned in this course have already taught me that I must not put too much pressure on my diet. For example…
Just because there are additives in my almond milk, doesn’t mean I should stop drinking it,
The hormones in meat are not toxic chemicals to be avoided at all costs,
And microwaving food actually retains nutrients, as opposed to the common belief that it releases them.
With every lesson, I honestly felt my breath get slower, my shoulders get lower and my mind loosen its death grip over the state of my health.
Best part: Food has never tasted better.
So I thought it fitting to share some of the healthy, but non-obsessive food decisions I’ve made lately:
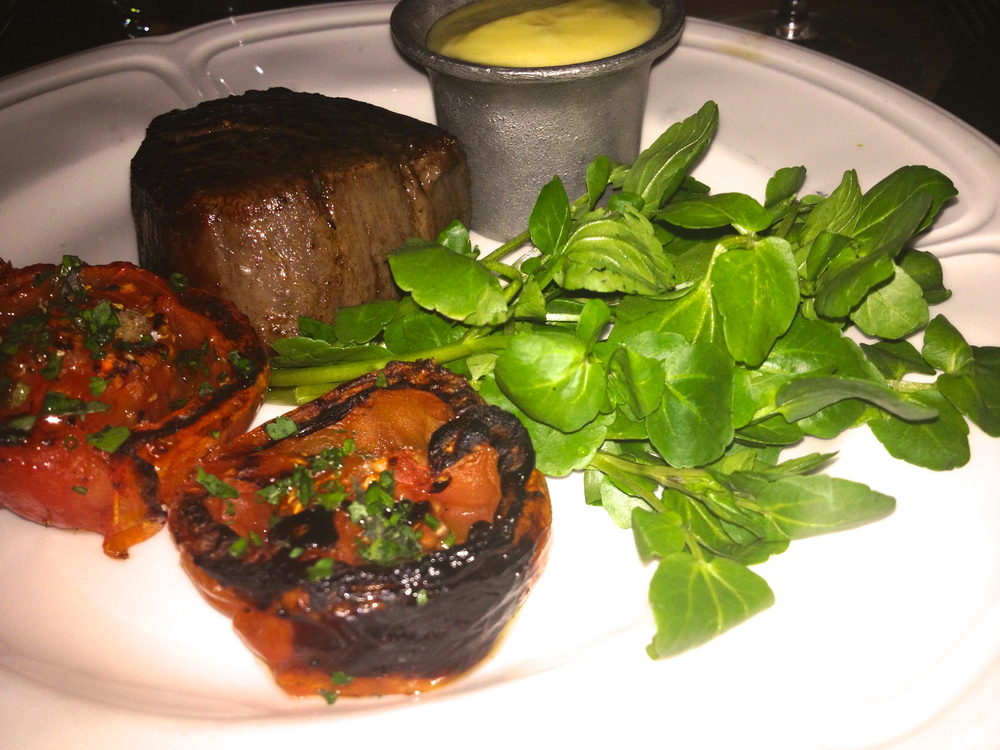
Instead of my usual salmon order, I splurged for the Duchess Filet Mignon at Bavettes in River North. The good thing about eating meat sparingly, is that when you do, it is powerfully good.
Instead of my straight black coffee with a tiny splash of skim milk, I went for the beautiful creamy latte at La Colombe in the West Loop. If you live in the area, I highly recommend this place. They take their coffee very seriously, but in a very friendly way. It actually reminded me a lot of Joe The Art of Coffee in New York.

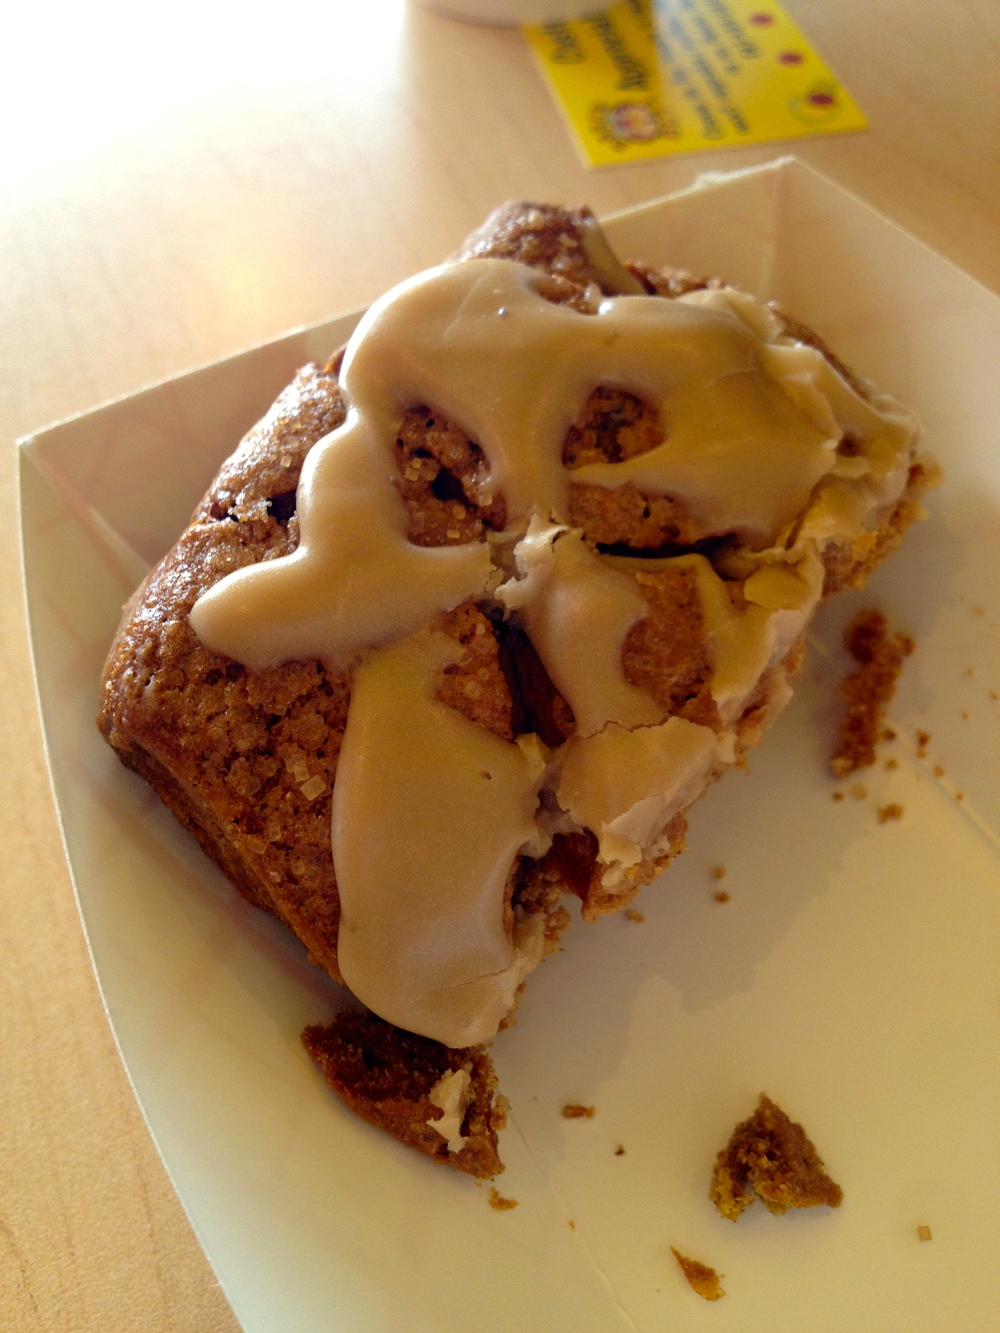
When Marta and I were feeling adventurous at lunchtime, we discovered the most adorable bake shop, Baker Boys in Northbrook, owned and run by two hard-working pastry-loving men (the Baker Boys). Marta said, Pumpkin Scone? I said YES.
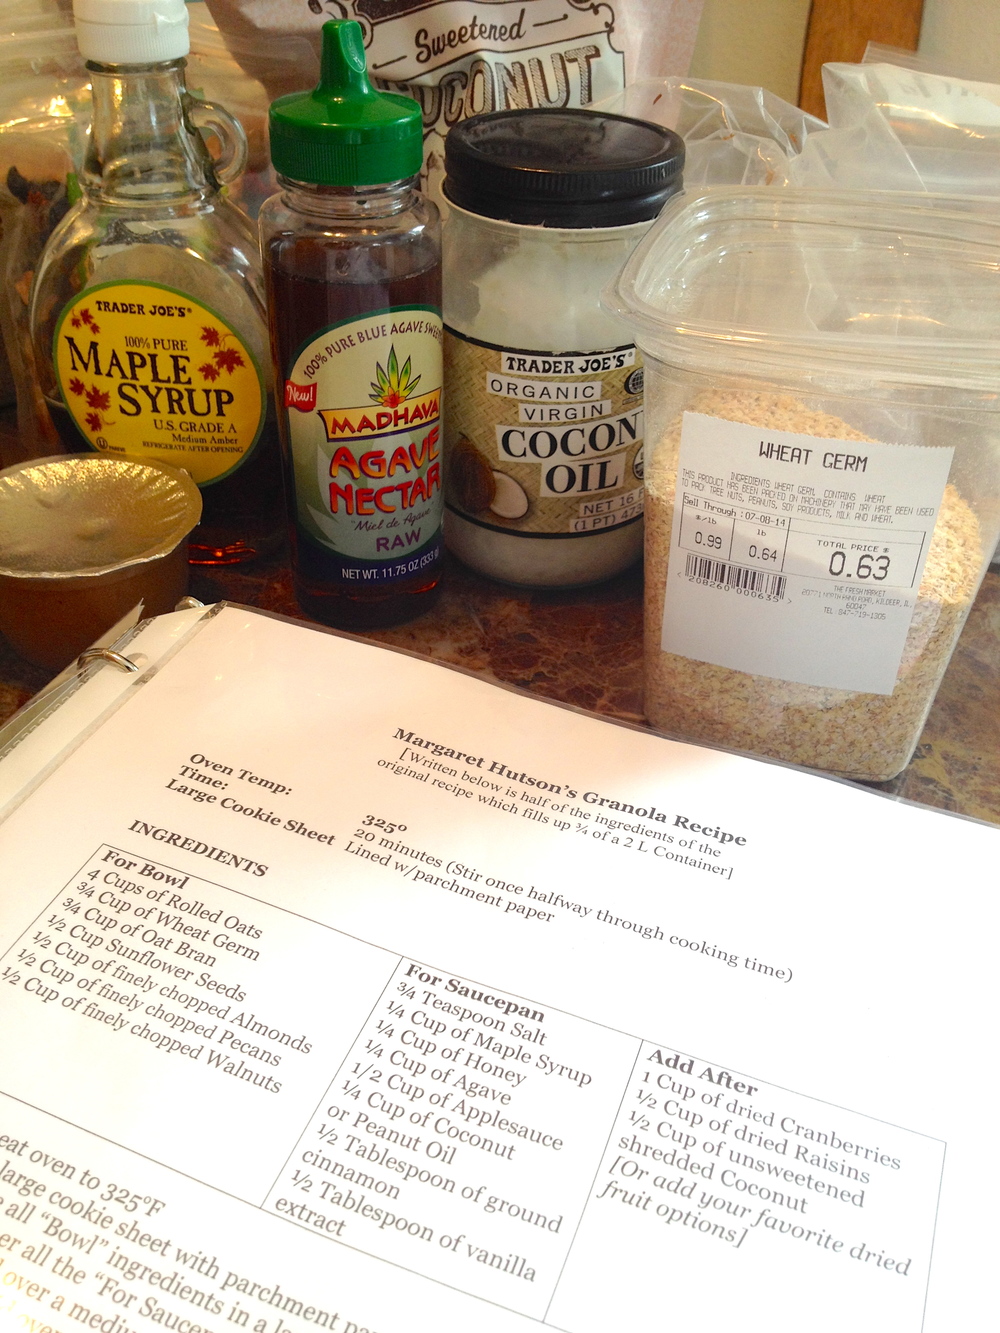
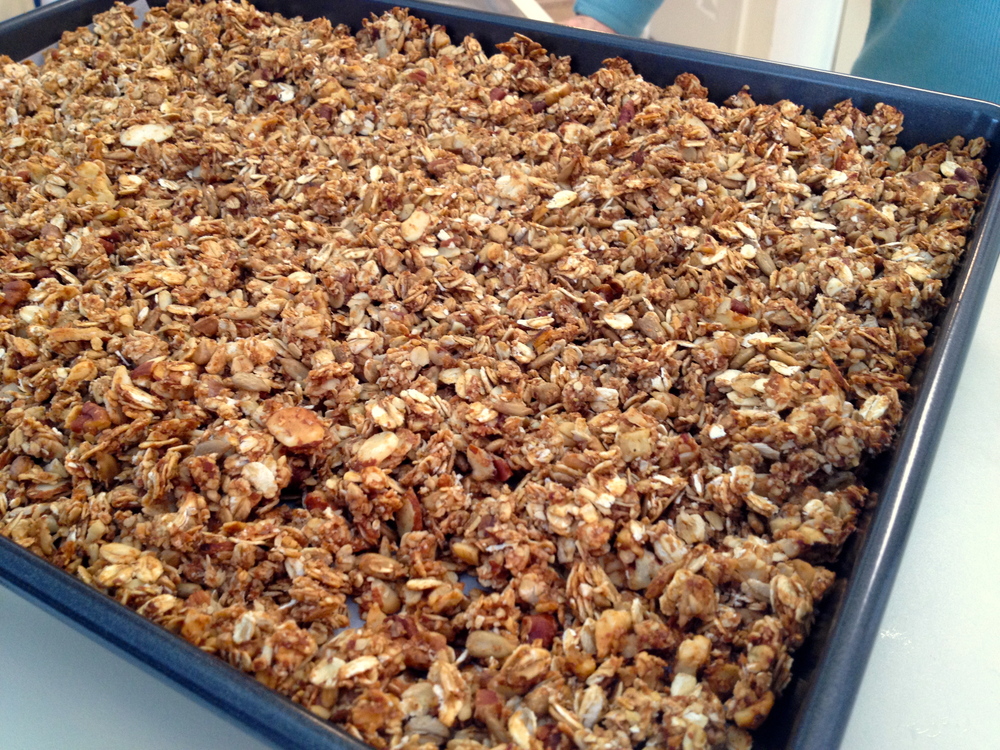
When my mom asked for my assistance in the kitchen to make homemade granola, I happily made huge batches, taking home a big Ziploc for myself. Even something as healthy as granola had always scared me because of its high sugar content and overabundance of fattening nuts. But my new mindset helped me throw that notion out the window. Besides, that’s the benefit of homemade. You know exactly what you’re putting into it. And at the end of the day, granola is not going to kill me.
BONUS: This one was so awesome that I had to share the recipe with you. The smell alone is worth making it. See below.
I can’t wait to share what I have learned with you all. Until then, how do you perceive healthy eating? Is it something that you keep in mind, or is it something you find yourself obsessing about? Please comment 🙂
Margaret’s Granola
(thank you for the recipe Margaret – we LOVE it!)
PREP TIME: 20 minutes
COOK TIME: 20 minutes
YIELDS: About 15 servings (i.e. take a snack bag-full every day for the next few weeks)
INGREDIENTS
Dry Ingredients For Bowl:
- 4 cups rolled oats
- 3/4 cup of wheat germ
- 3/4 cup of oat bran
- 1/2 cup of sunflower seeds
- 1/2 cup of finely chopped almonds
- 1/2 cup of finely chopped pecans
- 1/2 cup of finely chopped walnuts
- Fill in the blank and exchange these nuts for what you like – pistachios, cashews, whatever!
Wet Ingredients for Saucepan:
- 1/4 cup of maple syrup
- 1/4 cup of honey
- 1/4 cup of agave
- 1/2 cup of applesauce
- 1/4 cup of coconut oil
- 1/2 TBSP cinnamon
- 1/2 TBSP vanilla extract
Mix-Ins at the End:
- 1 cup of dried cranberries
- 1/2 cup of dried raisins
- 1/2 cup of unsweetened shredded coconut
- Fill in the blank here – add what you want/take out what you don’t!
DIRECTIONS:
- Preheat oven to 325 degrees F
- Line a large cookie sheet with parchment paper (we only used one here, but if you like your granola crispier, I highly recommend using two cookie sheets).
- Combine all dry ingredients in one large bowl
- Stir together all wet ingredients in a saucepan
- Bring saucepan to a boil over medium heat
- Pour the liquid over the dry ingredients and stir to coat
- Spread mixture evenly on baking sheet(s)
- Bake for 10 minutes, then take out and stir/turnover with spatula
- Bake for 10 more minutes
- Cool for 5 minutes
- Stir in Mix-Ins before eating or storing in a container