Search results for

turmeric

Healthy Mind

Increasing Milk Supply: The Point is Moo

October 28, 2018

Joey: If he doesn't like you, then this is all just a moo point.

Rachel: Huh. A moo point?

Joey: Yeah, it's like a cow's opinion, you know, it just doesn't matter. It's "moo".


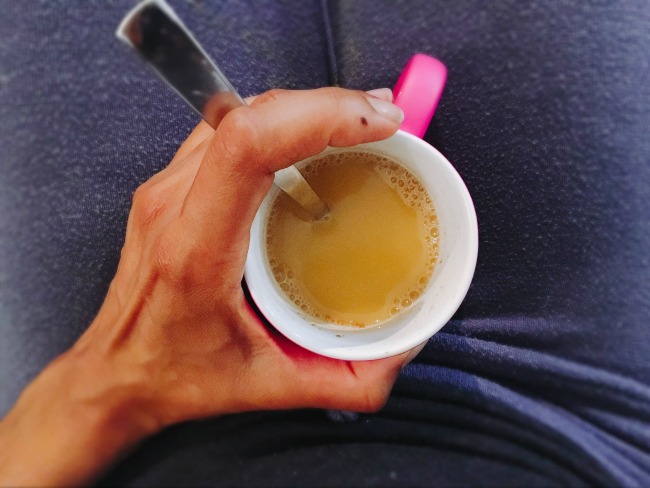
Breastfeeding is wonderful for the body, but terrible for the mind…if you struggle with milk supply. We, as moms, are willing to go through crazy lengths for our babies — especially when it comes to nourishing them with the precious (said in the voice of Gollum) breastmilk. But how far is too far? 

I thought I was one of the lucky ones. I’d heard about how hard it can be to breastfeed. Being the paranoid person that I am, I even consulted a lactation consultant before Charley was born just in case I had issues.

But the moment she latched on, I thought, “I did it. I’m a breastfeeding mama! From here on out, it’s smooth sailing.”

PSYCH.

That all changed when I went on a 3 day trip (without Charley) when she was 7 1/2 months. 

Even though I brought three pumps — my electric pump and two handheld pumps for when I was on the go. Even though I dutifully pumped every 3-4 hours at the expense of leaving the fun, and a good night’s sleep. And even though I went so far as to pump in the bathroom bar at the rooftop of the W, only to have a drunk girl walk in on me and a long line of other drunk girls staring me down, wondering why I was hogging the stall for so long…

My supply STILL plummeted.

I got back from my trip, SO excited to hold my girl in my arms again and nurse her to sleep. But to my dismay, the milk would not come. She nursed and nursed and nursed, and finally got very tired of waiting (read: cried and thrashed for 15 minutes), and gave up on me.

I was crushed.

But I was determined not to give up. I would crack the code and get it back. And I was willing to try ANYTHING.

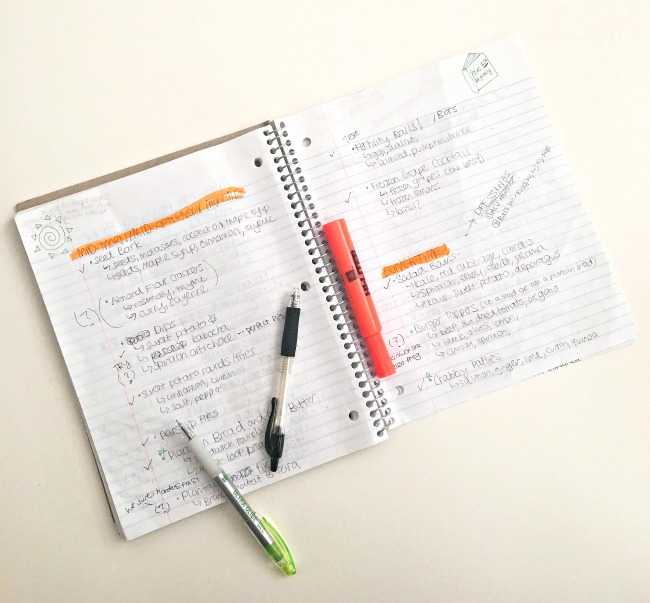
Thus began my dark journey down the “Low Milk Supply” black hole. Here are the 12 things I attempted to get it back up, and the one thing that really worked.

1. Consult a Lactation Consultant

Lactation Consultants are the holy grail of breastfeeding assistance. These women know their stuff and they're amazingly knowledgable…when it comes to early breastfeeding. But when I came to them with my issue, they were kind of stumped. So you've never had a problem before? Nope. And you pumped every 3 hours when you left? Yep. Then it should come back. Just pump more. 

Three different consultants and three variations on the same answer later, I thought I was a lost cause. Overall, not a great experience. It only made me want to take matters into my own hands. Next!

2. Take a nursing vacation

Of all the tips I was given, this one cracks me up the most. A nursing vacation means that you spend the day in bed with your baby, ideally shirtless (for skin-to-skin contact), cuddling and snuggling till your heart is — and your breasts are — full. Maybe this works with a younger, non-crawling baby. MAYBE. But I know few people in this day and age who have the patience (and time) to snuggle all day long. Nonetheless, I tried it. It was cute for about three minutes. And then Charley booked it to the end of the bed and I had to catch her mid-air. After about 12 more tries of this, I gave up. Overall, the whole experience reminded me of when I tried to meditate and only got more anxiety about the fact that I wasn’t relaxing.

3. Pump on one side while she feeds on the other

When you pump on one side, inevitably, milk will come out on the other. So I figured, why don't I just manually pump one boob, while she's nursing on the other, and the milk will come out faster. BRILLIANT…in theory. Yes, it is possible to help her get milk out this way. But when you're trying to pump with one hand, and hold your baby in the other, you realize you have no hands left to keep her from kicking and grabbing the pump. Overall, this was a very stressful experience. Fail.

4. Feed her a bottle, then follow with the breast

Part of the problem with continuing to put in the “demand” for the milk, is that my girl had worn out her patience with waiting for my let-down. After all, for three days, all she got was the bottle from her dad. When I would try to nurse her, she’d get restless after a minute or two when nothing came out — and eventually she’d get REALLY pissed and refuse to take the breast at all. One solution is to start with a bottle (with half of what she needs), and then switch to the breast when she’s less restless. This actually did work to an extent. Not only was she less stressed, but the pressure was also off me to “produce.” The more relaxed I was, the sooner my milk came. I call this a semi-win. It didn't solve the whole problem, and sometimes I think she would get frustrated and confused why there were so many "nipples" coming at her at once and just give up all together. But overall, a good tip to try.

5. Take Rescue Remedy

This is another way of saying RELAX. Too much stress can lead to problems with let-down, a dive in milk supply, and early weaning. Check, check, and check! I felt like I was stuck in this vicious cycle. The less milk I produced, the more I stressed, and the less milk I produced. Enter Rescue Remedy. A blend of flower essences concocted by a doctor to help you deal with stress. This product was a recommendation from a lactation consultant, and though it was on the pricier side, I figured – I can always use something to help me stress less, right? Meh. I'm a big believer in essential oils and herbs for better health, but maybe I needed something a little stronger in this situation. Plus, adding one more thing to my pre-feeding routine ironically stressed me out. Ha.

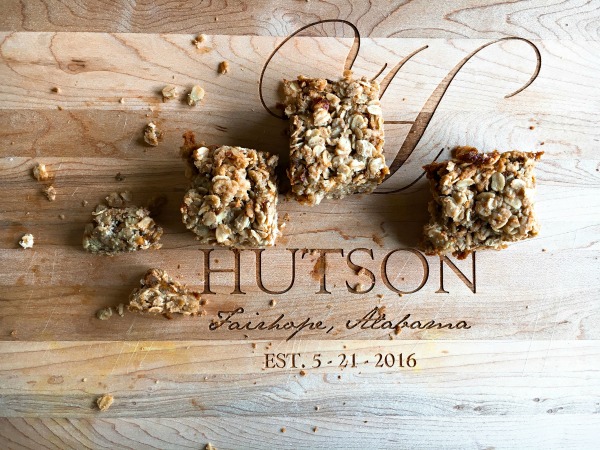
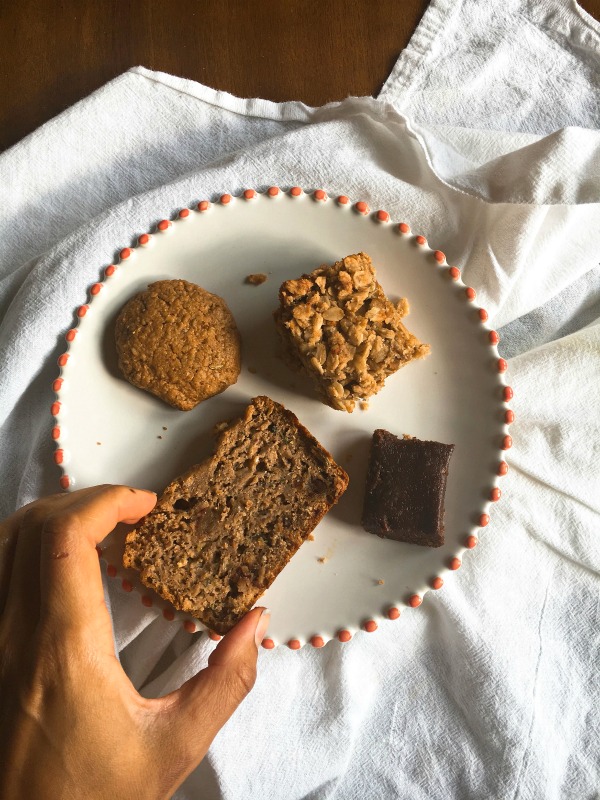
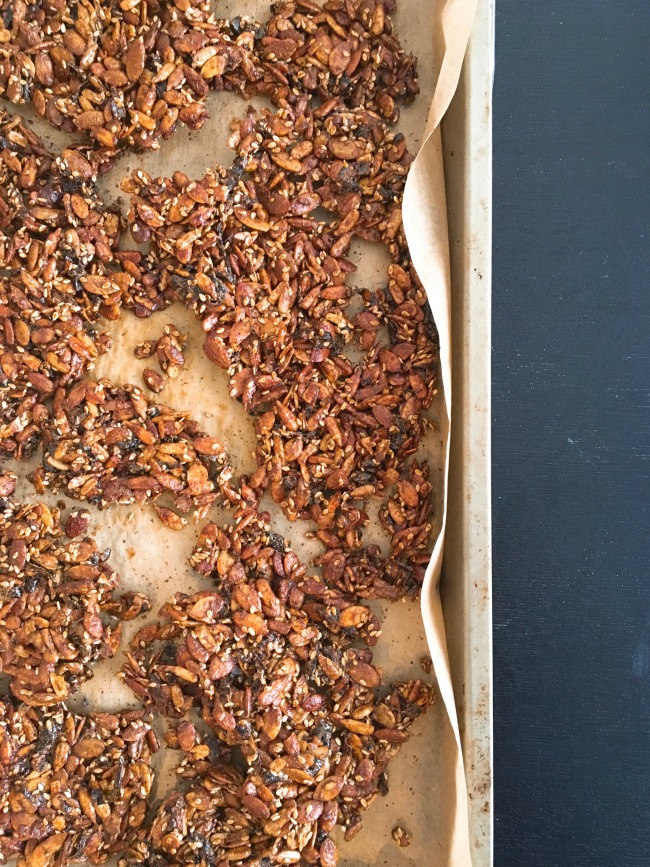
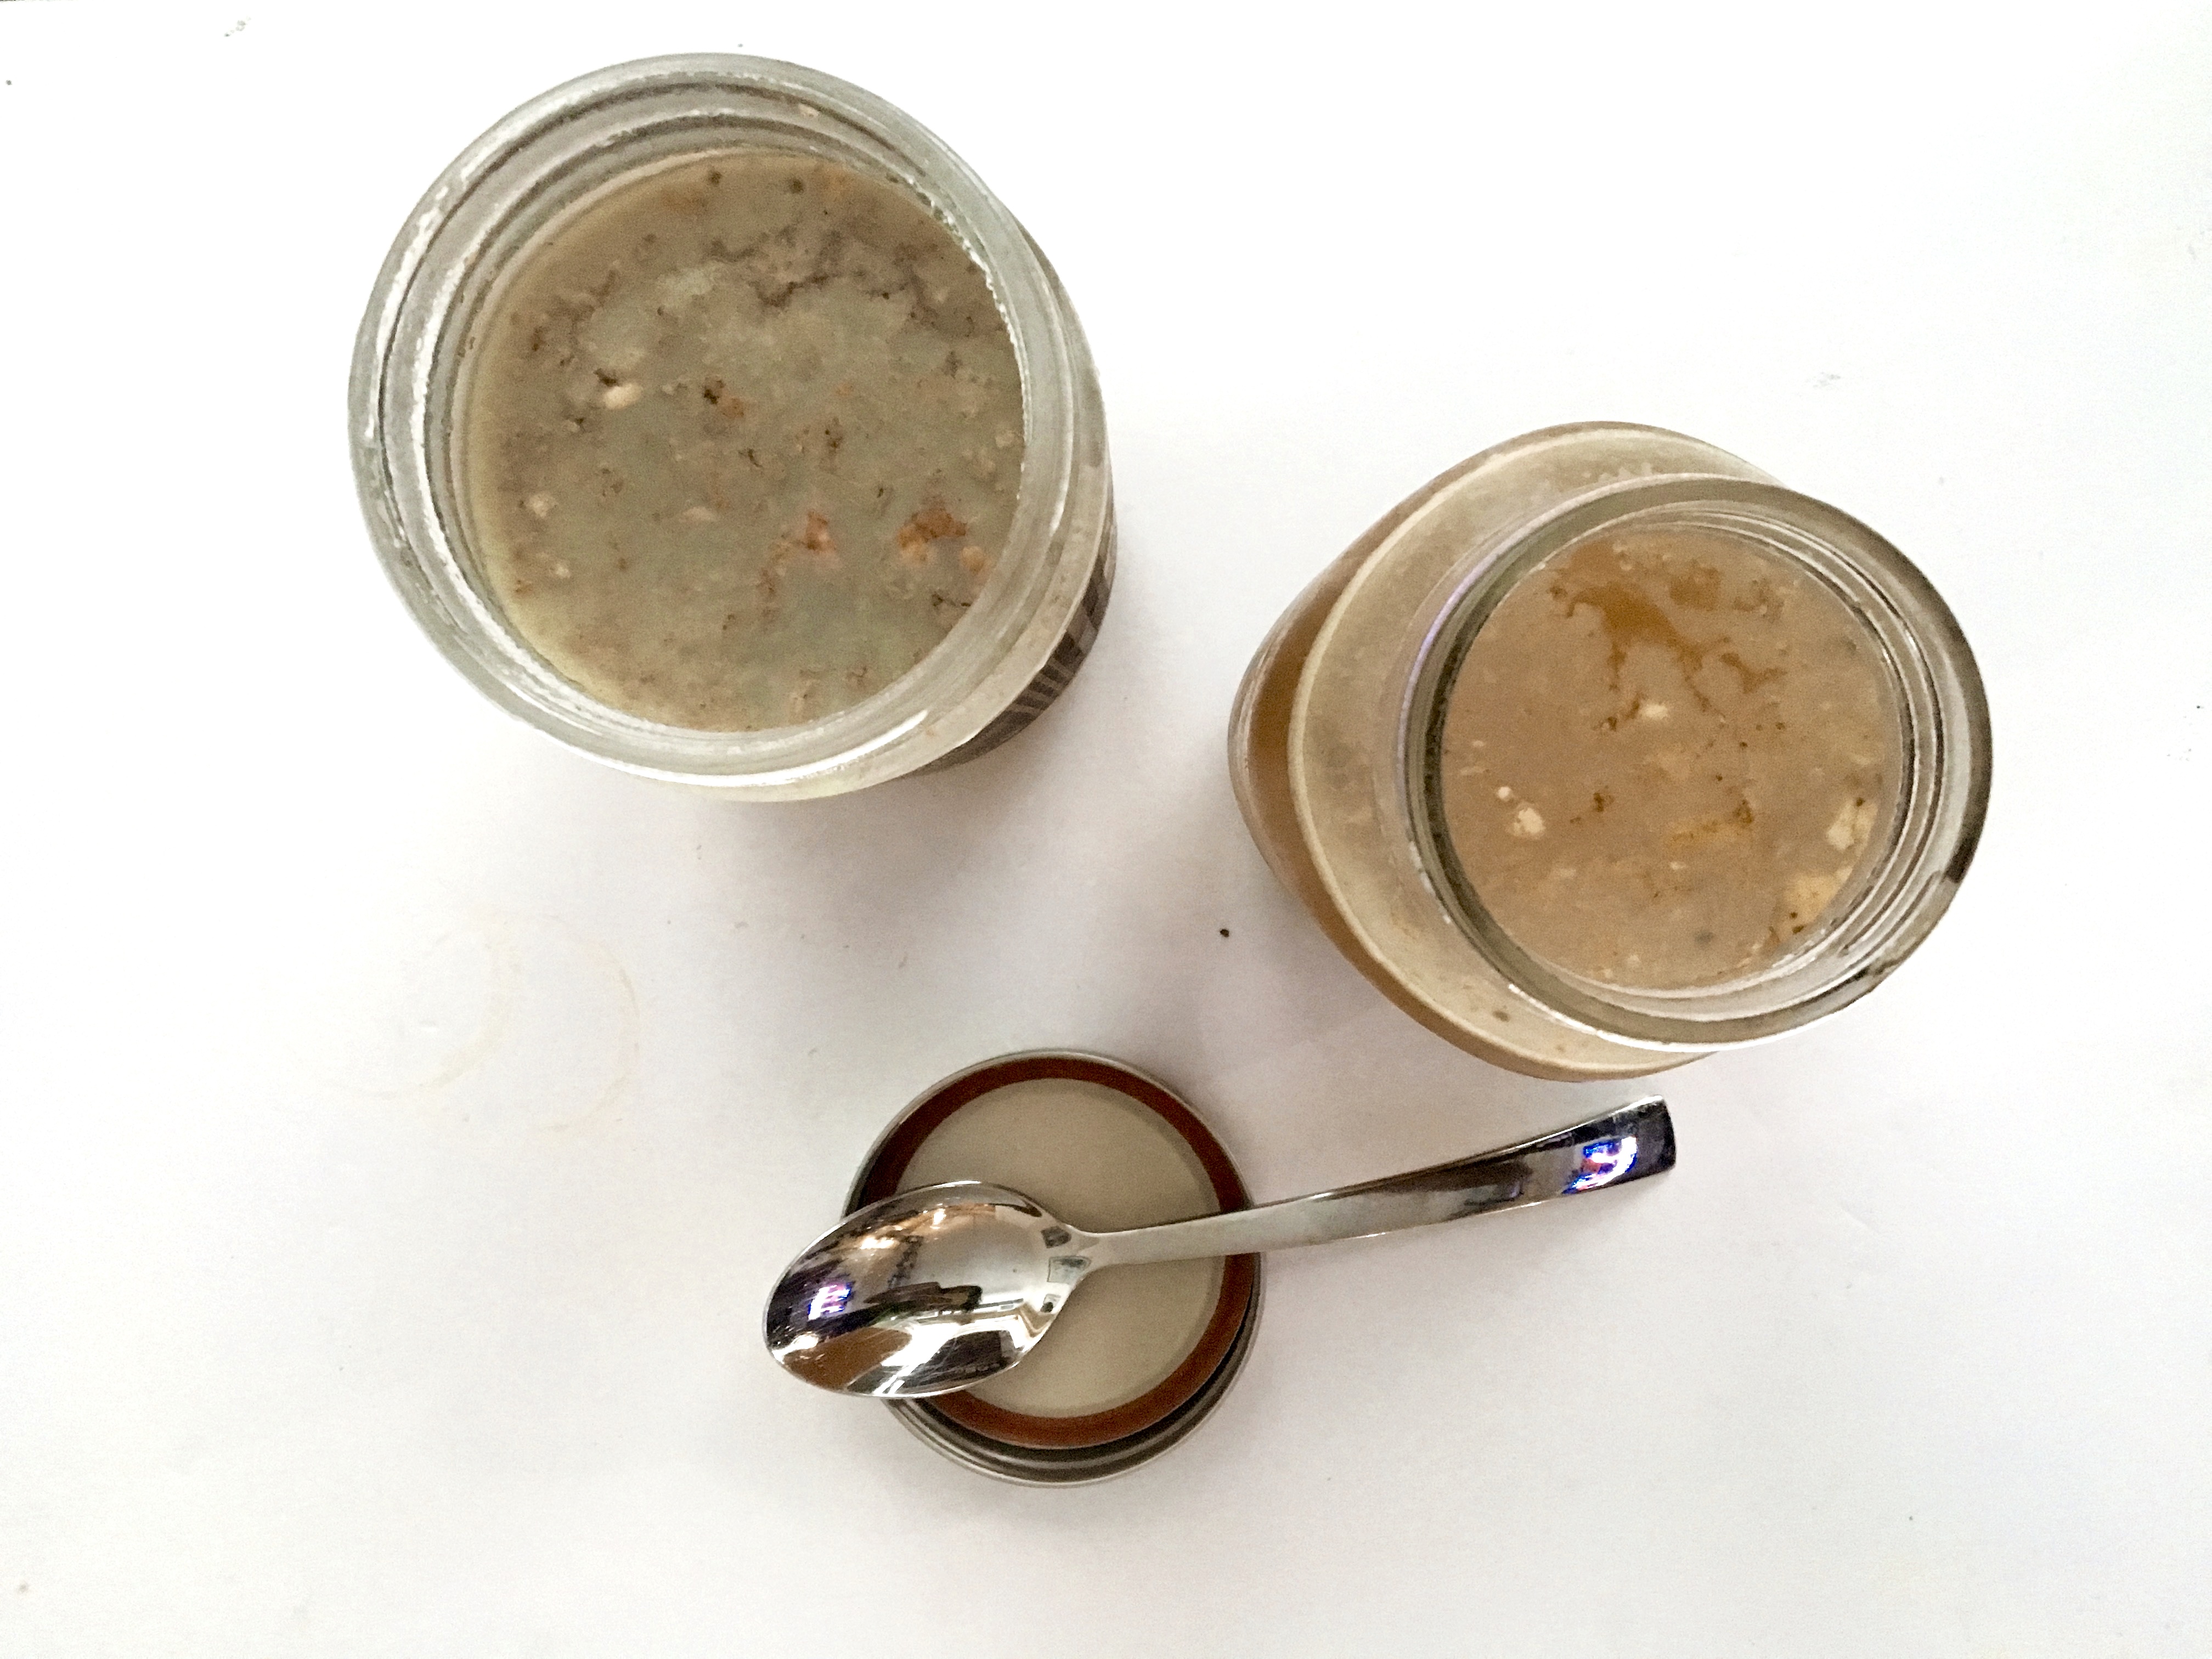
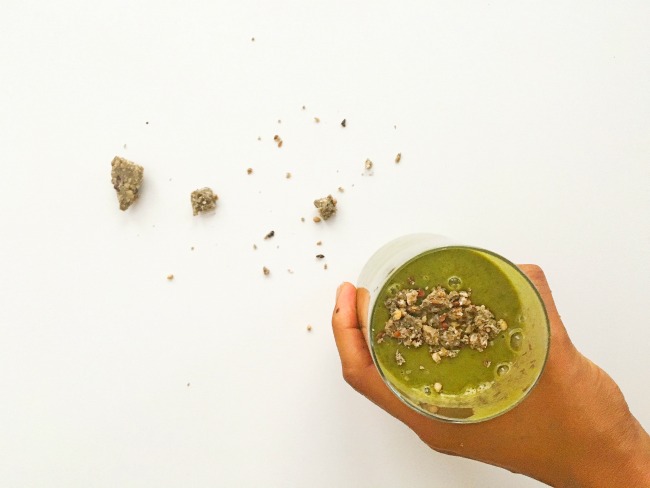
6. Eat oatmeal (and other galactagogues)

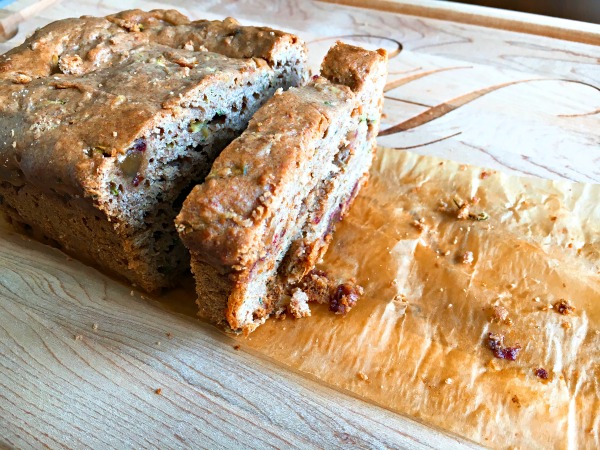
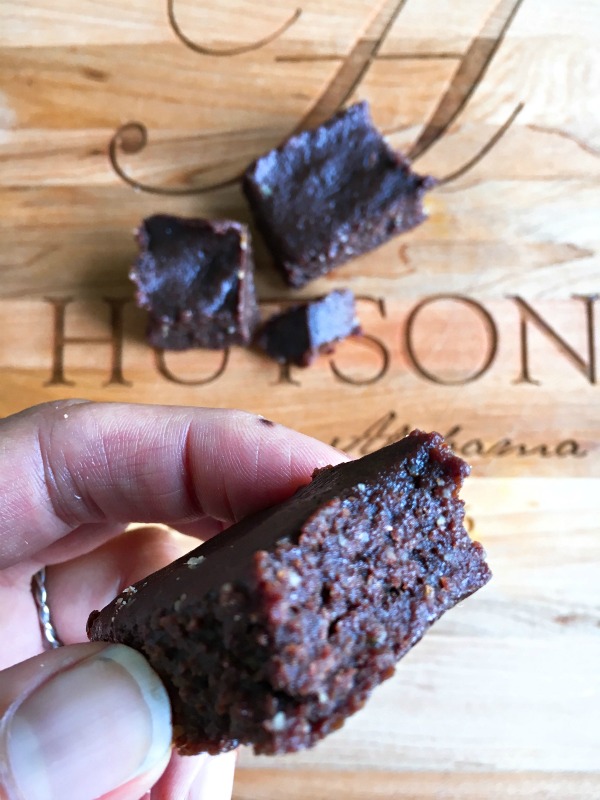
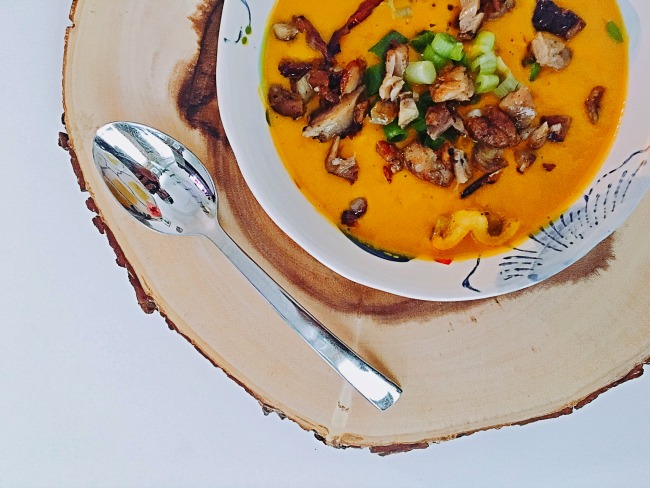
Oh, the oatmeal. I really put the “ish” in Paleo-ish during this oh-so-stressful time. Everybody and their mother will tell you that oatmeal will help with your milk supply. It’s what they call a galactagogue. A food that is meant to increase milk supply. So I ate it. I ate it with flaxseed (also a galactagogue). With brewer’s yeast (galactagoguge). With fennel (galactagoguge). With almonds (galactagogue). I ate it cold. I ate it baked into cookies. Every day. Sometimes two times a day.

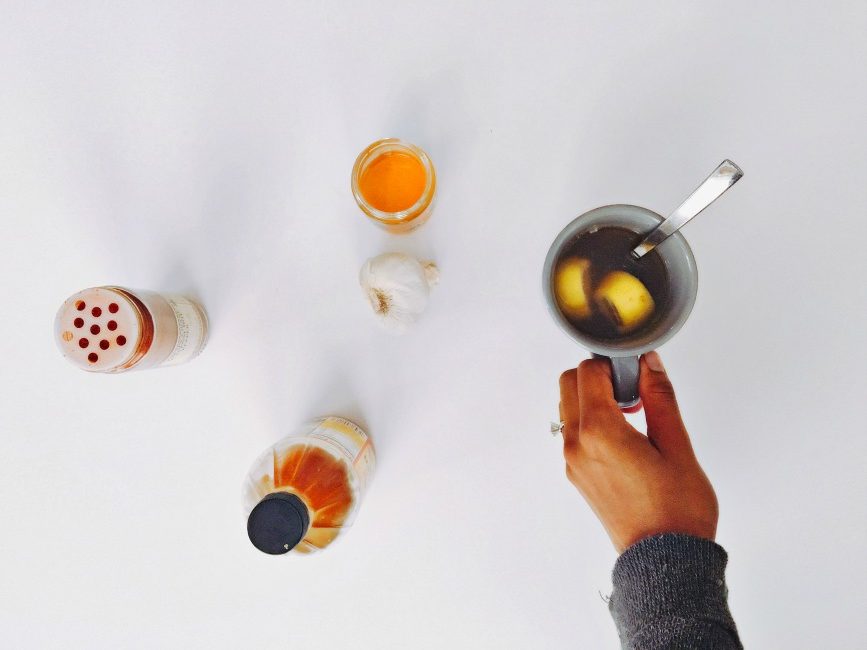
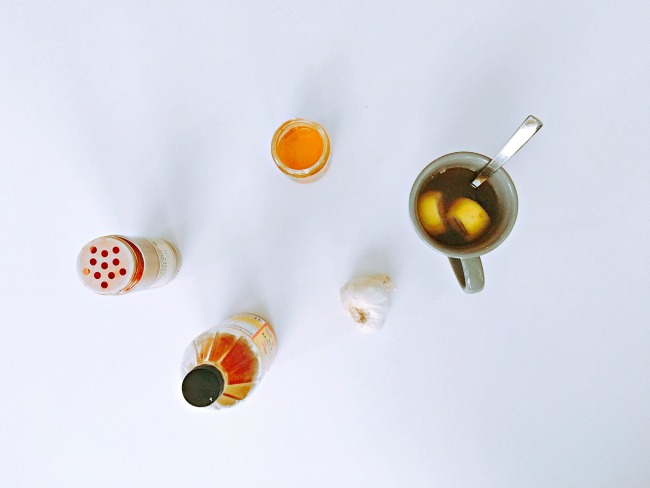
Other galactaoguges that I did not put in my oatmeal, but did eat frequently include: dark leafy greens, garlic, chickpeas, nuts and seeds, ginger, papaya, cumin seeds, anise seeds, and turmeric (source).

I never actually measured my output with and without oatmeal, so I can’t say for sure whether it did or did not work. But my guess is that it has more of a placebo effect than an actual effect. It calmed me to make my galactagogues concoction every morning. It made me feel like I had some sort of control over the situation.

7. Drink a Guinness

Ha! I know this should probably be in the galactagogues category, but it was such a rock bottom moment in my milk recession that I had to give it its own number. As you know, I generally follow a Paleo diet. I let things slide here and there, but typically beer is not one of those things. But when your doctor tells you to drink a Guinness and relax, you figure it’s a damn good excuse to drink one. The barley in beer is a polysaccharide — a carbohydrate that stimulates prolactin (that key hormone that stimulates milk production) (source). Not to mention, there’s yeast in beer, which is — surprise! — a galactagogue.  

As soon as I figured this out, I threw Charley in the Ergobaby and marched over to Mariano’s to pick up a case of beer. I called my husband on the way there and told him that we’re drinking Guinness tonight (he was very supportive).

That night, I sat there with my pump sucking the little milk I had left out of me, with a Guinness in one hand and a bowl of oatmeal in the other. Honestly, the whole thing felt weird to me. Alcohol and breastfeeding are not supposed to go hand in hand. And it wasn’t nearly as satisfying as I thought it would be. It seems as though this girl agrees with me.
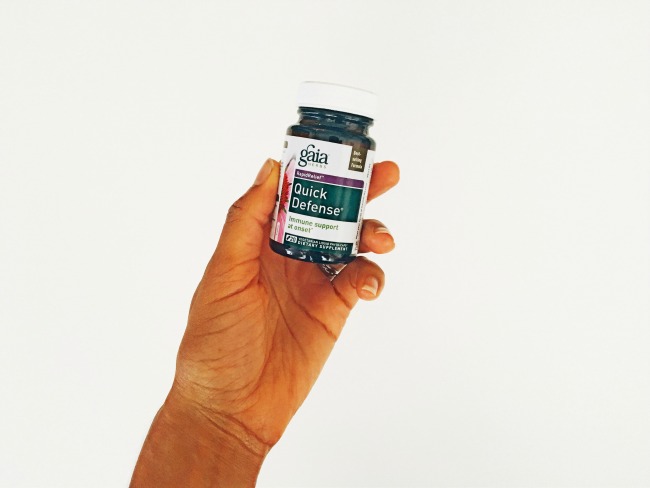
8. Take Supplements

Just like foods, certain supplements are reported to have a positive effect on your milk supply. The most popular one is fenugreek. Head to Target or any major grocery store and you’ll probably find this or this on the shelves. I bought both of them. And then a lactation consultant told me to watch out for fenugreek because it could also have the opposite effect on milk supply. Are you serious?

I immediately stopped taking them, and looked for alternative options. That's when a friend told me about this store in Chicago that specializes in breastfeeding moms (Ya. A WHOLE store). The nicest woman showed me to the holy grail of supplements called Liquid Gold that so many of her customers “Swear by!” She was the first piece of positive news I’d heard yet. I hung on to her every word when she told of the countless other mamas coming back and thanking her for their large boost in milk supply.

Oh boy! I thought. This is it. This is what’s going to get me back on track. I started taking the recommended two tablets, three times a day, went to their website (hilarious, great marketing), and ordered the other two supplements that they sell — each one a different combination of herbs, intended on working better for different people.

I waited seven days to see a result. And still, no dice. I switched it up to the Pump Princess, hoping this particular concoction would have a better effect on me. Still nothing. Not to mention the fact that I tested my milk while taking these and was appalled by the herby-dirty taste it took on from taking these supplements. I pushed them to the back of my medicine cabinet and hoped they would serve me on the next go-round.

9. Avoid Certain Foods

Just as galactagoues have a reputation for increasing milk supply, other foods have a reputation to decrease it. On that sh*t list is:

  • Parsley
  • Peppermint
  • Spearmint (watch out for Altoids!)
  • Sage
  • Oregano
  • Cabbage leaves (works wonders for engorgement, but obviously avoid if your supply is low)
  • Beer (contradictory to #5, I know).

As somebody who uses herbs liberally in her everyday cooking, I got real simple and stuck to salt and pepper. In addition, I said goodbye to my favorite hummus (sage being one of its ingredients), avoided peppermint tea, and donated the leftover Guinness to my husband. Did this make a difference? Probably not. It just added to my stress level, feeling like I had to constantly watch what I ate.

10. Go to an acupuncturist

I’m a big believer in acupuncture. It has helped me through serious back pain, anxiety, and possibly even improved my fertility. As the practice is meant to improve blood flow, it made sense to me that it could help move other fluid (milk) through my body. Not to mention, acupuncture can also help with anxiety — which I believe was having a big impact on my supply as well.

I walked into my acupuncturist office like a bat out of hell. I was talking a million miles a minute, but I wasn’t saying much. She, of course, stayed completely calm throughout my explanation. And before I knew it, I was lying on her table with pins in my ears, my back, and my shoulders. Within minutes, I entered a tranquil state. I was so relaxed that I convinced myself she must’ve slipped drugs into my waiting room tea. 

I returned back home, dazed and confused, with Chinese medicine and an essential oil tincture in my purse. I was instructed to break the herbal capsules into hot water and drink it as a tea three times a day. The oil, I was to rub on my breasts before breastfeeding.

The results? The acupuncture did indeed help to relax me. And if I could’ve gone regularly, I believe could’ve helped in the long run. But unfortunately, insurance still has not gotten around to covering alternative treatments such as Chinese medicine, so weekly visits were out of the question. I did not notice an increase in my milk supply with the herbs, so my acupuncturist upped the ante and gave me something a little more potent. I took it dutifully three times a day.

Fast forward three weeks after me obsessing over my Chinese tea (I had anxiety if I didn’t have it because I truly believed my milk supply would disappear if I stopped drinking it), and I realized that the attachment was getting a little out of hand. When I ran out the third time, I didn’t make the 15-minute trek to my acupuncturist to get a refill. I was slowly letting go…

11. Power Pump

This was the mother of all tips. But it was also a Mother something-else. My good friend who had struggled with breastfeeding from day one had tried every trick in the book. When I came to her desperate for help, she sent me this link, and warned me:  it works, but it is a soul sucking activity. She was right.

Power pumping is meant to mimic cluster feeding. In other words, pump, stop, pump again, stop, pump again, etc. You do this for an hour, following the schedule 20 minutes on, 10 minutes off, 10 minutes on, 10 minutes off, 10 minutes on.

As much as I hate pumping, I was willing to try anything at this point. At first, I went a little crazy, and aimed for two power pumping sessions a day. After about 4 days, I saw results. Real results. I’m talking a three ounce difference. I was addicted. So I kept at it. After a week I cut the morning power pump out, but continued doing the evening one after she went to bed. I would join my husband on the couch and we’d watch TV with the “eh eh eh eh” of the Medela in the background…for FIVE MONTHS straight.

Long story short. It works. But it’s an un-sustainable soul-sucking practice that no one should do as long as I did.

12. Let go

When my supply dropped, I did not take it well (obviously). I found myself forgetting to breathe on most days. I woke up every morning hoping for full, leaky boobs, and would cry when I saw small, deflated ones. And after a particularly rough night when Charley refused to take milk from me, my husband found me on the kitchen floor curled up into a ball, rocking back and forth, bawling my eyes out.

I perceived my milk supply as part of my identity as a mother — it was how Charley and I bonded. No matter how moody she was, nursing was always a calm, happy time. Before she was eating solids, I was literally her only source of food. And she ate every two hours so I had serious anxiety about ever leaving her for longer than that time.

I did not know how to be a mother to Charley without breastfeeding. 

Sometimes, though, you need to hit rock bottom to get back up again. After weeks and weeks of wallowing, self-pity, and self-doubt, I stopped. Because I realized that I was making this all about me, and not about Charley. I had to be strong for her. So that's what I did. Every time the milk wouldn't come, I would just repeat over and over "Be strong for Charley." 

Today, I am happy to report I am pump-free, supplement-free, oatmeal-free, and carefree (when it comes to breastfeeding, that is). Charley now takes a formula I am very happy to give her in place of my milk (It's base is Mt. Capra goat milk, but essentially is a recipe that I make myself using these ingredients).

Here's the kicker. We're still breastfeeding five months later. Not very often. Just enough to put her to bed at night and sometimes to nap during the day. I can't believe I still have milk without doing any of the afformentioned things. If this experience has taught me anything, it's listen to your body. It knows what it's supposed to do.

I share this becuase I hope somebody out there reads this, realizes how CRAZY one could go trying to "get your supply back," and lets go a whole lot sooner than I did. Maybe you lose your supply, maybe you don't. Whatever happens, it's going to be okay.

Much Love,

HealthyStaceySignature

Date Recipes for an Easy(er) Labor

September 12, 2017

DateRecipesforEasierLabor_HealthyStacey_WiderShot

If you’ll remember quite a few posts back, I quit my full-time job to pursue my dream of becoming a health & wellness entrepreneur. Today, my work no longer fits into a neat little box. One that I clock in, and clock out of, and that has one title. Instead, it’s messy, volatile, and all over the place. And I love it.

At the moment, I work for five different “jobs,” or rather, clients. One such client is called the Institute for Functional Medicine. It is my responsibility to read dozens of clinical studies on a particular topic, and summarize them into one succinct article.

I’ll admit, it’s one of the toughest jobs I’ve ever had. It requires quite a lot of brain power, but I wouldn’t trade it for the world. Why? Because it makes me smarter. It forces me to read scientific studies, understand the language, and make decisions based on concrete information rather than internet regurgitation.

Recently, I came across a study that was of particular interest to me because of my current condition (pregnant).

HealthyStaceyPregnant_36weeks

It was called “The effect of late pregnancy consumption of date fruit on labour and delivery.”

Researchers at Jordan University of Science and Technology followed 114 pregnant women over the course of a year. During that time, they gave 69 women six dates per day for four weeks prior to their estimated delivery date. The 45 women in the control group consumed none. The results were nothing short of awesome, in my opinion. Here’s the gist:

  • The “date women” had significantly higher cervical dilation upon their labor day compared with the “non-date women.” 3.52 cm vs. 2.02 cm.
  • 96% of the “date women” experienced spontaneous labor, compared to 79% of “non-date women.”
  • 28% of “date women” needed hormones to progress labor (prostin/oxytocin), compared to 47% in “non-date women.”
  • The “date women” were in the first stage of labor for a mean of 510 minutes, vs. 906 minutes for the “non-date women.”

In conclusion, eating dates in the last 4 weeks before labor significantly reduced the need for induction or intervention in labor and produced a more favorable delivery outcome. 

Hell yes.

As someone who is planning on having a natural labor, I need all the help I can get for a “favorable” outcome. So I followed suit. At 36 weeks, I started diligently eating my 6 dates a day. And I must admit, it’s not as easy as it sounds. Six dates a day is a lot! Especially for a girl who normally watches her sugar intake. But guess what? I’m a chef. Why just eat dates when you can eat dates baked in, topped on, and rolled into other delicious ingredients? I called for reinforcements.

I just happen to have a friend who is a fellow personal chef and also in her third trimester of her first pregnancy – SMALL WORLD, right? So wonderful Whitney of a Shared Plate and I made a Date “Date.” (See what we did there?).

It involved a lot of taste testing, a little swearing when I accidentally dumped a tablespoon of nutmeg into the pumpkin batter (that stuff is STRONG), and four swollen ankles by the end of the day. But we were both very happy with the results. And hopefully our babies will agree come labor day.

Before I hand over the goods, I just want to say that I’m not naïve enough to think that dates alone are going to make labor easy or painless. The study I cited here tested a smaller sample size, and was also conducted in Jordan — a large exporter of the date fruit. I have found plenty of anecdotal evidence from other women who've found labor improvement through date eating, but there really is no guarantee, right? Sometimes, though, I think we all need something to feel like we have a bit of control over a very out-of-control condition. Heaven knows, this is the last time for a long time that we can feel we have control over anything.

Though pregnancy has been a wonderful experience for me, these last few weeks have been a true test of patience and letting go — knowing that I must have faith that it will all work out. I plan to write back again once Charley girl is born with knowledge and wisdom. But right now, I have absolutely no idea what I’m doing. So with that, I raise a date to you. Here's to being totally clueless, scared out of our minds, but also more excited than we ever have been to experience love like we never knew we could. Cheers!

Much Love,

HealthyStaceySignature


Labor Day Date Recipes

Per the study cited above, you should start your date obsession at 36 weeks of pregnancy, or rather 4 weeks before expected delivery date. Six dates a day? With these recipes? No problem.

Zucchini Date Bread

Why use raisins when you can use dates? Why use sugar when you can use dates? Any possible ingredient that could be subsituted with dates, we did. The result was a soft, hearty zucchini bread with a subtle sweetness. If you're feeling really indulgent, slather it with almond butter. Or heck. Just butter. Remember, fat is good for you and the baby.

GlutenFreeDateZucchiniBread_HealthyStacey

Recipe courtesy of Katie at the Healthy Seasonal Recipes blog, with tweaks from Whitney and Stacey.

Ingredients

  • ¾ cup boiling water
  • 1 cup pitted and quartered Medjool dates
  • 2 cups gluten-free flour
  • 1 cup sprouted spelt flour
  • 1 tablespoon pumpkin pie spice or cinnamon
  • 2 teaspoons baking powder
  • ½ teaspoon baking soda
  • ½ teaspoon salt
  • 3 large pasture-raised eggs
  • ½ cup coconut oil
  • 3 tablespoons honey
  • 2 teaspoons vanilla extract
  • 1 pound zucchini, shredded (about 3 ½ cups)
  • ¾ cup rolled oats
  • Additional cup dates, chopped

Directions

  1. Preheat oven to 350 degrees F. Coat 2 1.5-quart loaf pans with coconut oil.
  2. Pour boiling water over the dates and let sit until softened, about 15 minutes.
  3. While you’re waiting, stir together gluten-free flour, spelt flour, spices, baking powder, baking soda and salt in a medium bowl.
  4. Transfer dates and their soaking liquid to a food processor and process until smooth.
  5. Add eggs, oil, honey and vanilla and process until smooth.
  6. Pour date mixture into a large bowl. Stir in zucchini. Add the flour mixture and stir until just combined. Add the oats and extra chopped dates and stir until just combined. Divide the batter between the two prepared pans.
  7. Bake until golden brown, puffed and a toothpick inserted in the center comes out with moist crumbs attached, 55 minutes to 1 hour.
  8. Allow loaves to cool in their pans at least 15 minutes before turning out onto a wire rack to cool.


Pumpkin Crisp Date Bars | Gluten-Free, Vegan

I couldn't possibly make baked goods in September without satisfying my pumpkin obsession. And oh boy, did this do it. The filling is made by blending dates and pumpkin puree together, along with all the necessary fall spices. If you wanted to make this paleo, then I would recommend using a combination of ground nuts and shredded coconut to replace the oats. OR, you could just make the filling and eat it by the spoonful. No shame in that, my preggo friends.

PaleoPumpkinDateBars_Overhead_HealthyStacey

Recipe courtesy of Sarah McMinn from My Darling Vegan

Ingredients

(Pumpkin Date Filling)

  • 1 cup packed medjool dates, pitted
  • 1 cup pumpkin puree
  • ¼ cup maple syrup
  • 1 teaspoon cinnamon
  • ¼ teaspoon nutmeg
  • ¼ teaspoon salt
  • ⅛ teaspoon ground cloves
  • zest of 1 large orange, about 2 teaspoons

(Oat Crumble)

  • 2½ cups gluten-free rolled oats
  • 1 cup almond meal
  • ½ teaspoon cinnamon
  • ¼ teaspoon baking soda
  • ¼ teaspoon salt
  • ½ cup maple syrup
  • ½ cup coconut oil

Directions

  1. Soak the pitted dates for 30 minutes.
  2. Preheat the oven to 375 degrees F. Coat an 8×8 baking sheet with coconut oil and set aside.
  3. For the oat crumble combine oats, almond meal, cinnamon, baking soda, and salt. Stir together. In a smaller bowl whisk combine coconut oil and maple syrup. Add the coconut oil/syrup mixture to the oats and stir to combine.
  4. Once your dates are done soaking, drain and place in a food processor along with the remaining pumpkin filling ingredients. Blend until smooth. Set aside.
  5. Pour half of the oat crumble on the bottom of the prepared baking sheet and press down. top with the pumpkin filling, smoothing even with a spatula. Finish by sprinkling the remaining oat crumble evenly over the top. Press down lightly.
  6. Bake for 30-35 minutes until crumb is golden brown. Remove from oven and let cool completely before slicing into 16 even pieces.


Raw Chocolate Date Brownies | Paleo, Gluten-Free, Vegan, Raw

Of all the date recipes made, this one might take the cake. I've never experienced something so decadently brownie-like, without actually being a brownie. It blows my mind that these are essentially made up of just 3 ingredients: dates, walnuts, and cacao. Bonus points for giving me the small kick of caffiene (from the cacao) I need every day without resorting to coffee. Whitney had the fantastic idea that on the next go-round of these (and there WILL BE another go-round), we should add hazelnuts to the mix. Done and done.

PaleoRawBrownieDateBars_HandShot_HealthyStacey

Recipe courtesy of Katie from Chocolate Covered Katie, with tweaks from Whitney and Stacey

Ingredients

  • 2½ cups loosely packed pitted dates
  • 1 1/2 cups walnuts
  • 6 tbsp cacao or cocoa powder
  • 1 1/2 tsp pure vanilla extract
  • 2 tsp water
  • 1/4 + 1/8 tsp salt

Directions

  1. Combine the dates, walnuts, 6 tbsp cocoa, 1 1/2 tsp vanilla, water, and salt in a food processor. Process until completely smooth, scraping down as needed – It may seem dry at first, but don’t add any extra water. 
  2. Lightly grease an 8-inch square baking pan, or line the pan with parchment or wax paper.
  3. Transfer dough to pan and press very firmly until dough is evenly distributed in the pan.
  4. Refrigerate brownies for at least 2 hours, to set. Leftovers can stay covered at room temperature for a day, or up to 2 weeks in the fridge, or 1-2 months in the freezer.


Kitchen Sink Date Energy Balls & Bars | Paleo, Gluten-Free, Vegan, Raw

I personally love recipes that have very lax guidelines. So I created this gem for you so you can easily make your own date ball or bar. Think of it as a "choose your own adventure" recipe. No matter what nuts or seeds you choose, you'll get the added benefit of combining a protein (nuts/seeds) and a fat (coconut oil) with your dates. This will keep your blood sugar from spiking as you gobble them down.

PaleoDateBarsandBalls_SideShot

Original recipe from Healthy Stacey, intended to be customized to your tastes (and/or lack of having the exact ingredients on hand becasue…life)

Ingredients

  • 1 cup of nuts (i.e. almonds, walnuts, brazil nuts, macadamia nuts, pistachios)
  • 1 cup of seeds (i.e. pumpkin seeds, sunflower seeds, etc)
  • 1 cup of shredded unsweetened coconut
  • 2 cups of Medjool dates, pitted
  • 2 tablespoons coconut oil
  • ½ teaspoon sea salt
  • 1 teaspoon of your favorite spices mixed together (e.g. cinnamon, turmeric, cayenne, etc)
  • Optional: superfood toppings to roll the balls in such as cacao nibs, goji berries, or more shredded coconut

Directions

  1. Process the nuts, seeds and coconut in the food processor
  2. Add in the dates, coconut oil, salt and seasonings, then pulverize again
  3. Roll mixture into balls or flatten into a pan
  4. Freeze for an hour
  5. Cut into squares if flattened into a pan
  6. Eat one, and put the rest in the fridge for daily snacks until your labor day!


Healthy Body

Healthy Stacey is having a baby + Spicy & Sweet Brittle Recipe

May 4, 2017

A lot has happened since my last post in December (embarrassing, I know). I’ve been writing up a storm for a few publications including The List, Mashed, and more, I’m really coming into my own as a personal chef, and oh yeah, I’M HAVING A BABY!

HealthyStaceyHavingaBaby

Yup. It’s official. All my efforts in fertility food have paid off. Well, that mixed with a few months of frustration, a few weeks of letting go and having fun (read: more wine, less paranoia), and finally, a big old positive on the pee stick. Baby Hutson is arriving in September and my husband and I could not be more excited.

HealthyStaceyPreggo2

In the meantime, however, months have gone by of me learning tons of new recipes, techniques, and information that I’ve been dying to share with you. Just haven’t made the time to do it. 

Because I couldn’t settle on one topic to talk about, I thought I’d give you a sampling of my new-found knowledge (i.e. a brain dump) so that we can get this train moving again. You ready? Here goes.

The Book I’m Reading:

DeepNutritionBookCateShanahan

Deep Nutrition: Why your genes need traditional food, 2nd Edition. I read the first years ago and it opened my mind up to the world of Epigenetics (meaning, what you eat and how you live can alter your DNA — and your future children’s DNA — for the better). Dr. Shanahan has now updated the book with more information on vegetable oils, brain health, body symmetry, and diet, and I cannot get enough. This book is really hard to summarize in a nice, neat paragraph. So maybe it’s better served having its own post. But if I can convince you to do one thing differently this month to better your health, it would be to read this book. No, I’m not getting paid to say that. I just really want more people to know more about it because it’s THAT good.

The Foods I’m Eating:

CadoIceCreamPaleo
At the moment, I love all things cold, crunchy, and/or sweet. That includes (but is not limited to): Cado ice cream (yes, it’s avocado ice cream), frozen grapes, jicama, my homemade spicy brittle crunch (recipe below), and plantain bread with almond butter and cinnamon. I’ve also been really diligent about drinking bone broth as much as I can for all of the benefits it brings to me and Baby H. I’ve increased my carb intake, not only because it’s important for hormone balance, but because my body is begging for it. I’ve done that in the form of sweet potatoes, plantain bread and chips, sprouted quinoa, and the occasional piece of sourdough bread with a heaping spoonful of almond butter. Besides that, it’s really just me eating more of what I already know and love. Loads of veggies, lots of meat and fish (grass-fed, free-range, and wild-caught as much as I can), hormone-balancing meatballs (read: LIVER!), and tons of nuts and seeds (more cashews and almonds than one human should consume in a day). Which segways perfectly into my next update…

The Project I’m Working On:

PaleoishCookbookNotes_HealthyStacey
Pregnancy has caused me some serious insomnia over the last two months. At first, I was frustrated. And then, I decided to use it to my advantage. So, I did what I always do to relax me. I wrote. And what came out of my writing was the beginnings of a cookbook. A paleo-ish pregnancy cookbook to be exact. Full of information about the benefits of a full-fat, meat-on-the-bone, organ meat-full, and gluten-free diet during pregnancy (with room for mess-ups and why-nots). I have no intention of taking this to a “real publisher." Instead, I am writing it because I love cooking, I love writing, and I wanted one place to put all my “craving recipes.” I’ll keep you updated on how that goes. Who knows. Maybe I'll print them out and make them available to you fine people. But no pressure, either way, cool? Cool.

The Cookware I'm Using…And Why:

CastIronPan_HealthyStacey
I’ve made the switch to cast iron pans. It wasn’t easy. I’ve had them sitting in my cupboards for years, only pulling them out every once in a while, for special occasions. But after reading about the dangers of the chemical coating that could be coming off in my food while using a non-stick pan, I decided to lug the heavy stuff out for good. Non-stick pans are great, right? No stick, no mess, no scrubbing with a brush to clean up caked-on ground beef. Problem is, the non-stick pans apparently can’t stand the heat. When heated to high temperatures, they can emit polymer fumes that have been shown to kill pet birds (what??) and cause people to develop flu-like symptoms. Cast iron, on the other hand, is a much better alternative. Not only is it free-from chemicals or toxic fumes, it actually serves as a good source of…wait for it…iron. Genius, right? Who’d a thunk. Oh. As far as lifting them goes – my advice is don’t. Just leave them where they are and clean them off with a paper towel, then wipe them down with a little oil to keep them well-seasoned. Wouldn’t want you breaking an arm while scraping off turmeric scrambled eggs.

Alright folks. That's all she wrote for now. But don't worry, I'll be back. And it won't take nearly as long next time, K? Promise. 

Much Love,

HealthyStaceySignature


Spicy & Sweet Brittle Recipe (AKA My #1 Pregnancy Craving)

SpicyBrittleCrunchRecipe_Paleo_HealthyStacey

This recipe, first written by a food blogger, Amanda Skrip, was shared with me by health & wellness chef, Alia Dalal, as we were cooking it for a client of ours. I took one bite and knew I had to have it for myself. Since then, I’ve made some additional tweaks, and the result is this masterpiece. It has been, hands down, my biggest craving. Pregnant or not, the ingredients (nori for protein, minerals, and more vitamin C than an orange; molasses for strong bones and healthy blood; pumpkin seeds for immune support, omega-3, and hormone balance) are highly nutritious. But somehow, put them all together, and they are to-die-for. I’m talking, dream-about-it-all-day-till-I-get-home-and-stuff-my-face-with-it delicious. You catch my drift?  

Ingredients:

  • 3/4 cup sesame seeds
  • 3/4 cup sunflower seeds, sprouted
  • 1/2 cup pumpkin seeds, sprouted
  • 2 sheets nori (the seaweed paper your sushi is wrapped in)
  • 1/3 cup pure maple syrup
  • 1 tablespoon molasses
  • 2 tablespoon coconut oil
  • ¼ teaspoon cayenne
  • ¼ teaspoon sea salt
  • 1 teaspoon cinnamon

Tip: If you love ginger, grate a ginger root over your sticky mixture (or half your mixture if you don't want it ALL gingery) for an extra spicy – and anti-inflammatory – kick.

Directions:

  1. Preheat oven to 325. Line a large baking sheet with parchment paper.
  2. Mix all of your seeds in one bowl together.
  3. Put your two sheets of nori on top of each other. Now, using scissors cut them into small, thin 2-inch strips, and add them to the seed mixture (Tip: If you have herb-cutting scissors, they make this job SO much easier).
  4. Mix together maple syrup, molasses, cayenne, cinnamon, and sea salt in a bowl.
  5. Pour sticky, spicy mixture over seeds and stir to coat them.
  6. Now, pour mixture onto parchment-covered baking sheet, and use a spatula to spread it into an even layer.
  7. Put pan in oven for 18 minutes at first. Check to see if it’s burning at all. If not, leave in for another 3-5 minutes. At this point, the mixture needs to dry to form together so DON’T MESS WITH IT TOO MUCH.
  8. Let it cool for 30 minutes until it’s hardened.
  9. Break apart into big chunks and take a bit of the most delicious bark you’ve ever tasted.

PaleoSeedBrittle_HealthyStacey

Healthy Body

How I Cured A Cold In 5 Days With 5 Food Medicines and No Drugs

August 25, 2016

AppleCiderVinegarforColds

I have something really embarrassing to tell you.

I, Healthy Stacey, got sick.  

I’m talking runny nose, a throat so swollen it hurt to swallow, dead tired but couldn’t sleep because I stayed up all night long hacking up a lung sick.

I know, I know. But you’re so “Healthy.” How did you get sick? (I’m imagining this in the voice of Adam Sandler, followed by “Hoobidy doobidy.”)

Well, I’ve narrowed it down to either the potentially germ-infested blanket I took from the flight attendant on my way to Mexico or the fact that I got stuck in a torrential downpour on my way to the yoga class that I couldn’t miss, and instead stayed sopping wet through every Chaturanga Dandasana.  

That’s neither here nor there. The point is, I got sick, and then I got better WITHOUT taking any drugs.

I’ve never been a big fan of Tylenol Cold & Flu, Robitussin Cough Syrup or any of the other hard-hitting OTC drugs out there. They make me super drowsy and I hate to think what other side effects they’re having on my body. Oh. And as far as I know (correct me if I’m wrong), cough and cold remedies do not shorten or cure illnesses; they just ease the symptoms along the way. But in doing so, they take a lot more processing from my liver than, say, a spoonful of raw honey would.  

So if I can reduce my symptoms in other more natural ways that don’t make me drowsy, don’t tax my liver AND actually make my immune system stronger for the future, then I’m all for it.

If you take them, I get it. No judgment. Promise. I just decided that me being sick would be a perfect opportunity to do a little self-experimenting for you guys.  

The Experiment: Kick this sucker without meds – just immune-boosting food and supplements, and see how long it takes.   

I dug a box of Tylenol Cold & Flu out of the medicince cabinet and put it on the counter. Partly as an "in case of emergency – pull this lever," but also as an extra boost of motivation. Challenge: accepted.

Here’s how it went down.

Day 1.
Throat is feeling swollen. I can feel something coming on. But it’s not full-blown quite yet. At this point I didn’t know what it was, but I knew that the first thing I needed to drink was bone broth.

Food Medicine # 1: Bone Broth

Bone Broth for colds

I’ve said it before, and I’ll say it again. Bone broth is a magical elixir. Simmering the bones of healthy animals releases nutrients and healing compounds that you could NOT get just from eating the meat.

Moreover, whatever foods you add to the broth will be better digested and absorbed into your system. So for my special Get Better Bone Broth, I added a few key nutrients also known to help immunity.

Garlic for its immune-boosting, anti-viral and anti-inflammatory effects. Ginger and cayenne because they are warming to your system and help relieve congestion.

Get Better Bone Broth Recipe:

  • 1 cup of homemade bone broth – see recipe here.
  • 1/2 teaspoon coconut oil
  • 1/2 teaspoon sea salt
  • 1 clove of garlic, chopped
  • ¼ teaspoon cayenne pepper

Directions:

  1. Heat up bone broth and coconut oil (I do 1:30 in the microwave, in a mug)
  2. Mix in your sea salt, garlic and cayenne pepper.
  3. Drink up and repeat every day until you feel better (2 times a day if you’re up for it!)

When your throat is hurting, you can’t get enough liquids in your system. Not only does it feel good on the throat, it helps loosen congestion. So on this first day, I was always drinking something – whether it be broth, water or my homemade Kick In the Pants Tea made with my good friend ACV.

Food Medicine #2: Apple Cider Vinegar

Braggs Apple Cider Vinegar

Apple Cider Vinegar. It may be acidic, but it actually helps to alkalize our overly acidic bodies. A body that is more alkaline will be better at fighting off colds.

I started taking this concoction years ago when I first found out about the benefits of ACV and it’s never steered me wrong. You’ll see that I’ve used a lot of the ingredients I used in my Get Better Bone Broth for the same reasons (with the addition of lemon for its anti-viral benefits and raw honey for its antioxidant, antimicrobial, throat-soothing benefits, and because it makes EVERYTHING taste better). But this tonic is a little more accessible for those of you who aren’t quite ready to hop on the bone broth bandwagon.

Kick In The Pants Tea

Apple Cider Vinegar Tea

Ingredients:

  • 1 cup hot water
  • 1 teaspoon Apple Cider Vinegar (I like the Bragg’s brand)
  • 1 clove of garlic, chopped
  • ½ freshly squeezed lemon
  • ¼ teaspoon cayenne pepper
  • ½-1 teaspoon raw honey

Directions:

  1. Boil water in tea kettle
  2. Add all other ingredients into your mug
  3. Pour hot water on top and stir

Day 2.
I get a horrible night’s sleep and my throat feels more swollen the next day. I double up on the bone broth (which feels like heaven on my throat; with just one sip I feel the swelling going down and the sinus pressure easing up).

I supplement my broth drinking with Breathe Easy Tea from Traditional Medicinals. (Another favorite for swollen glands and sore throats is Throat Coat, I just didn’t have any on hand).

That night, I decided I needed something to ensure that I would sleep through the night. Enter saffron.

Food Medicine # 2: Saffron

Saffron to make tea with

You know that spice that comes with your spice kit that kind of looks like red spider legs? That’s saffron. It’s apparently the most expensive spice in the world. That's why they only give you a little bit in each jar. But the thing is, you don’t need much to get it to work. This stuff is powerful.

Yes, I already had some from a spice kit that was gifted to me so, for me, there was no cost. But I looked it up on The Spice House Chicago website, and saw that you can get it by the gram for $12.08. And a gram is plenty for this purpose.

Saffron spice is produced from the saffron crocus flower (Crocus sativus) and it is actually the insides of the flower that catches the pollen. Among its MANY other benefits (used for asthma, cough, loosening of phlegm, gas, depression, Alzheimer’s, dry skin, PMS symptoms, fertility, and more) it has also been shown to have mild sedative properties. Meaning, when you drink this stuff, and put your head on that fluffy pillow, it hits you. Or at least it did for me. I felt instantly relaxed and lulled to sleep.

After a lot of searching around the internet, I came across about nine different people all claiming that they had “the best” way to make saffron tea. So I threw up my hands and just decided to do my own thing.

Using full fat coconut milk (real milk would be even better because it has tryptophan in it, but I didn’t have that), cinnamon for its anti-inflammatory and anti-oxidant qualities, raw honey for its antioxidant, antimicrobial and throat-soothing benefits and cardamom (I’m sure it has benefits too, but I just thought it would taste good with it), I created “the best” Saffron Sleepy Tea.

Saffron Sleepy Tea

Saffron tea for insomnia

Ingredients:

  • ½ cup of water
  • 1 cup of full-fat coconut milk or whole milk (ideally grass-fed)
  • 7-10 strands of saffron
  • ½ teaspoon cinnamon
  • ¼ teaspoon cardamom
  • ½ teaspoon raw honey

Directions:

  1. Boil ½ cup of water in a pot on the stove
  2. Add saffron and cover pot for 10 minutes
  3. Now add milk, cinnamon and cardamom and turn heat up to medium
  4. Stir until warm
  5. Add in honey
  6. Pour into a mug and sip, repeat and go to sleep.

Day 3.
The snot tap has turned on. The swollen throat has finally released itself and the nose is running like crazy. I have a love-hate relationship with this part. I know that the release of all the fluid means that it’s all coming out and I’m on my way to getting better. But it’s still a disgusting snotty drip.

Quick Defense from Gaia Herbs

My good friend (and supplement superstar), Monica, recommends to me a product called Quick Defense from Gaia Herbs. She says it works like a charm if you take it at the onset of symptoms. A little too late for that, but I figure, it couldn’t hurt and it offered a lot of immune-boosting benefits.

Food Medicine #3: Green Drink

Green Vibrance Powder Mix

Like magic, my Green Vibrance just happened to arrive in the mail that day. I had ordered it a week or so ago as an addition to my Fertility Diet. Again, this came highly recommended to me from my supplement superstar up there. Monica recommends it to everybody she knows because of its high quality ingredients and the marked difference she feels in her energy levels when she takes it in the morning. One of her friends who suffered from a lower immunity started taking it per Monica’s recommendation and found a huge difference. In fact, it’s only when she stops drinking it that she gets sick again.

Hmmm. Fertility food AND immune booster. What is this stuff?

Well, in a really small nutshell, it’s a greens powder. But the makers of this particular product have gone to town with the types (and high concentrations) of nutrients they've packed into each scoop. Organic kale sprouts, organic broccoli sprouts, organic spirulina, chlorella, organic beet juice, organic parsley, organic spinach, organic carrot, green bean, zucchini and Rockweed sea vegetable are just the beginning. It also offers a host of other supplements to support digestion, bone strength, circulation, liver and immunity. It’s kind of like taking a multi-vitamin, a green smoothie and NZT all in one. Just kidding about the NZT (5 Gold Stars to anybody who can name this movie reference in the comments).

What I love about this, is that it takes out a lot of the thought that goes into smoothie making. I personally like to add a lot of extra boosts to my smoothies beyond the greens and the fruits. But not everybody has the money or the patience for that. Especially when sick.

Sicko Smoothie:

Green Smoothie For Colds

Ingredients:

  • 1 scoop of Green Vibrance
  • 1 inch of turmeric root
  • Dash of pepper
  • 1 inch of ginger root
  • 1 teaspoon bee pollen
  • 2 scoops of Vital Proteins Collagen Peptides
  • Frozen pineapple
  • Almond Milk/Coconut Water (I mix the two together)
  • Optional: Superfood toppings becasue it makes it fun to drink (I used my favorite Superfood Crumble from Elemental Superfoods)

Directions:

  1. Put almond milk/coconut water in a high speed blender
  2. Add in Collagen Peptides and Green Vibrance
  3. Add in remaining ingredients
  4. Pulverize until smooth
  5. Add toppings
  6. Drink up, breathe in, breath out, feel better!

Day 4.
Feeling better today. Nose is still running, but the glands in the throat feel back to normal and I can see the end of the rainbow. Last night, I did some extreme self-care. Meaning, I put all my energy into myself – and put everything else on hold.

Food Medicine #4: Homemade Soup (with a side of Self-Care)

Self-care. It's a real thing. Seriously. When you take care of yourself first, everything else falls into place.

I don't do it very often. It usually takes extreme cases like me being sick for it to happen. So I went to town. I canceled plans with friends. I slowly and gently cleaned up things that I no longer needed and replaced batteries to a clock that stopped ticking years ago. I put my favorite men on Spotify (Sinatra and Mayer) and watched girly, cheesy movies without shame. I nestled into my rattiest but softest sweat pants. And, finally, I made myself this very special soup just for me.

Dreamy Creamy Carrot Soup

Paleo Carrot Broth Soup

Ingredients:

  • 2 carrots
  • 1 teaspoon ghee
  • 1 inch of turmeric root
  • 1 inch of ginger root
  • 2 cloves of garlic
  • 1/3 can of full fat coconut milk
  • 1 cup of homemade bone broth
  • Sea Salt
  • Pepper
  • Optional toppings: Crispy chicken and chopped scallions

Directions:

  1. Peel and chop carrots
  2. Saute in ghee for 5 minutes-ish, until softened and a little browned
  3. Heat bone broth up on stove, bringing to a simmer over medium heat
  4. Stir in remaining ingredients
  5. Pour in high speed blender and pulverize until smooth
  6. Add toppings of your choice (I happened to have leftover chicken that I sautéed in more ghee until it was crispy, plus a dash of chopped scallions to add a bite)

Day 5.
I feel SO much better. I literally woke up, inhaled through my nose, and clapped my hands because I could smell again! My friends, I swear, I felt better than I did before the cold even began.

I still start my day with Gaia Quick Defense and a cup of bone broth for good measure. Then make another Green Vibrance smoothie for breakfast. I stare at the Tylenol Cold & Flu that has been sitting on the counter just in case of an emergency, and stuffed it back in the back of the cabinet where it belonged. Then did a little happy dance because DAMN, I’m good.

Alrighy folks, what do you do when you get sick? Do you feel the same way I do about OTC medicine? Or are you all about it and want to prove me wrong? Bring it on. Comment below.

Much Love,

HealthyStaceySignature

p.s. The links I provied are affiliate links. But because my Amazon Affiliate account lay inactive for too long, they've kicked me out. They may work in the future, so I still feel like I should let y'all know. Hot mess. I know.

p.s.s. Pin this baby! You know you'll need it come Cold & Flu season!

Natural Cold Cures