Healthy Food

Be A Salad Bringer.

January 27, 2016

HealthyStaceySaladDeskDressing

I eat salads for lunch almost every day of the week. Boring? Repetitive? Veg-egregious? No. Because I am adamant about keeping my salads exciting. And because the more vegetables I eat, the better I feel, and the healthier I am.

Lunch is the perfect time for a salad. No stove? No freezer? No problem! Just a packed Pyrex with a boatload of veggies and all the ingredients I need for salad dressing at my desk.

The problem with salads is that most people have a narrow mind about what a “salad” is.

Standard American Salad

A pale green watery collection of lettuce and one, MAYBE two vegetables, topped with processed dressing with more sodium, dairy and sugar than anything remotely resembling what a real salad dressing is supposed to be.

Typically composed of: Iceberg lettuce and/or romaine lettuce, tomatoes, MAYBE some shredded carrots, croutons, and unnaturally orange cheese topped with 25-ingredient Italian or Ranch dressing.

No offense, but YUCK. That is not a salad in my book.

Salad, As-It-Should Be

Dark, leafy greens, mixed with AT LEAST 4 different nutrient-rich vegetables with lots of color and texture, topped with a simple homemade salad dressing, mainly consisting of oil, vinegar and a seasoning or two.

Sorry to be so harsh, but if you’re going to eat salad, you should EAT SALAD. As in veggie-packed, high vitamin, high fiber, low-sugar BOWL OF VEGETABLES!

Okay, I’ll stop yelling now. I’m not yelling at you guys. More at the restaurants who have established the pathetic excuse for what we now know to be the “salad.”

So here’s what we’re going to do. I’m going to give you guys a laundry list of alternative ideas for what to put in your salads, you’re going to try it, love it, and become…

A Salad-Bringer!

(one of those people in the office that everybody admires because they always have the most delicious, looking healthy salad for lunch).

I know it is easy to get caught up in the same-old, same-old. And we all have our vegetables that we’re comfortable with. There’s nothing wrong with lettuce and tomatoes. But let’s see if we can push the envelope a little more. Here we go.

Salad Bases:

  • Kale
  • Spinach
  • Collard Greens
  • Swiss Chard
  • Arugula
  • Spring Mix

Raw Toppings:

  • Red Cabbage
  • Heirloom Carrots (come in dark reds and purples and orange)
  • Cremini Mushrooms
  • Red Peppers, Orange Peppers
  • Radishes
  • Celery
  • Microgreens/Alfalfa Sprouts

Prepared Toppings (AKA, I’m-So-Fancy Toppings):

  • Beets
  • Roasted Sweet Potatoes
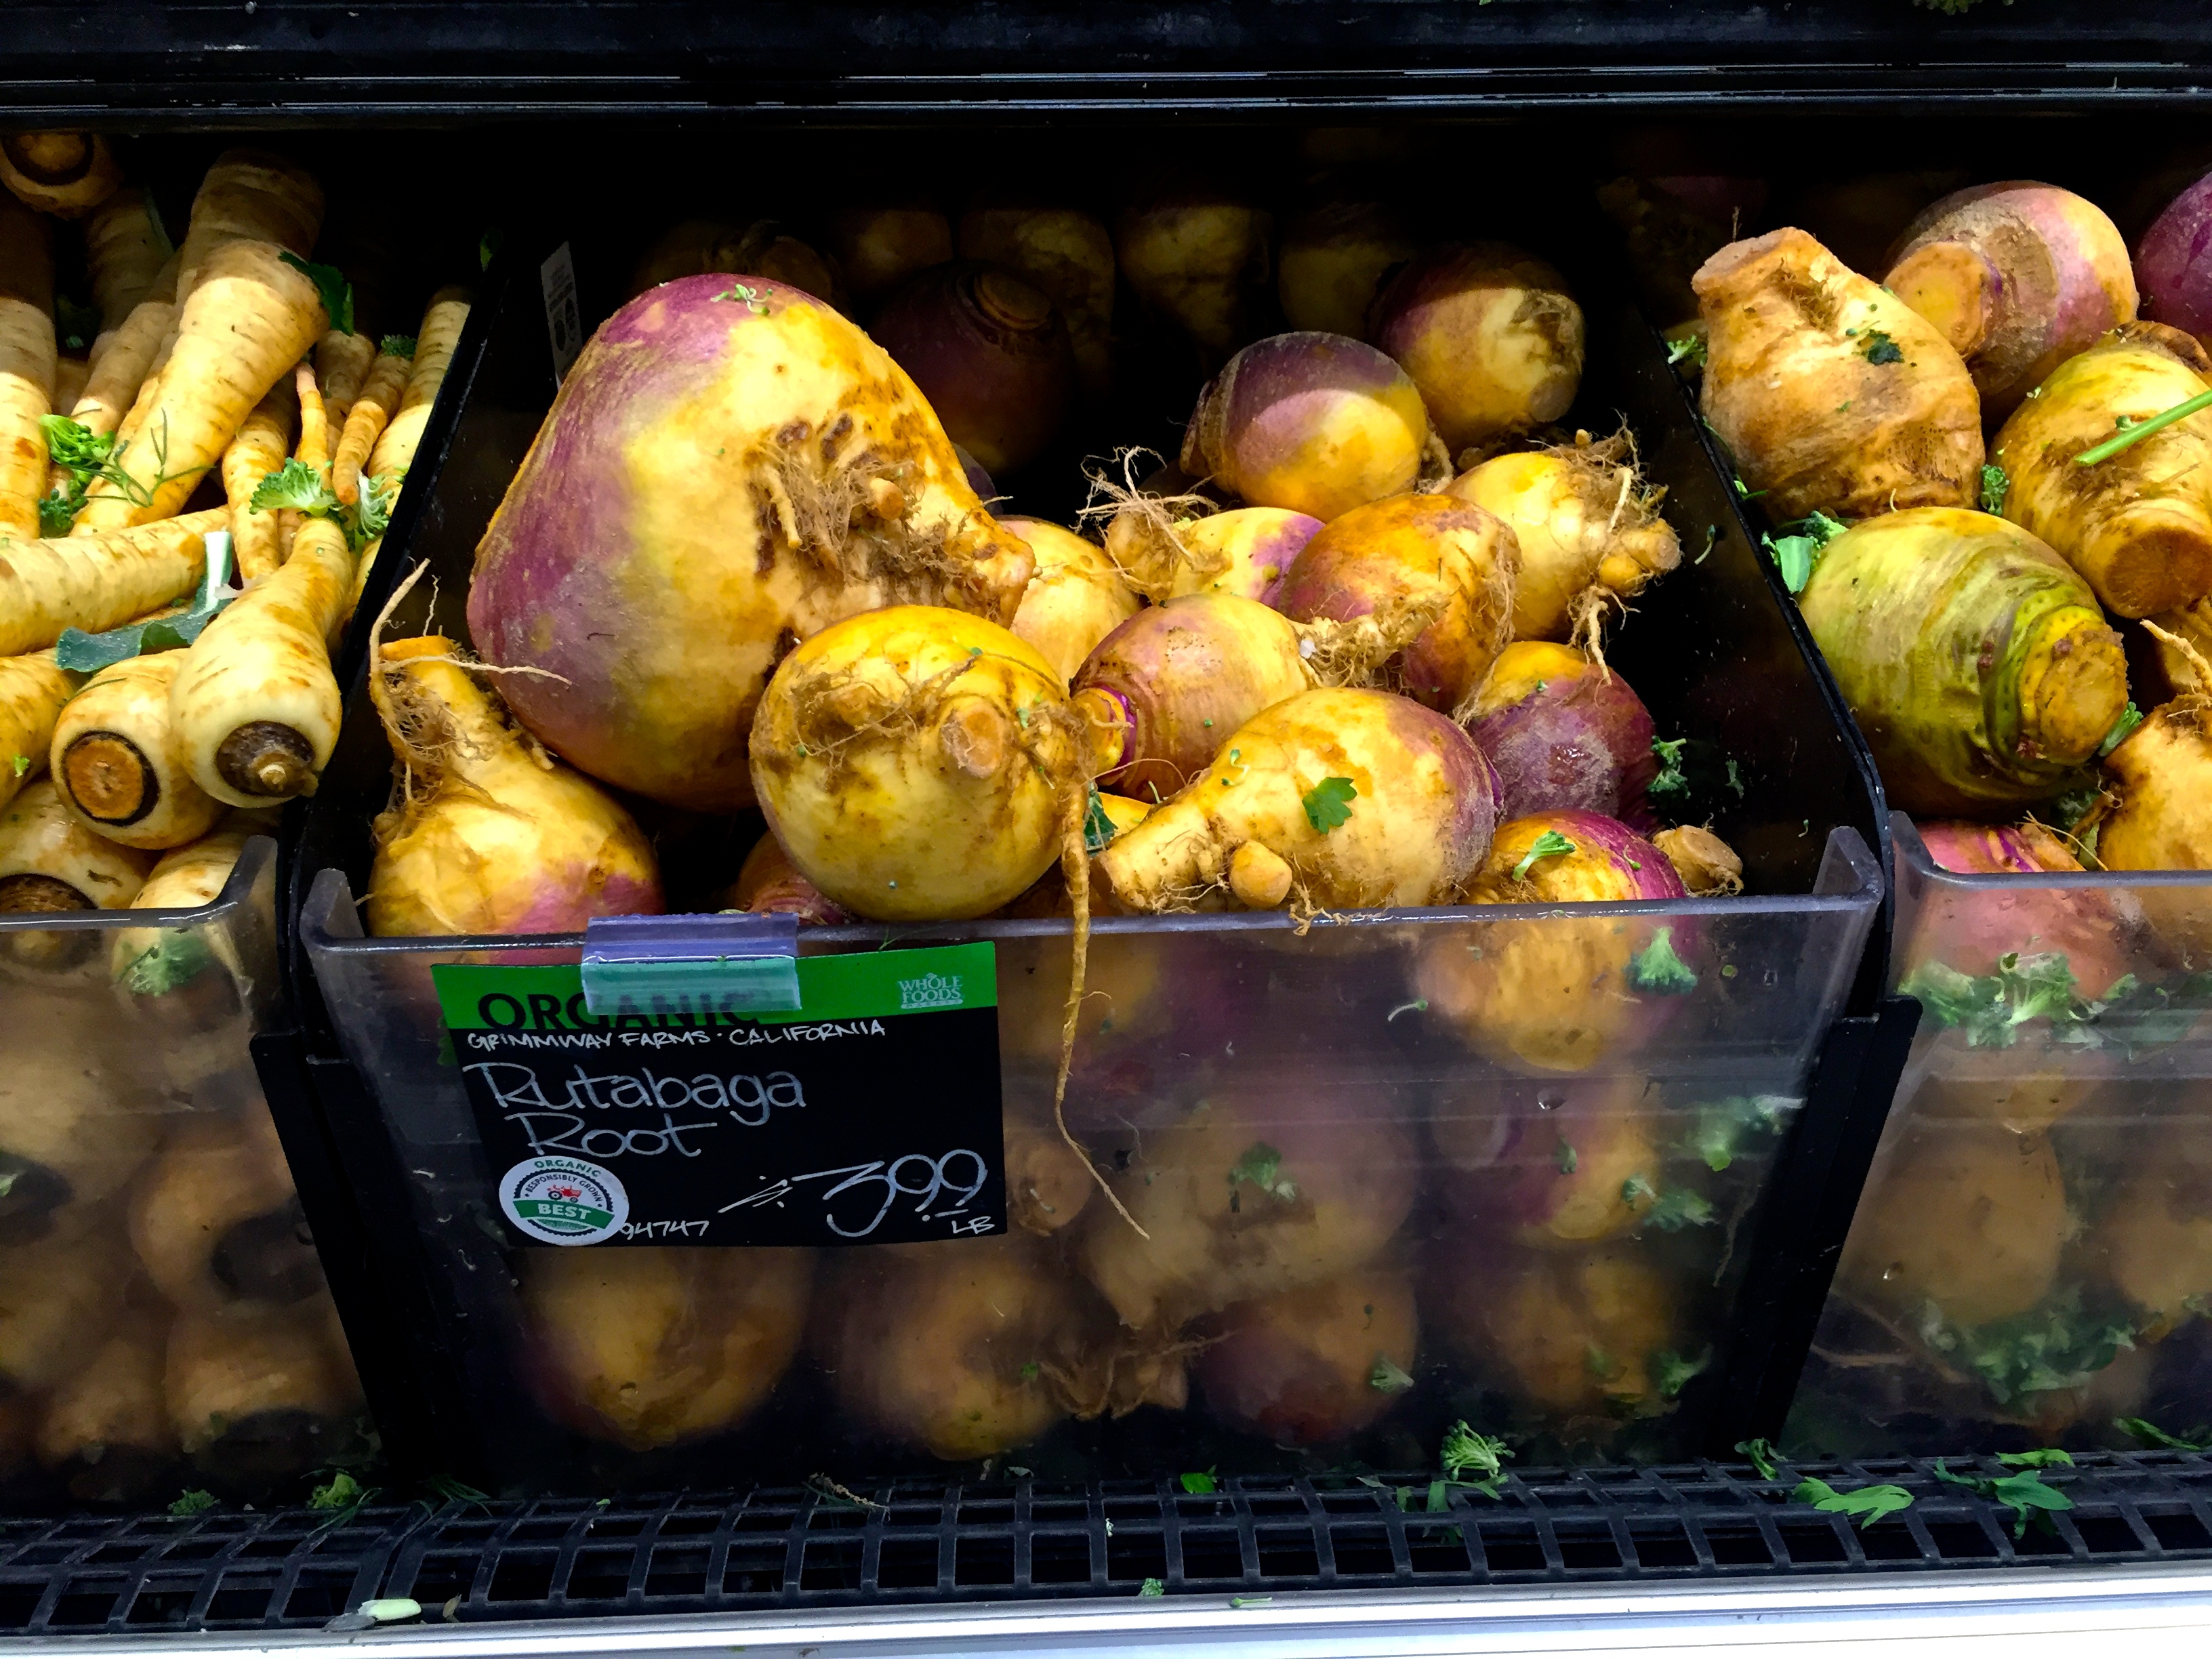
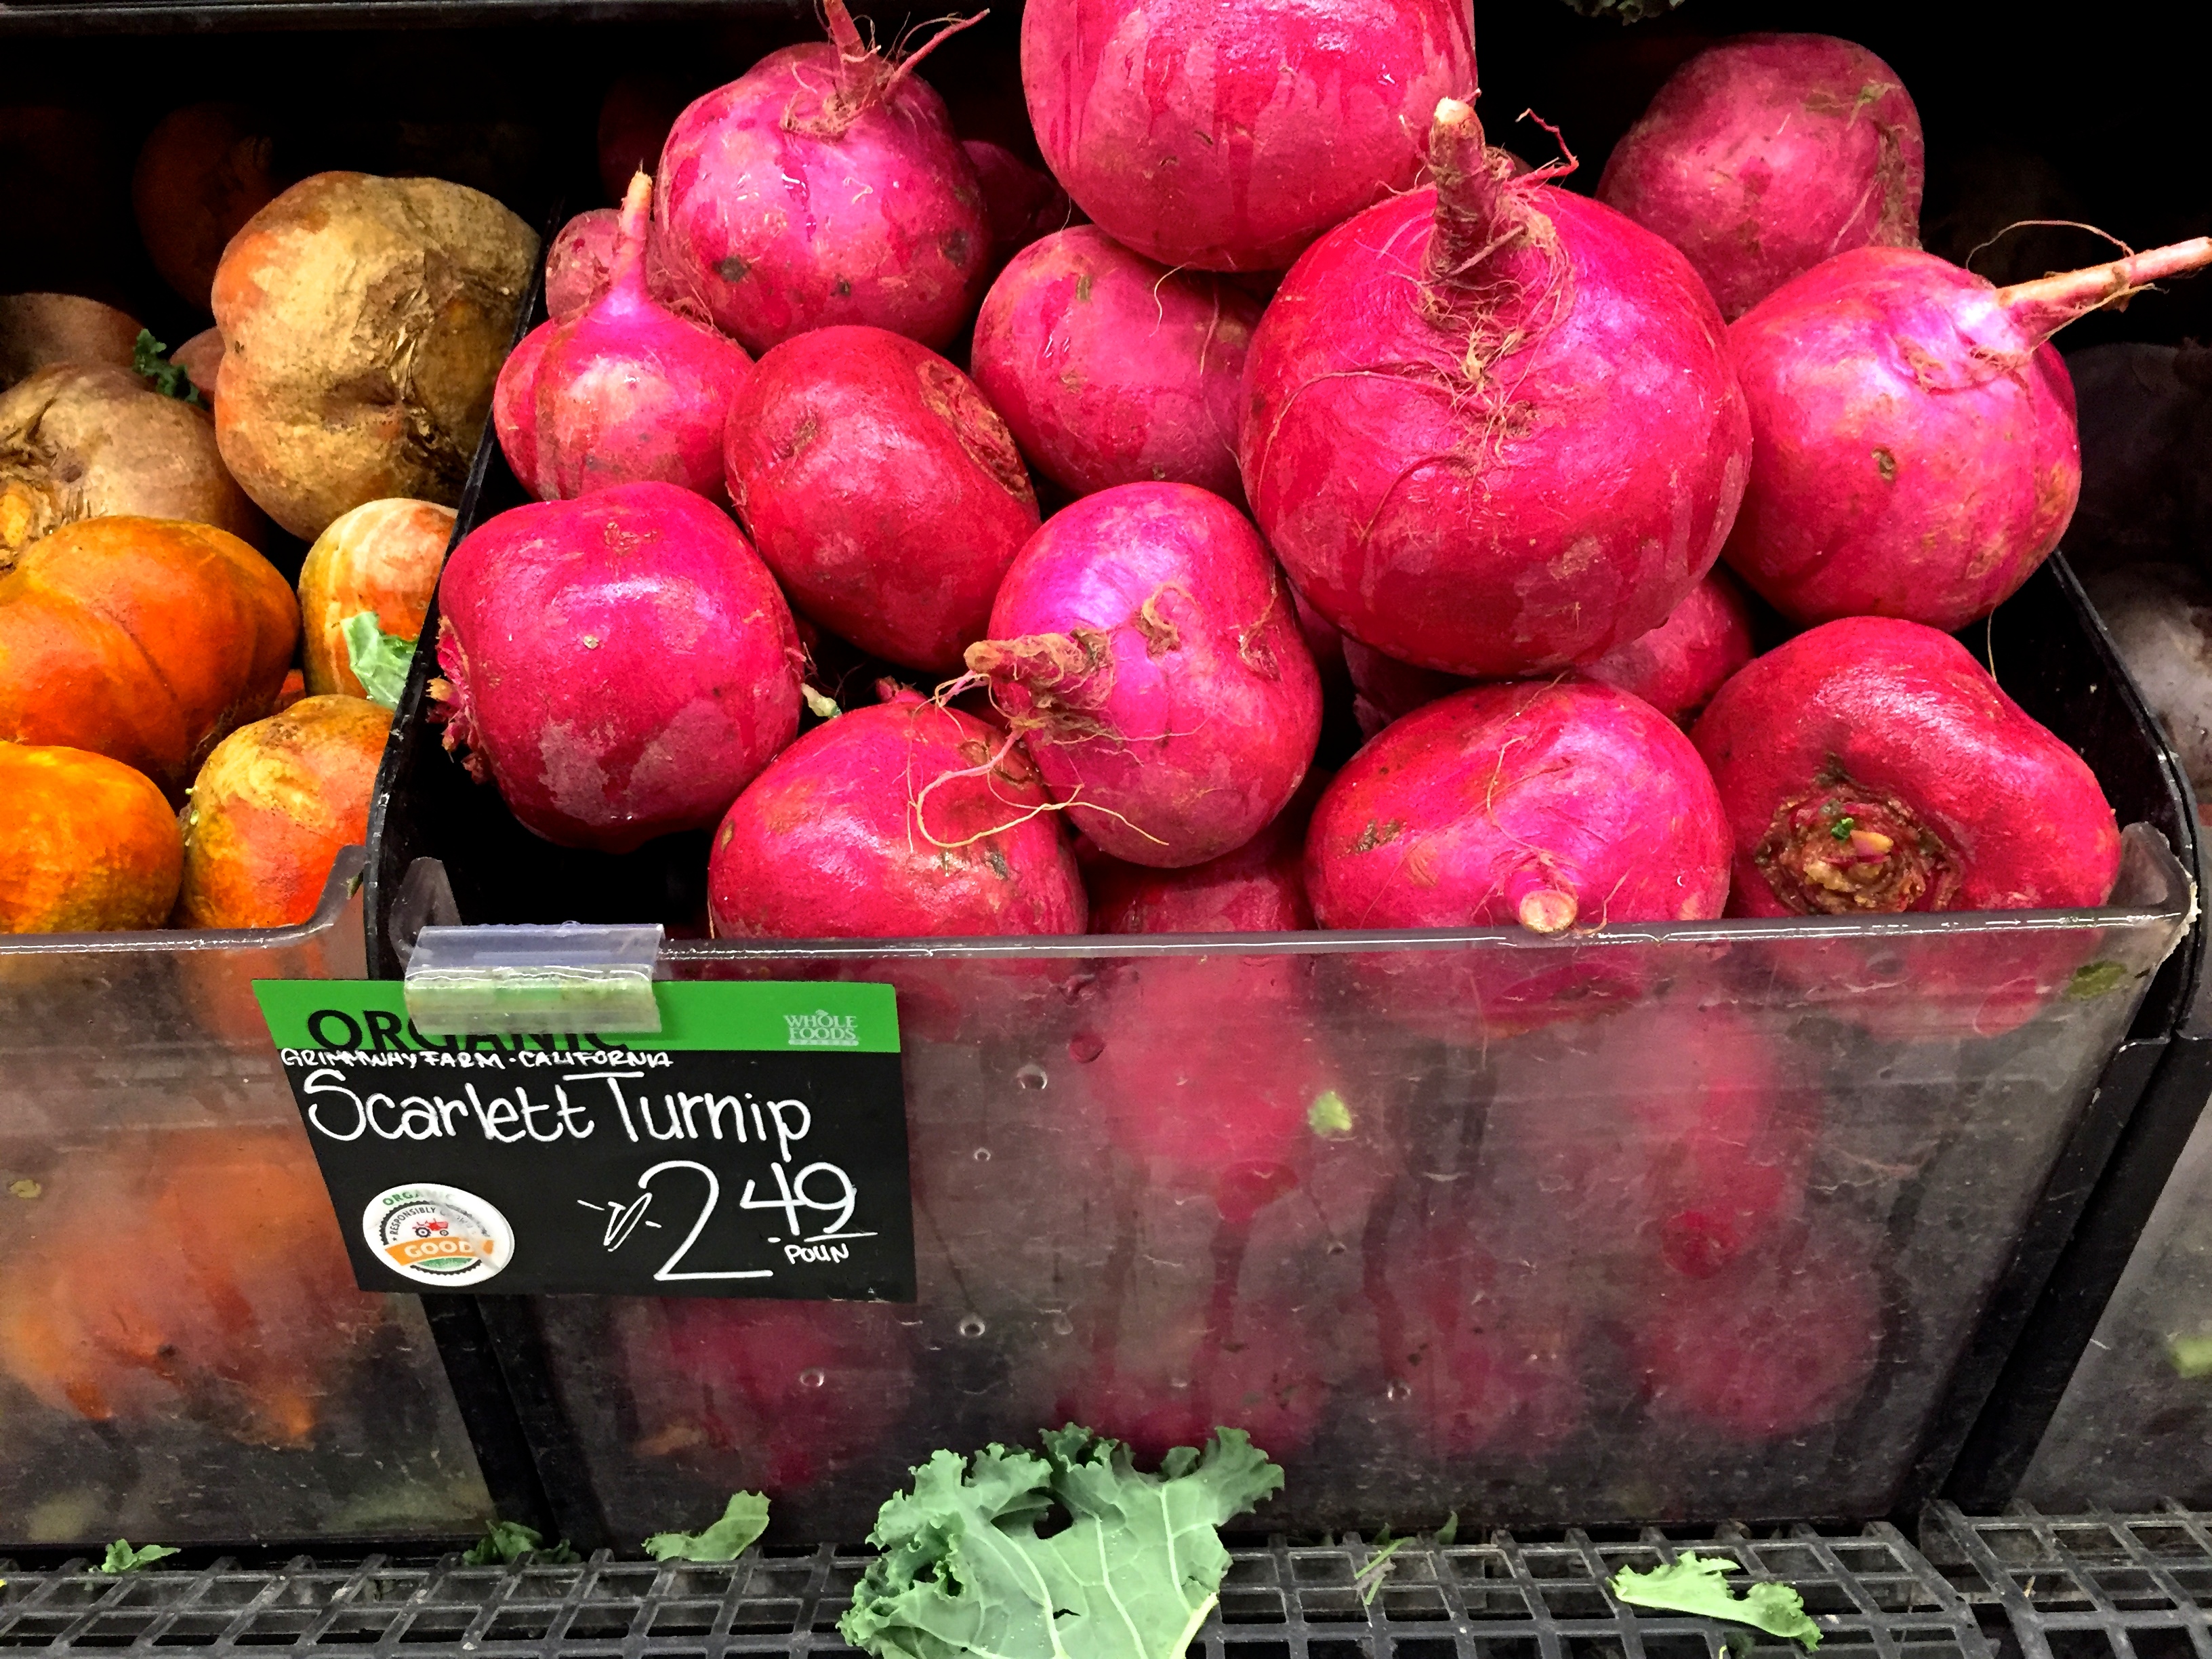
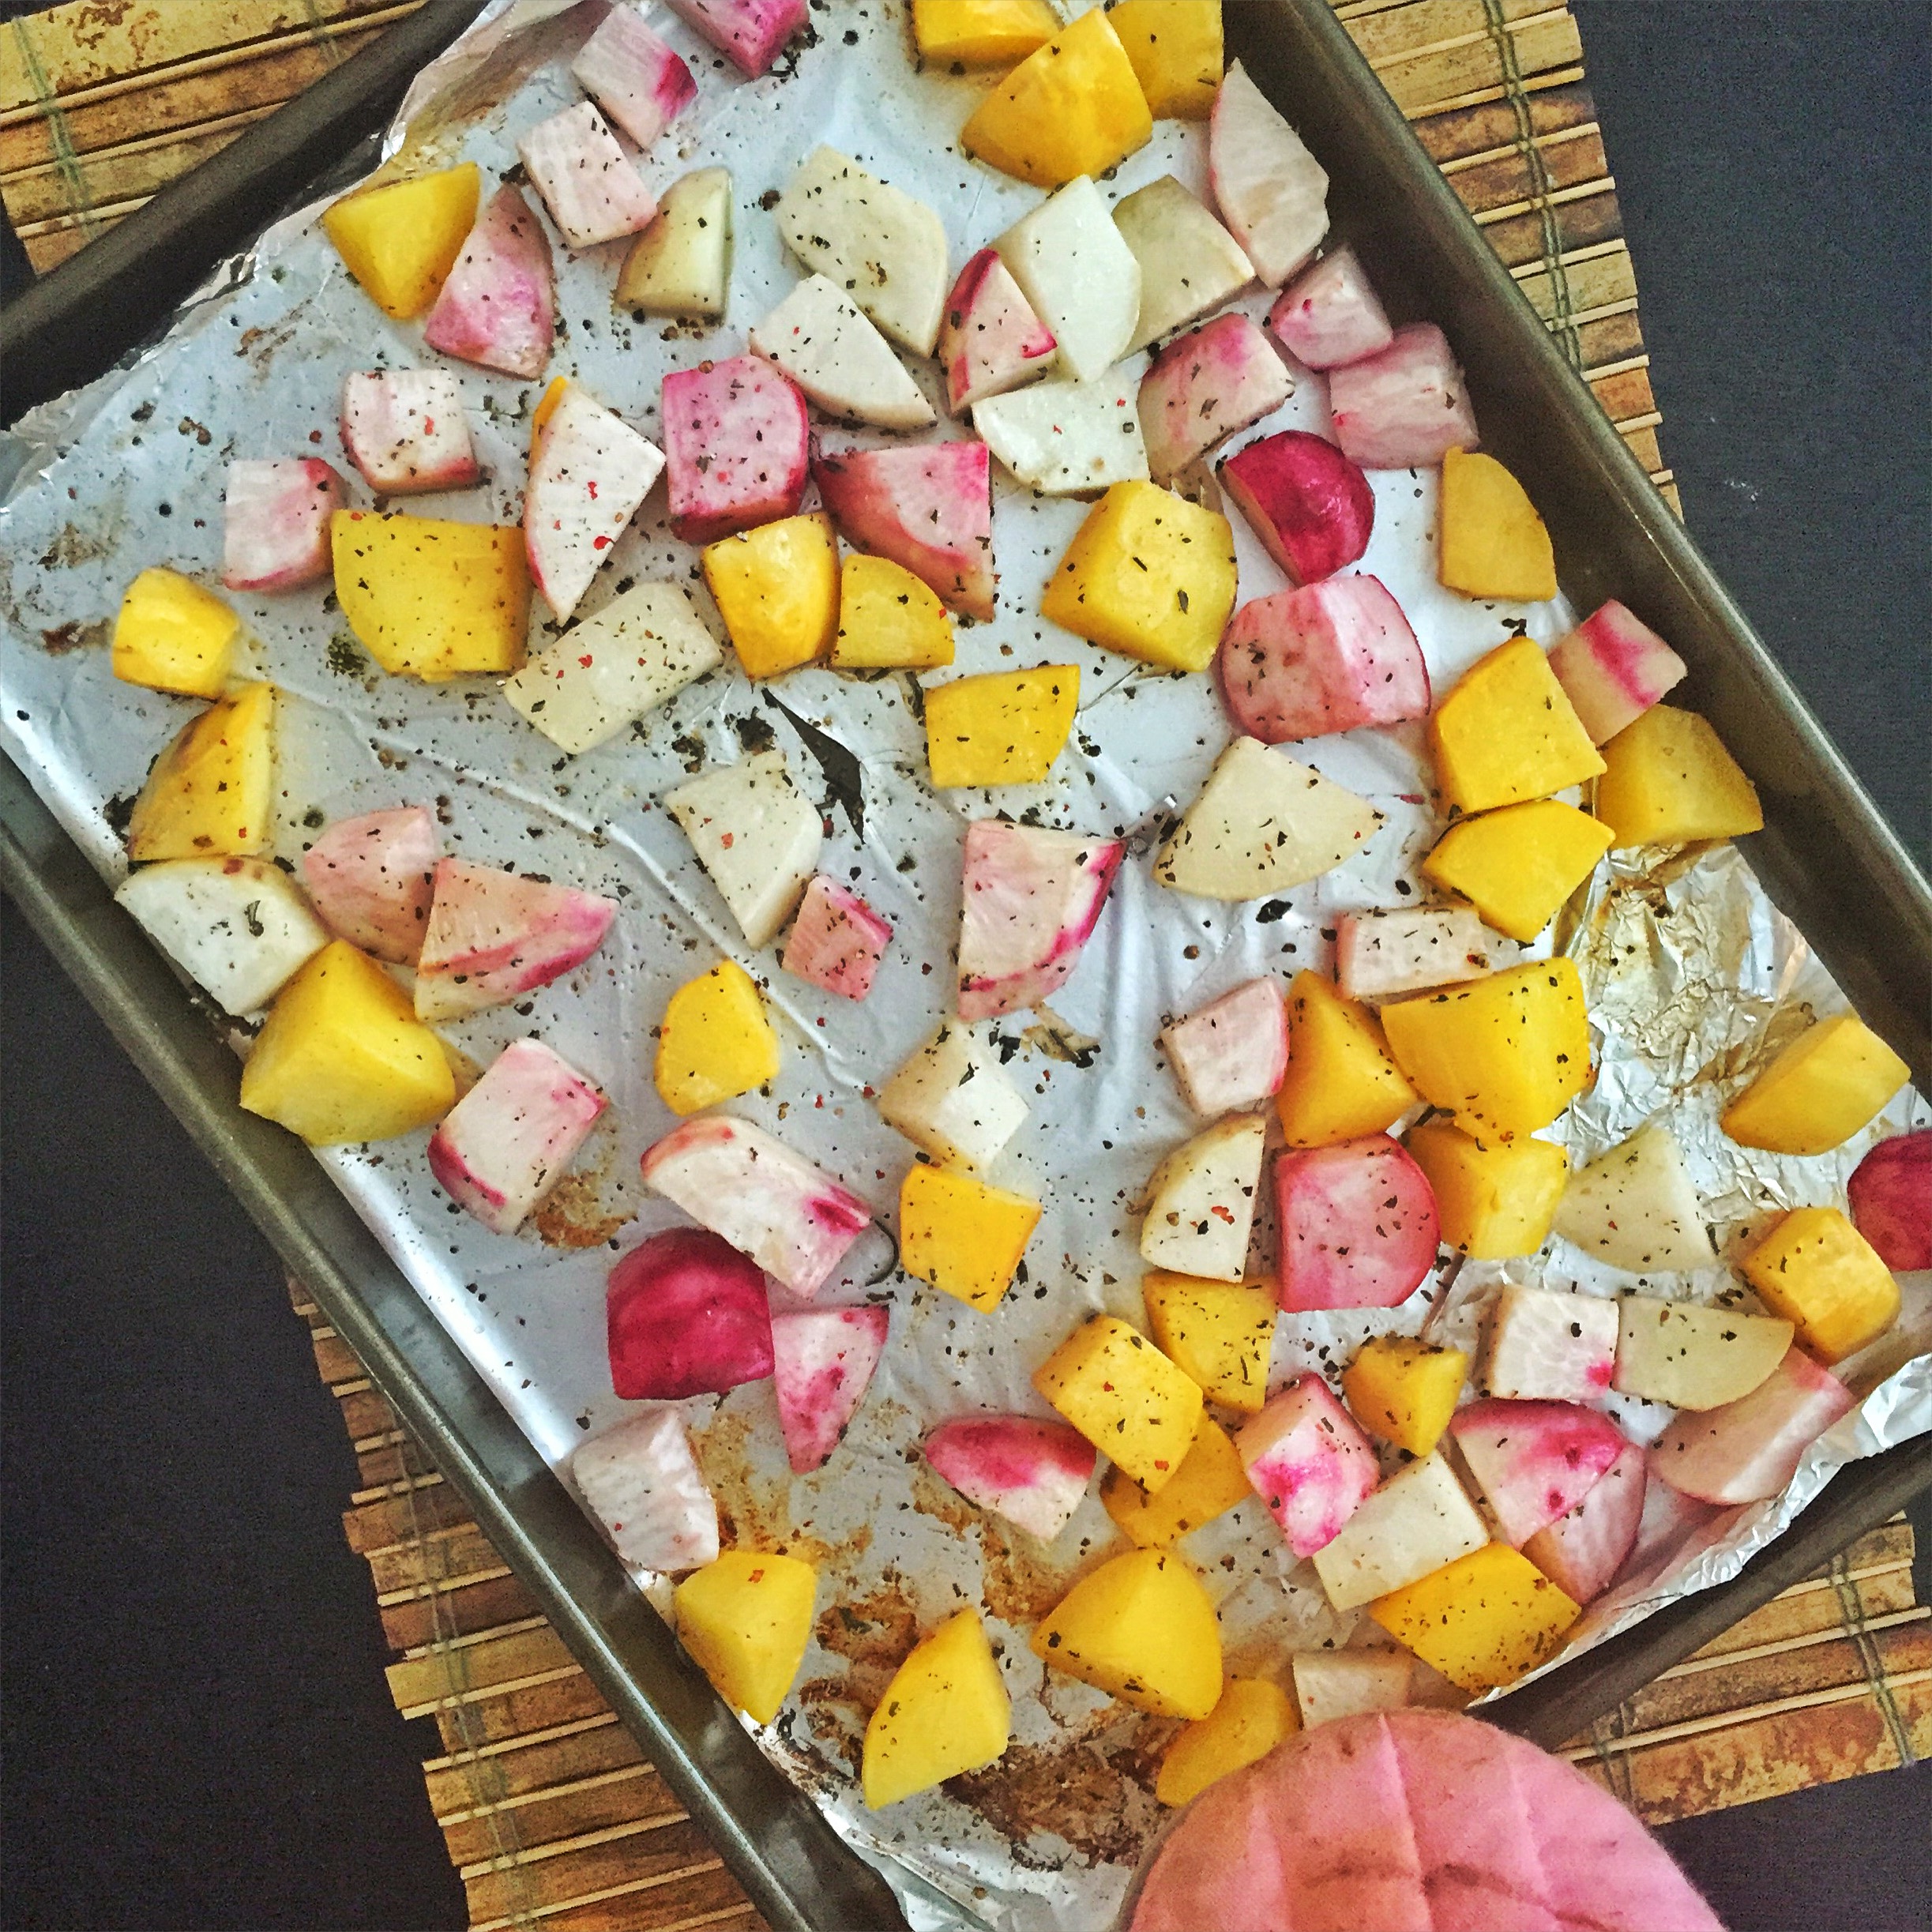
  • Roasted Turnips and Rutabagas
  • Shitake Mushrooms, Sautéed in Ghee
  • Red Onions, Sautéed in Ghee

Healthy Boosters (AKA, Now you're just showing off):

  • Hemp Seeds
  • Pumpkin Seeds or Pepitas
  • Goji Berries
  • Avocado
  • Nutritional Yeast
  • Kelp

Homemade Dressing Hacks:

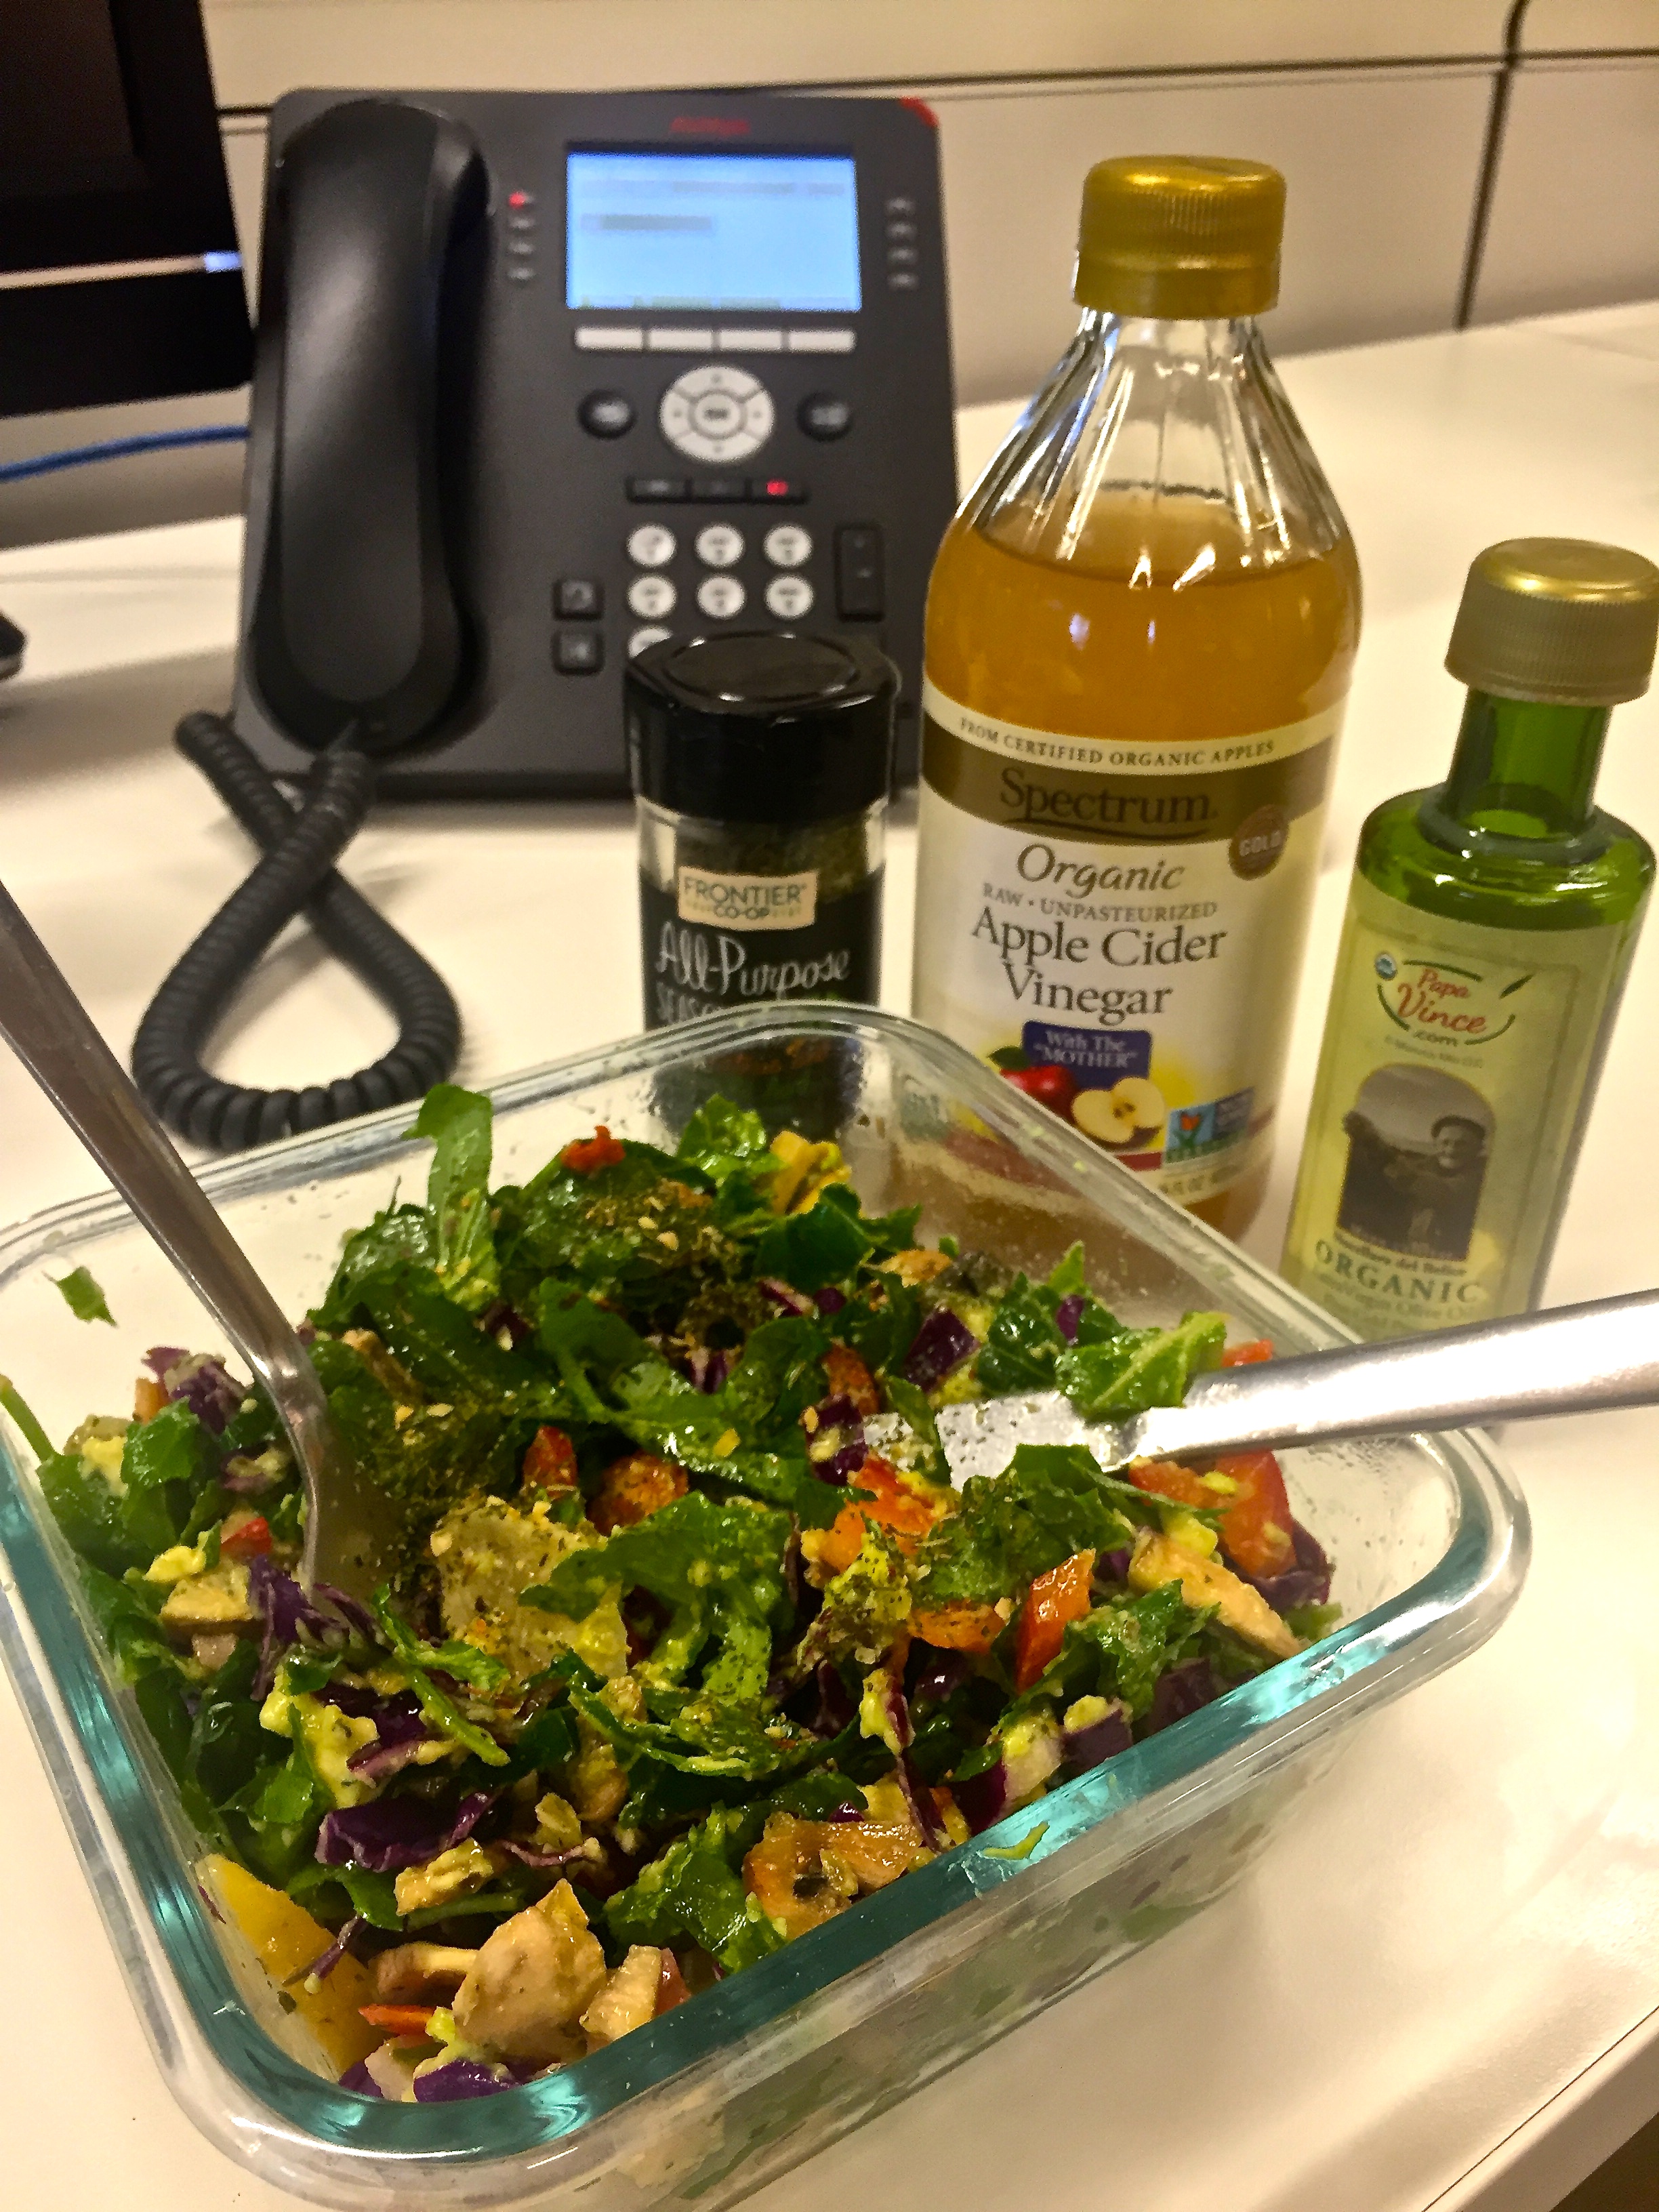
Keep all of the basics for homemade salad dressing at your desk, and you'll never have to worry about processed, over-sugared, seed oil dressing again. Below are some of my favorite dressing combos. 

  • Apple Cider Vinegar + All-Purpose Seasoning + EVOO (My everyday go-to)
  • Lemon Juice + Herbs De Provence + S&P + EVOO
  • White Wine Vinegar + Oregano + S&P + EVOO
  • Balsamic Vinegar + Rosemary & Thyme + EVOO
  • Apple Cider Vinegar + Dijon Mustard + S&P + EVOO

Alright great. So now you're wondeing, where do I start? What ingredients go together? And are you seriously asking me to make a salad everyday, Stacey? YES. But don't worry. I wouldn't leave you hanging like that. I've pooled together some of my favorite recipes from the Healthy Stacey instagram account. I try my darndest to post all of my favorite foods on there – complete with recipes – so you guys can recreate the dishes as you please. I gotta tell you, looking back at some of my favorites throughout the year brought back some good lunch time memories (you think I'm joking, but I'm not). 

HEALTHY STACEY SALAD INSPIRATION

Tuna Dijon Salad:

Lemony Sardine Salad:


Beet It Salad:

Pink and Green Salad:

And the Beet Goes On Salad

The "And the Beet Goes On" salad. Starting to be very grateful that my back has forced me to stay home all day. A day filled with good music, my favorite podcasts, stretching and laundry-folding. It's like God gave me permission to relax. Recipe: sauté onions in coconut oil for 2-3 minutes, add kale for another 3, add in cooked sliced beets for the last minute (trader joes sells them pre-cooked), turn off grill, prepare plate with spring greens and sliced avocado, add your sautéed stuff on top, whisk balsamic vinegar and olive oil together for dressing. So rich (in health and taste – cha-Ching!) #beets #beetlove #thebeets #avocado #paleo #paleosalad #homemade #killertofu #dougfunny #healthystaceyblog #traderjoes

A photo posted by HealthyStacey (@healthystaceyblog) on

Farmers Market Salad:

The Veggie Garden Salad:

Oh-Mega 3 Salad (AKA, the ugly salad):

OH-mega 3 Sardine Salad! Has to be the quickest, easiest and ugliest meal I ever made. But it's so tasty and really really good for you. One of the best sources of Omega 3 (good for inflammation) comes from one of the cheapest fish you can buy: sardines. Ingredients: 1/2 avocado, tin of #traderjoes sardines in olive oil, dash of turmeric (anti-inflammatory), dash of garlic powder, dash of onion powder, dash of nutritional yeast (b vitamin), hemp seeds (more omega 3!), and tomatoes (to make it pretty). Oh, and just a touch of primal mayo. Don't knock it till you try it! #braggs #omega3 #antiinflammatory #paleo #sardines #avocadolove #avocado #easypeasy #easypaleo #paleodinner #paleobowl #healthystaceyblog #marksdailyapple #primalmayo

A photo posted by HealthyStacey (@healthystaceyblog) on

Chicken Salad with Cauliflower Croutons:

Avocado Shell Salad:

Like what you read today? See those cute little social shapes underneath this post? They're for sharing! Click one to post to Facebook, Pinterest, Twitter, or comment right here on the blog. I would love to hear from you.

Can't get enough of all this healthy stuff? Then sign up for the newsletter where it says "Enter Your Email" at the top of this page. Too much of a commitment? That's cool. I also have a sweet Facebook page, deep-thoughted Twitter page, food-pornish Instagram handle, and recipe-filled Pinterest page.

Much Love,

HealthyStaceySignature

Rutabagas & Turnips are my Favorite + Turnabaga Dip & Rutabaga Roast Recipe

January 17, 2016

Rutabaga_HealthyStacey

You go to the grocery store, and no matter your intentions, you find yourself in the same aisles, picking up the same products, and then, cooking the same dinner that night. Life is busy enough without changing what already works, right?

But then, there is this tiny voice that whispers, “Stacey (or Katie or Michelle or Doug), why don’t you try something new? You cooked chicken and Brussels sprouts three days ago, and three days before that.”

And that voice is almost always coming from the odd, scary looking vegetables in the produce section. You know the ones. They’re round and bumpy, with weird roots growing out of them. They come in all different colors – red, pink, white and ugly. You think to yourself, I wonder if anybody actually buys those things?

Well guess what? Last week, I was that girl. The ones who buys the weird ugly vegetables. And I am SO glad I did.

Turnip_HealthyStacey

This past weekend, I became good friends with the Rutabaga and the Turnip. We chopped, we roasted, we seasoned; and then, we made a dip. It was fantastic.

So why should you listen to me (or your voice) and try these awesome veggies? Well, besides the fact that I can help you make them taste delicious, they are – SURPRISE – really good for you! You ready for the breakdown?

Why Rutabagas and Turnips Are Awesome.  

RutabagaTurnip_HealthyStacey

IN A NUTSHELL: A rutabaga is a cross between a turnip and a cabbage, while a turnip is just a turnip (it came first). Both are cruciferous vegetables with high nutrient content. Rutabagas are larger with creamy orange flesh, and a sweet flavor when roasted. Turnips are white with a purple-red top, and a peppery taste.

They have lots of:

Vitamin C (53-54% of your daily recommended value!), zinc, fiber, thiamin, potassium, manganese, vitamin B6, calcium, magnesium, and phosphorous.

Which help you:

With your immunity (Vitamin C baby!)

Form collagen and thyroid hormone (which in turn protects cell damage, heals wounds, fights infections, promotes healthy bones, teeth, gums, and blood vessels)

Get ENERGY (potassium and manganese)

Absorb calcium (magnesium)

Combat stress (magnesium again)

Metabolize proteins and sugars (phosphorous)

Fight cancer (American Cancer Society recommends that Americans increase their intake of cruciferous veggies because they’re so awesome)

With digestion/weight loss (all that fiber)

Okay, okay. I’ll eat them. How do I do that?

Roast them, fry them, sauté them, boil them, add them to soups and stews, mash them into a delicious dip, or just eat them raw (yeah, that’s allowed).

IMPORTANT NOTE: You should always peel the rutabaga first, as they have a wax coating.

You guys in? Great! Because I’ve got an awesome recipe for you to kick off your new cruciferous habit.

Rutabaga Roast – Paleo and Vegan

RutabagaRoast_HealthyStacey

These have been a great get-home-from-work snack. If I can grab these over a chip or a cracker, I'm a happy camper. They're also a new and different addition to salads. 

INGREDIENTS:

  • 4 Rutabagas
  • 4 Turnips
  • 1-2 Tablespoons of Coconut Oil
  • Fresh chopped herbs (I used fresh rosemary, thyme, and sage, but I also think simple parsley would be lovely)
  • S&P

DIRECTIONS:

  1. Preheat the oven to 425 and prep your baking sheet with parchment paper or aluminum foil
  2. Wash and peel rutabagas and turnips
  3. Cut them into 1 to 2 inch cubes
  4. Put them in bowl with melted coconut oil, herbs and S&P
  5. Toss on baking sheet and roast for 15 minutes
  6. Flip over with a spatula and roast for 10-15 more (or until your desired texture – I like when they still have a little crunch)

Turnabaga Dip – Paleo and Vegan

TurnabagaDip_HealthyStacey

I can’t even begin to tell you how much I have fallen in love with this dip. It’s slightly sweet, slightly peppery, creamy, and seems to be the perfect compliment to everything I’ve eaten this week. I highly recommend it over a slice of beef or duck. SO freaking delicious.

INGREDIENTS:

  • 2 Rutabagas and 2 Turnips, roasted (see above – I used half of my batch)
  • ¼ Cup Extra Virgin Olive Oil (eyeball it as you go)
  • 2 Teaspoons of Tahini
  • 1 Teaspoon Lemon Juice
  • 2 Sprigs of Rosemary
  • 2 Sprigs of Thyme
  • S&P

DIRECTIONS:

  1. Toss roasted rutabagas and turnips in to the food processor
  2. Add in tahini, lemon juice, herbs and S&P – I have provided you with lesser measurements because I want you to add to taste. This is how I always make my dip because the best way to get it just right is to start small, and add as you go. Experimenting is part of the fun.
  3. Pulverize in your food processor, pouring in Extra Virgin Olive Oil as it processes

The more you can keep this kind of food around in your kitchen, the less you’ll eat processed, packaged snacky food. I don’t know about you, but I HAVE to snack when I walk in the door. Especially when I’m cooking. I’ve been eating this dip by the spoonful, and with all that nutritional content, it not only hits the spot, it’s really good for me.

Sources:


Like what you read today? See those cute little social shapes underneath this post? They're for sharing! Click one to post to Facebook, Pinterest, Twitter, or comment right here on the blog. I would love to hear from you.

Can't get enough of all this healthy stuff? Then sign up for the newsletter where it says "Enter Your Email" at the top of this page. Too much of a commitment? That's cool. I also have a sweet Facebook page, deep-thoughted Twitter page, food-pornish Instagram handle, and recipe-filled Pinterest page.

Much Love,

HealthyStaceySignature

Pumpkin Butternut Squash-Sghetti & Prosciutto

October 30, 2015

Enjoy the health benefits of Prosciutto di Parma

Being obsessed with homemade cooking can be exhausting.

Not all the time. But as the days get shorter, the nights get colder, and my workload gets bigger, coming home to two hours of dinner-making is not appetizing. Problem is, I have a really hard time eating anything but homemade. Because now that I know what real food tastes like, frozen meals and to-go food just doesn't taste the same.

Enter prosciutto.  

The soft, buttery goodness that happily sits in the meat drawer in my refrigerator. Just knowing it’s there at the end of a long day – already delicious, already lovingly-prepared, no marinading or seasoning necessary – makes me so happy.  

Prosciutto nights consist of veggies in some shape or form – a salad, Brussels sprouts, broccoli, zuchsghetti – topped with beautiful pieces of rich, marbled cured meat. 

Before I go any further. Yes, I have heard about the recent World Health Organization report that puts red meat right up there with cigarettes in its cancer-causing potential.

In fact, I've read it. And guess what? I'm still psyched to eat this dish (recipe below). And confident in telling you why it’s good for your health – prosciutto and all.

IMG_6454

For those of you who haven’t been following, the report named processed meat a definite carcinogen (based on sufficient evidence in humans that its consumption causes colorectal cancer). And red meat a probable carcinogen (based on limited evidence that its consumption causes cancer in humans).

As soon as I heard about this, I knew I had to look into it more. And I’m glad I did because – as always – there’s a lot more to it than the bold headlines that are meant to scare the shit out of you. I won’t go into it here because I don’t feel qualified to explain it to you. But if you’re interested in learning more, read the study here (you have to register for The Lancet first), and then read this article and this article, that dig into the data a little deeper.

My concern is that people will read the headlines, and suddenly be scared of all cured meat. But not all cured meat is the same (or red meat, for that matter).

Let’s just say that my bologna has a first name. And it’s not O-S-C-A-R. (Although I DO love that song).

No, I put a lot of thought into the cured meat I buy for my meat drawer. And because of that, I fell madly in love with Prosciutto di Parma at my blogging retreat a few months back.

It was actually Iron Chef America Judge, Mario Rizzotti, who personally introduced me to it. With his Italian accent, and extreme passion for authentic Italian food, he told me about the strict quality controls in Parma, Italy. And how all Prosciutto di Parma is made using only three ingredients (besides the pig): sea salt, air, and time. No preservatives or additives are used in its air curing. Nitrites and nitrates are never used.

This is very relevant in the light of this study.

The International Agency for Research on Cancer (IARC) linked carcinogenic activity with nitrate and nitrite-cured meats, as well as smoked or chargrilled red meats.

Butternut Squash Spiralized Healthy Stacey

Guess what? If the meat is cured with time, there IS no smoking or cooking. Prosciutto Di Parma, for example, is aged for at least 400 days, very strategically using those three magic ingredients (sea salt, air and time).

Moreover, eating certain types of prosciutto can actually be good for you. According to The Consorzio del Prosciutto di Parma, Prosciutto di Parma (and other quality meat like it) is rich in polyunsaturated fat, essential amino acids and antioxidants that actually have anticancer properties. It also contains an important source of micronutrients, minerals and vitamins, such as zinc, selenium, calcium, vitamin B6, B12 and folate, which have demonstrated effects in cancer protection.

Ahh. THIS is why I want to go to Italy. Because I truly believe this stuff MATTERS.

And you know what else matters?

WHAT you eat with that cured meat. And what you ate earlier that day. And the day before that. And the day before that.

Eating green vegetables with that meat can reduce the carcinogenicity of the red meat. And eating antioxidant-rich foods (e.g. green tea, berries, dark chocolate, turmeric) that contain protective compounds that inhibit carcinogenic formation in the stomach can also reduce carcinogenic activity. And yes, eating diner bacon, McDonalds burgers, and Oscar Meyer cold cuts on a regular basis probably will increase your chances of carcinogenic activity. 

My point?

I am not a scientist, a doctor, or a nutritionist. But, when it comes to any claims on our health, I strongly believe we have to consider three things:

  • The origin of our food.
  • How it’s prepared.
  • Our entire lifestyle and diet (not just the food in question)

I love my prosciutto and I’m going to keep loving it. But I’m also going to keep eating tons of vegetables, exercising 4-5 days a week, and staying away from cold cuts and cured meats from unfamiliar sources and with questionable operating procedures.

NOW. Let’s get back to that recipe, shall we?

The great thing about prosciutto for dinner is that all the work has been done for you! For once, you can make a pretty simple meal that has all the complexity of a homemade dish, without any of the work.

So what did I do with my Prosciutto di Parma? Hmmm. Something fall-like. Something warm. Something creamy that’s just screaming for a crispy topping. I got it!

Pumpkin Butternut Squash-Sghetti with Prosciutto

Pumpkin Butternut Squash Pasta and Prosciutto 

Squash-Sghetti Ingredients:

  • 1 butternut squash
  • 2 large carrots
  • Ghee
  • 3-4 slices of Prosciutto di Parma
  • Kale or Spinach (greens have added anti-cancer properties, plus really balance out the rich creaminess in this dish)

Pumpkin Sauce Ingredients:

(I have to admit, I ended up eating most of this with a spoon instead of putting it on the dish. It is THAT good).

  • 1 shallot, chopped
  • Ghee
  • 1 cup of pumpkin puree
  • ¼ cup of coconut milk (in the can)
  • 1 teaspoon pumpkin pie spice
  • pinch of nutmeg
  • Salt and Pepper, to taste

Equipment you’ll need:

  1. Spiralizer (or you can just chop your b-squash up into chunks if you don’t have one)
  2. Chopping board
  3. Carrot shredder

How to make the Squash-Sghetti:

  1. Remove the skin from your butternut squash with a vegetable peeler. Then cut your butternut squash in half, cutting between the long part and the bulbous part (the bulbous part can NOT be spiralized because it has the seeds inside). Spiralize the remaining part of the butternut squash.
  2. Shred your carrots.

How to make the Pumpkin Sauce:

  1. Saute chopped shallot in ghee
  2. Toss in food processor (or I used my Nutri Bullet), along with pumpkin pureee, coconut milk and seasonings until creamy

Putting It All Together:

  1. Preheat your oven to 400 degrees
  2. Put your butternut squash on a parchment-paper-covered baking pan
  3. Roll it around in 1/2 tablespoon of ghee
  4. Cook for 5-7 minutes
  5. While that’s cooking, toss your shredded carrots and prosciutto in a sauté pan. I do it separately from the oven because I’m paranoid and I like to make sure I can see my prosciutto and I’m not overcooking it.
  6. Take your butternut squash out of the oven and toss together with the carrots, the prosciutto and the kale.
  7. Pour your pumpkin cream sauce on top. Use sparingly, as it's really rich. Then put some aside to dip in pretty much anything and make it better.
  8. Take a bite. And never look back.

Like what you read today? Think somebody else would like the recipe for Pumpkin Butternut Squashghetti and Prosciutto? See those cute little social shapes underneath this post? They're for sharing! Click one to post to Facebook, Pinterest, Twitter, or comment right here on the blog. I would love to hear from you.

Can't get enough of all this healthy stuff? Then sign up for the newsletter where it says "Enter Your Email" at the top of this page. Too much of a commitment? That's cool. I also have a sweet Facebook page, deep-thoughted Twitter page, food-pornish Instagram handle, and recipe-filled Pinterest page.

Much Love,

HealthyStaceySignature

Paleo Apple Pie Of My Eye Recipe

October 21, 2015

Homemade apple pie.

PaleoApplePIePiece_HealthyStacey

It sounds so intimidating. So unnatainable. So pleasantville.

Apple pie is for sweet old grandmothers, cool hipster bakeries and stay-at-home moms.

PaleoApples_HealthyStacey

Apple pie is not for the casual cook who works a 9 to 5.

And it’s definitely not for Paleo health nuts who don't eat a lot of sweets.

PaleoApplePie_Mix

Well, I guess I must’ve knocked my head on a street sign (true story). Because I decided that I wanted – no, I needed – to make an apple pie this fall.  

Needless to say, this is not one of those recipes where I say, “It’s so easy! Just toss in random ingredients, mix it together, throw it in the oven and you’re done!”

PaleoApplePIeBaking_HealthyStacey

Nope. Apple pie is not easy. It’s not quick. It’s not simple. And it's totally not necessary. 

But damn, is it good. And for a straight-arrow like me, who always makes the "sensible" recipe, sometimes unnecessary IS necessary. (mind: BLOWN)

Paleo Apple Pie Of My Eye Recipe*

Grain-free, gluten-free, dairy-free, organic, and low sugar. Oh, and did I mention delicious? (You can tell because I didn't do my usual "Wait, wait, wait! I have to take a picture first!" Me and my fiance just dug in).

PaleoApplePIeOutside_HealthyStacey

CRUST INGREDIENTS:

  • 4 cups almond flour – I use good old Bob's Red Mill
  • 1 tablespoon ground flax seed – Bob, again
  • 1 tablespoon tapioca starch – love this stuff
  • 1 egg
  • ½ cup coconut oil – Thrive has my favorite for a great price
  • 2 teaspoons vanilla extract – on sale right now at Whole Foods!
  • 1 teaspoon baking soda
  • ¼ teaspoon salt
  • 1 teaspoon cinnamon – The Spice House is where it's at

FILLING INGREDIENTS:

  • 5 medium-sized apples, peeled and diced (whatever kind you have, I'm sure will work)
  • 4 tablespoons coconut oil
  • 1/4 cup coconut sugar – I got this one at Mariano's
  • 1/4 cup of honey
  • 1 tablespoon coconut flour – I like this brand
  • 2 teaspoons cinnamon
  • 1 teaspoon pumpkin pie spice – Spice House baby!
  • ⅛ teaspoon cloves
  • 1 tablespoon vanilla extract

PaleoApplePIe2_HealthyStacey

THINGS YOU'LL NEED:

  • 2 big sheets of parchment paper
  • A "rolling pin" (I just used a bottle of extra virgin olive oil – I don't even eat bread, why would I own a rolling pin??)
  • 9-inch pie pan (yeah, I bought this just for this pie. Mariano's for $5. #worthit)

MAKE THE CRUST:

  1. Mix the almond flour, flax seed, tapioca starch, baking soda, salt and cinnamon together with a spoon.
  2. Add in egg, melted coconut oil and vanilla extract.
  3. Get in there with your hands, and knead into a dough. 
  4. Lay out your parchment paper (2 sheets) on the counter so it's ready for your dough.
  5. Take half the dough and place on paper. Then lay the other half on top of it, making sure the dough is centered on the paper.
  6. Using a rolling pin (or a bottle of olive oil), roll the dough into a large circle so that it'll fill a 9-inch pie pan.
  7. Peel off top parchment paper. Place the pie pan upside down over the flattened dough, and carefully flip into the pie pan. You will inevitably cause a few holes here. Just smooth it down with your hands and fill up any holes or cracks with small pieces of dough.
  8. You want the dough to meet the top rim of the pan. Trim off the excess and add to your other pile.
  9. Take the remaining half of the dough and roll into a rough rectangle the same way you did the first one.
  10. Cut the flattened dough into one-inch wide strips. This part is not easy. Especially if your dough is a little dry. It may fall apart. It may look hideous (see above picture for proof). But it'll still taste amazing. 
  11. Place the dough into the refrigerator for a tick – I waited an hour.

MAKE THE FILLING:

  1. Melt the coconut oil in a pot on medium heat.
  2. Add in your sliced apples, coconut sugar, honey and spices.
  3. Stir the mixture to drench those apples in your yummy cinnamony stew. 
  4. Add in the coconut flour and mix well.
  5. Add in the vanilla extract and turn off the heat.
  6. Leave to cool for 10 minutes.

PaleoApplePIe_HealthyStacey1
PUT IT ALL TOGETHER:

  1. Preheat the oven to 350F.
  2. Spoon in the apple pieces and sauce into the pie crust.
  3. Now comes the hardest part (in my opinion). This is the part that determines whether your final pie will look Pinterest Perfect. Or will look like a 2nd grader's art project, but still taste amazing. Mine was somewhere in between. Bust out those strips of pastry from the refrigerator, and very, very carefully – with a big spatula, peel them off the paper and lay one after the other over the filling. Ideally, you want them to reach both ends (mine didn't). And you want to create a criss-cross pattern – lay four down one way, and the other four on top the other way.
  4. Bake for 25 minutes.
  5. Let them eat pie!

PaleoApplePIeByFire_HealthyStacey

Like what you read today? Think somebody else would like the recipe for Paleo Apple Pie? (Honestly, who wouldn't?). See those cute little social shapes underneath this post? They're for sharing! Click one to post to Facebook, Pinterest, Twitter, or comment right here on the blog. I would love to hear from you.

Can't get enough of all this healthy stuff? Then sign up for the newsletter where it says "Enter Your Email" at the top of this page. Too much of a commitment? That's cool. I also have a sweet Facebook page, deep-thoughted Twitter page, food-pornish Instagram handle, and recipe-filled Pinterest page.

Much Love,

HealthyStaceySignature

*Inspired by this post from Louise Hendon. Thank you dearly Louise for teaching me how to make a pie.