Zucchsghetti with Avocado Alfredo – Paleo, Vegan, High in Omega-3
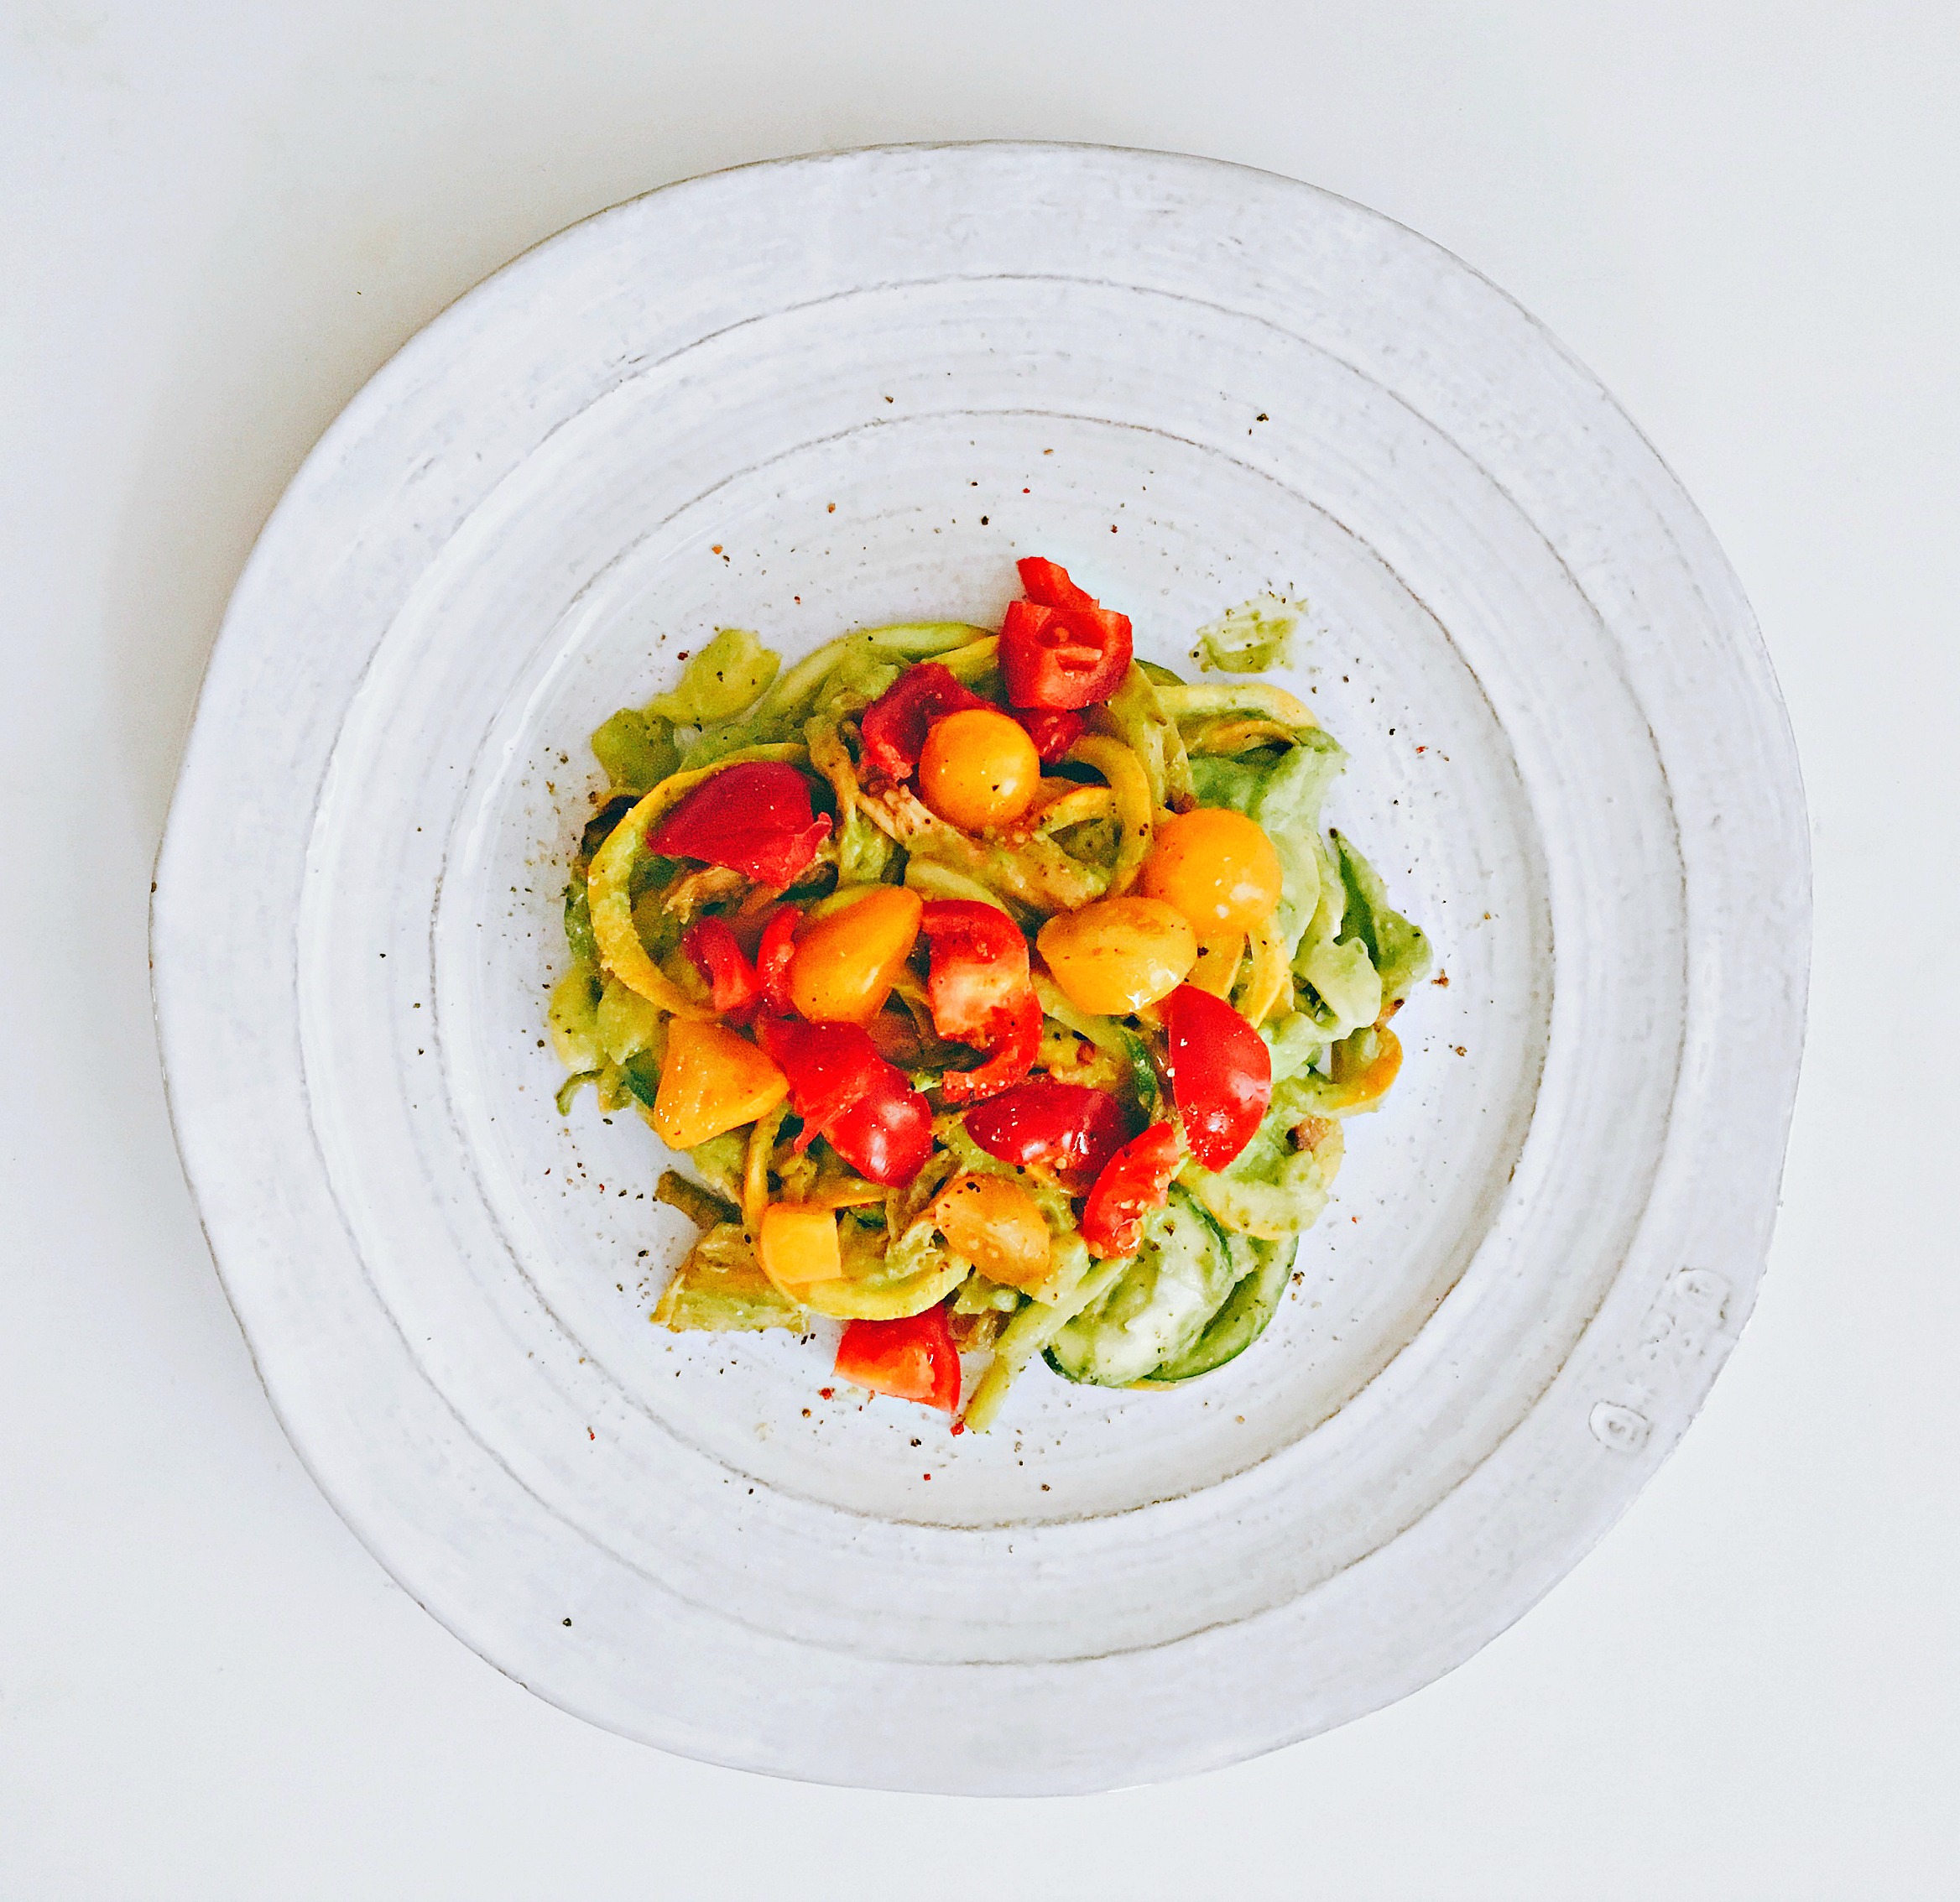
This recipe is for all of you who out there who don't think you can be decadent on a Paleo diet. Creamy, rich and lick-the-blender satisfying, with this sauce, you won't believe that you're eating an entire bowl of vegetables – including high in omega-3 gems like avocados and hemp seeds. Best part is, it's not even that hard to make! I'd say on a scale of 1 to 10, it's about a Tuesday. Not a Monday where you're still trying to recover from over-eating and over-drinking and you barely have enough energy to order take-out. But a Tuesday. You're getting back in the swing of things, but still aren't looking for anything with a lot of effort.
INGREDIENTS:
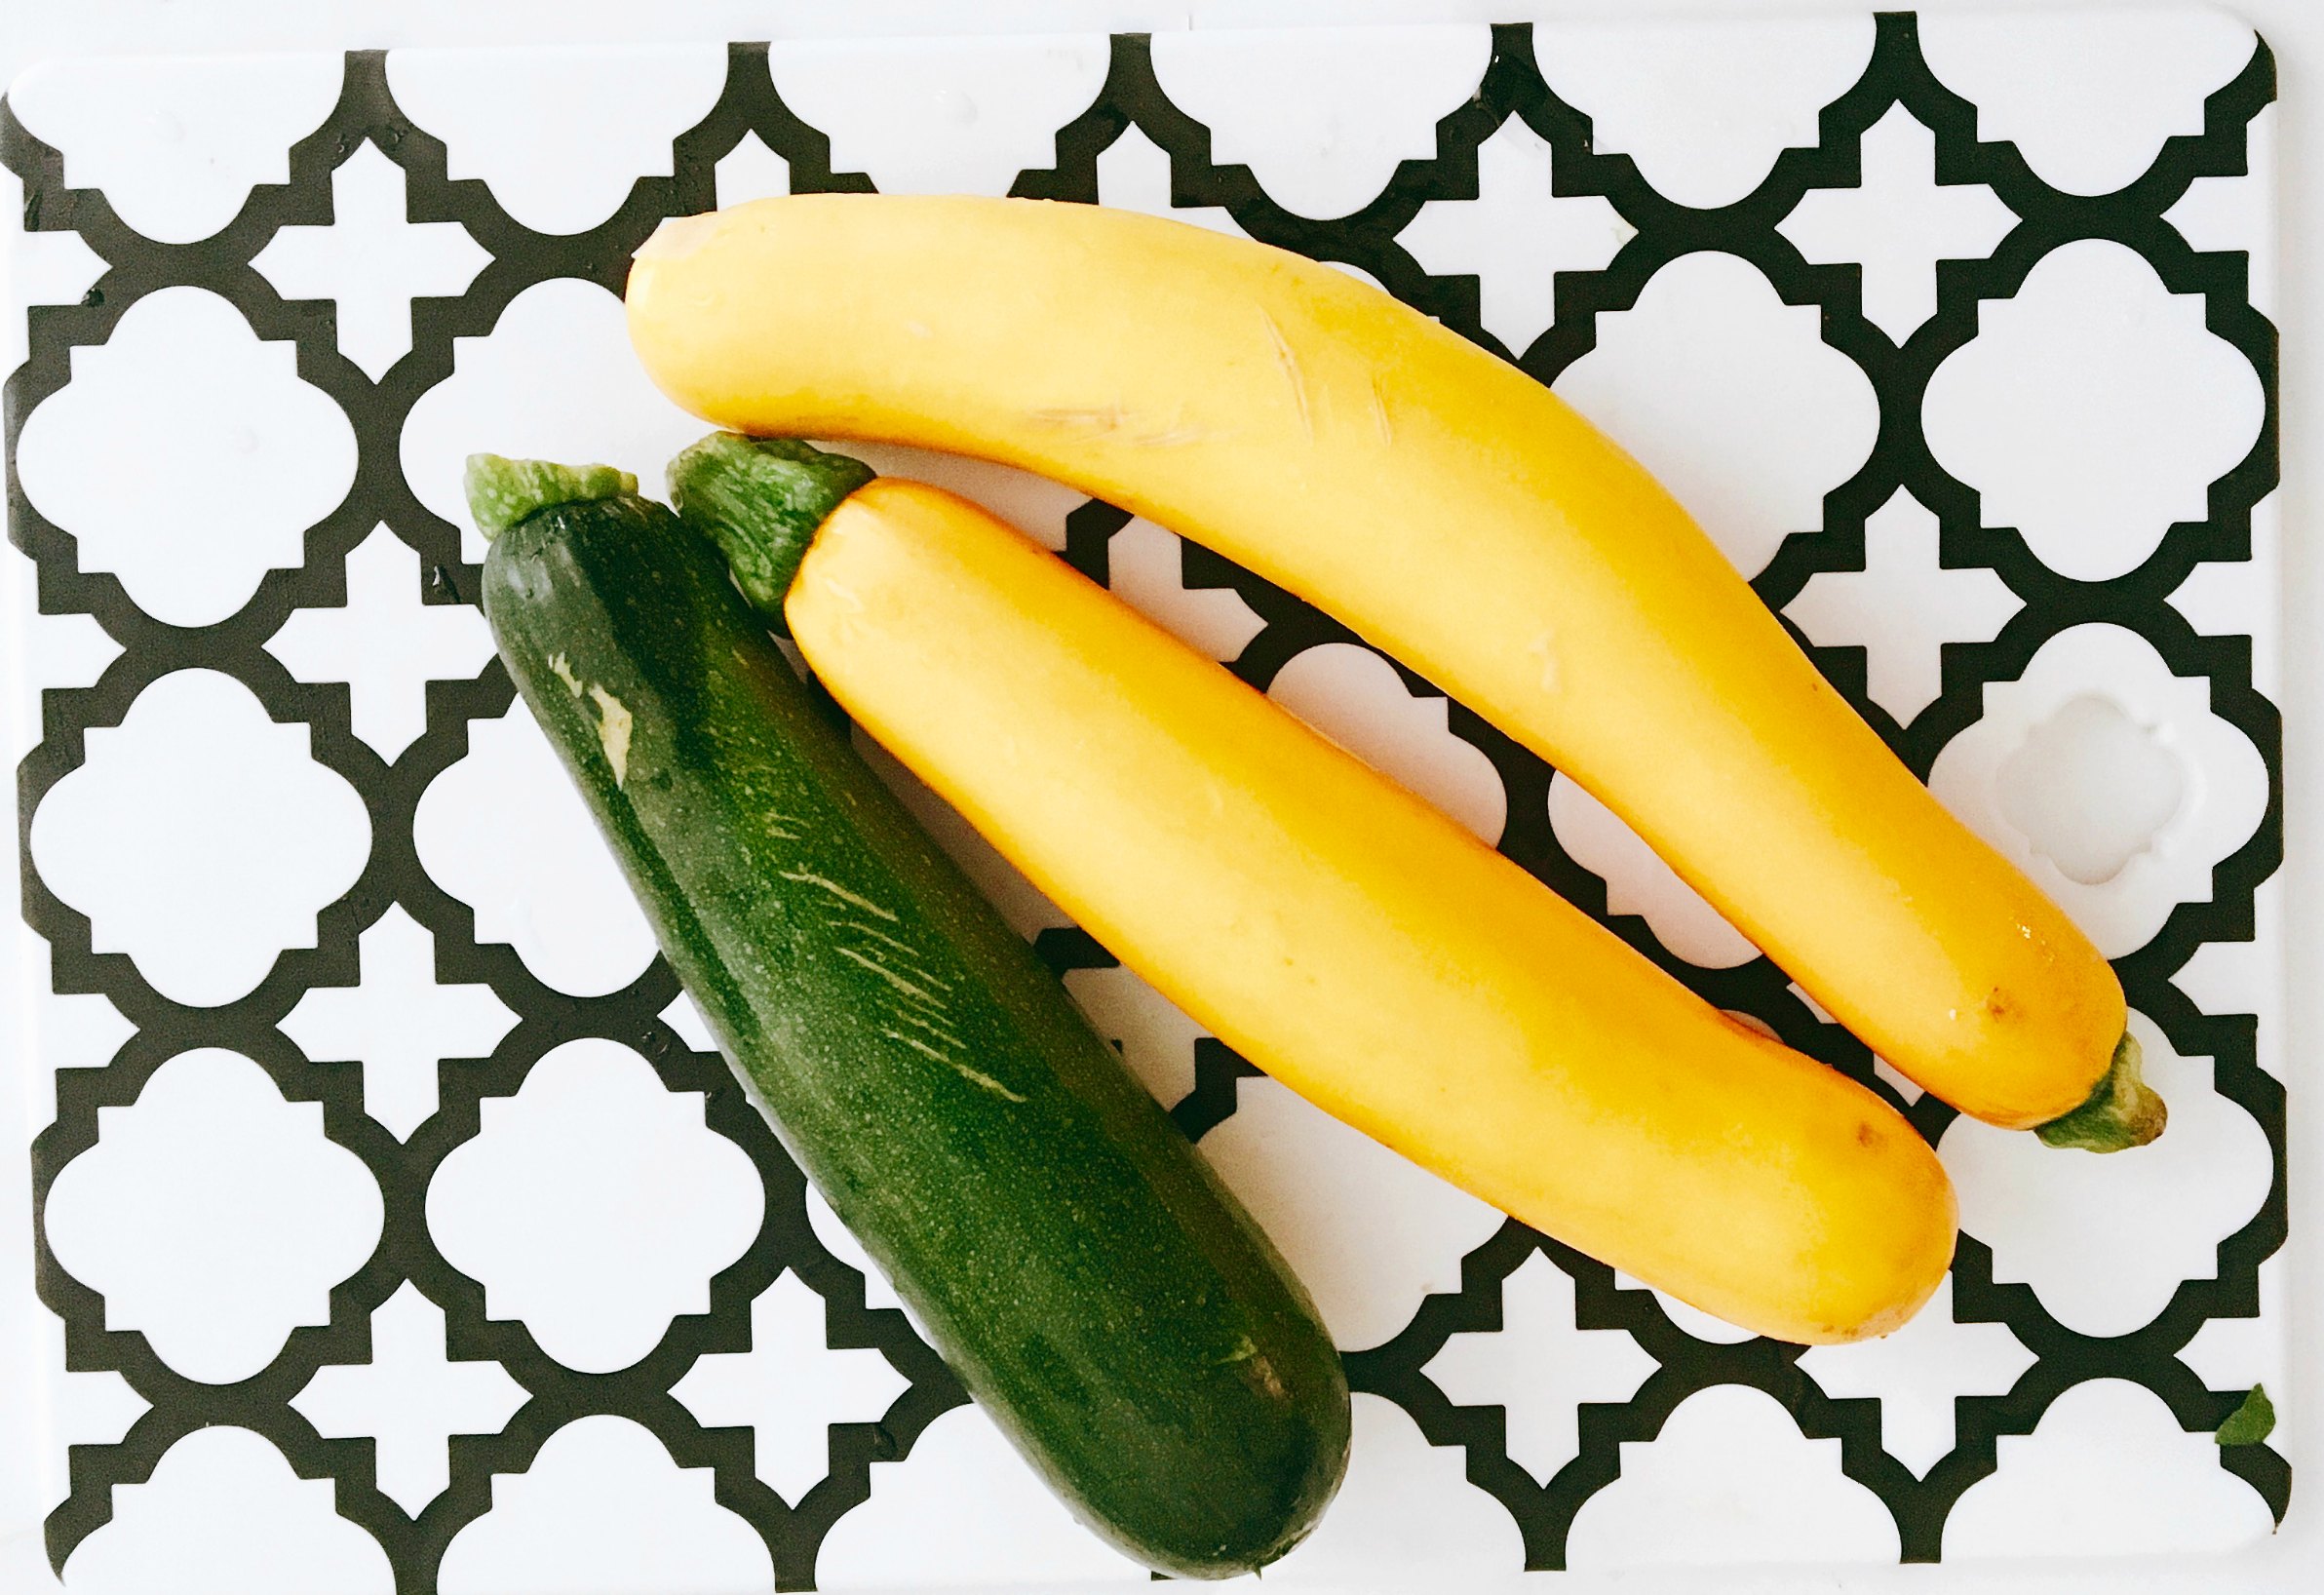
- 1 zucchini
- 2 yellow squash (or vice versa)
- 1 cup of cherry tomatoes
- 1 small onion
- 1 tablespoon of coconut oil – I love Dr. Bronner's
ALFREDO INGREDIENTS:
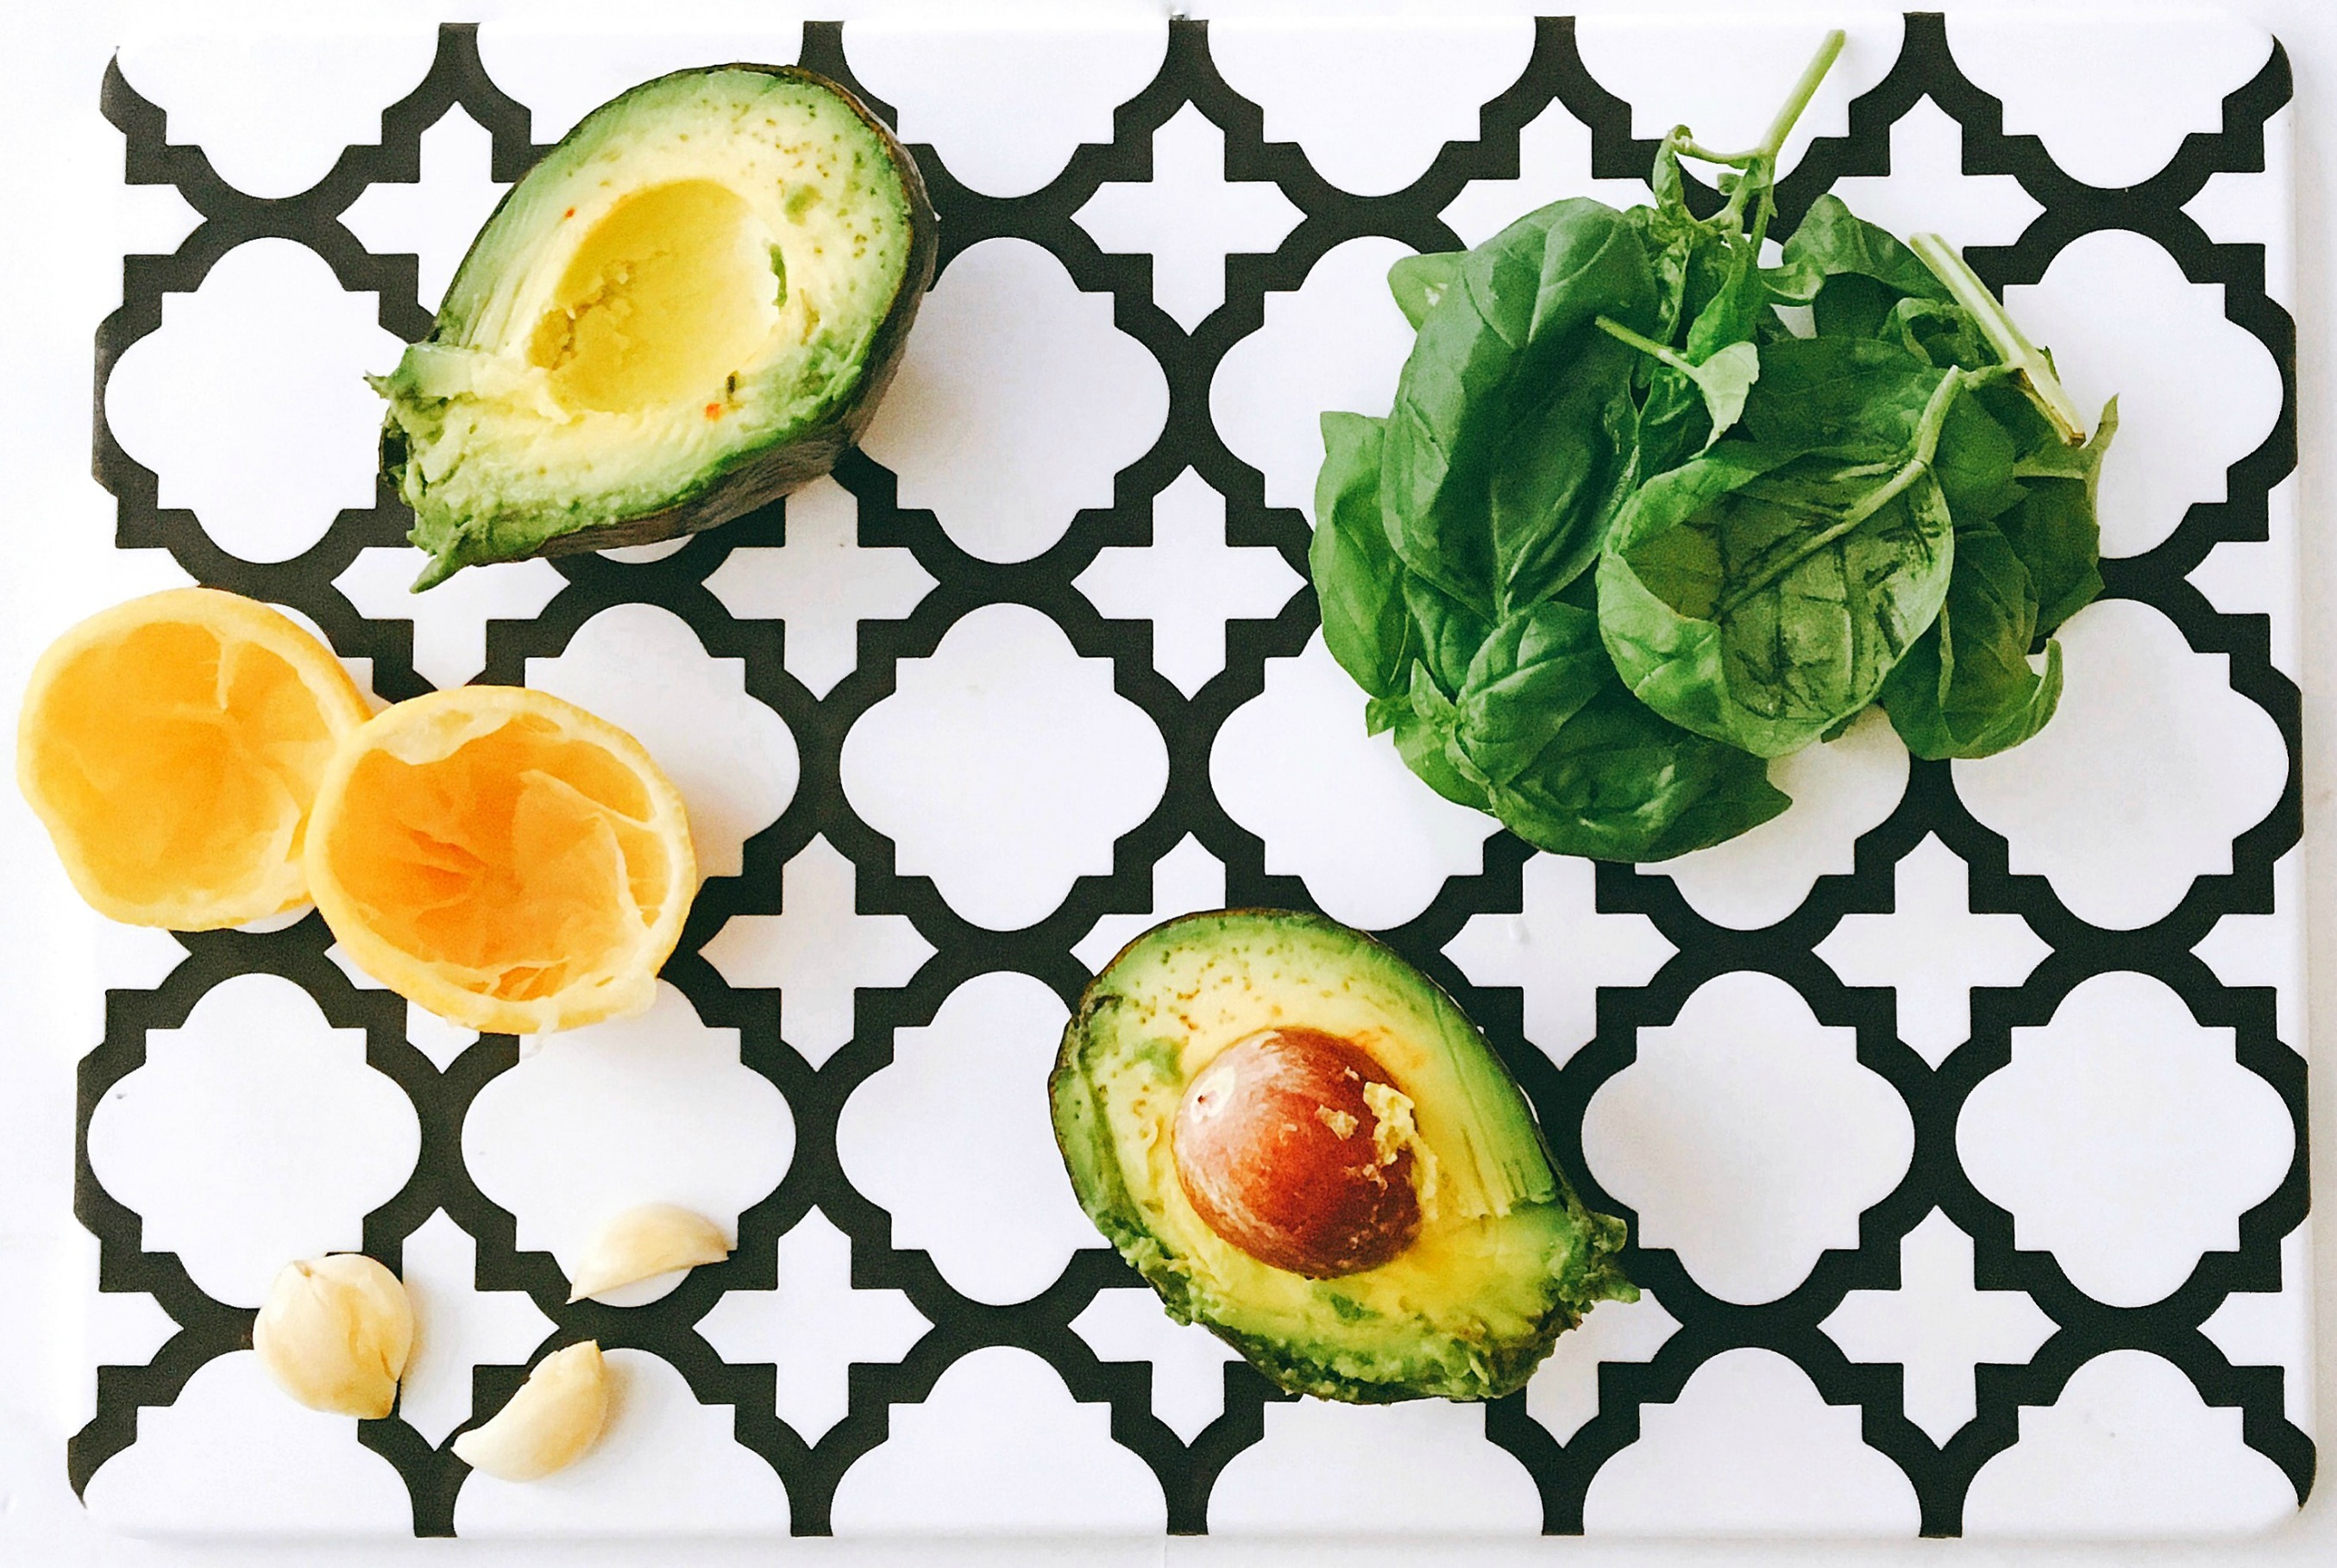
- 2 Avocados
- ½ cup of fresh basil
- ½ cup of spinach
- 2 cloves of garlic
- 2 tablespoons freshly squeezed lemon juice
- 1/3 cup olive oil
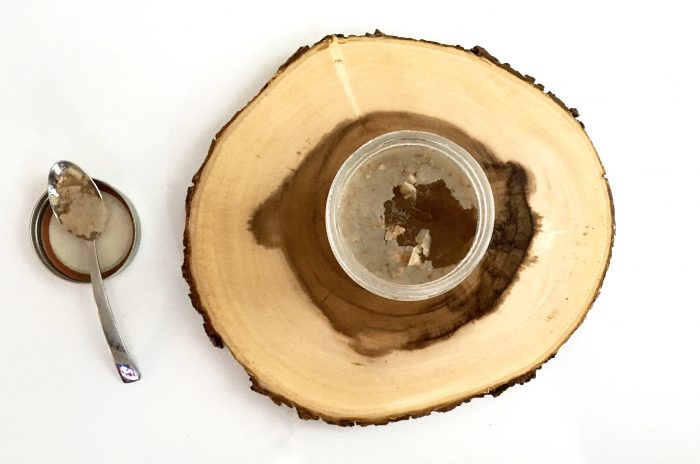
- 1 tablespoon hemp seeds – I use Navitas Natural
- Salt and Pepper to taste
DIRECTIONS:
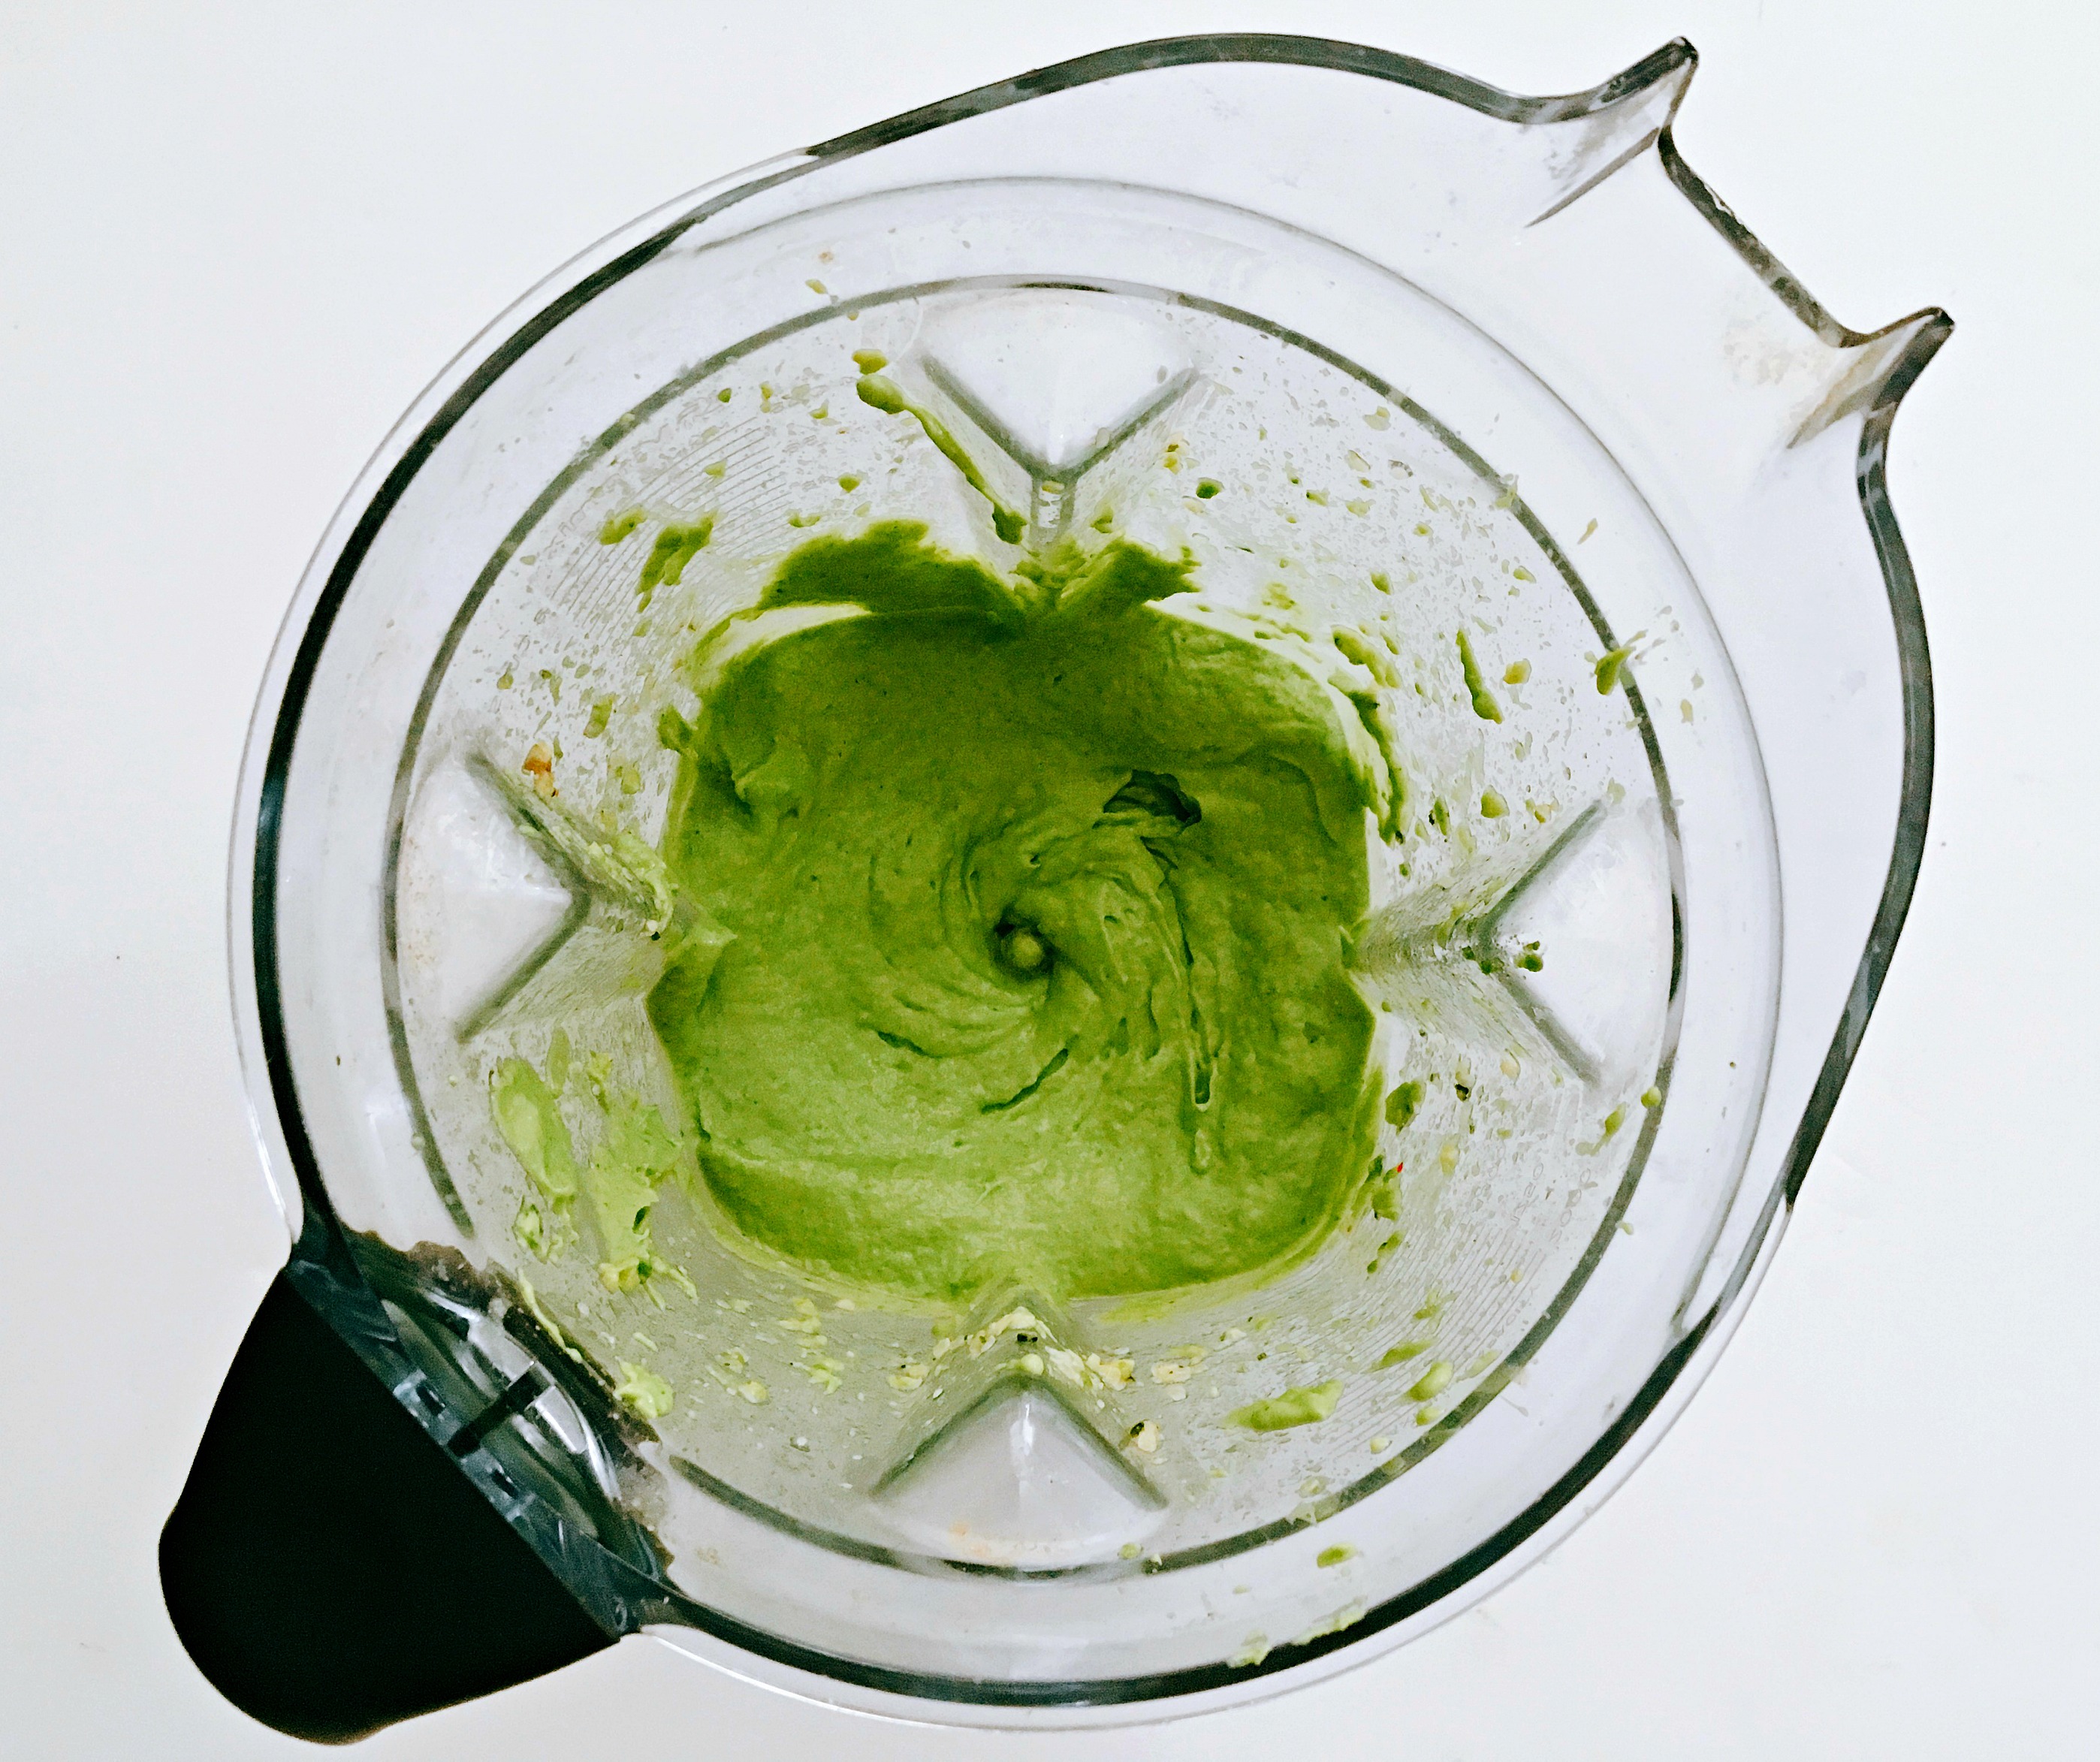
- Toss all alfredo ingredients into your high powered blender or food processor EXCEPT the Extra Virgin Olive Oil.
-
Power on and slowly pour in the Extra Virgin Olive Oil. Blend until creamy, and taste as you go (add in more S&P, lemon juice, red chili pepper, whatever floats your boat). Set aside till needed.
Note: I added a tiny bit of water to get the ingredients moving around and blending better. - Cut your zucchini and squashes in half.
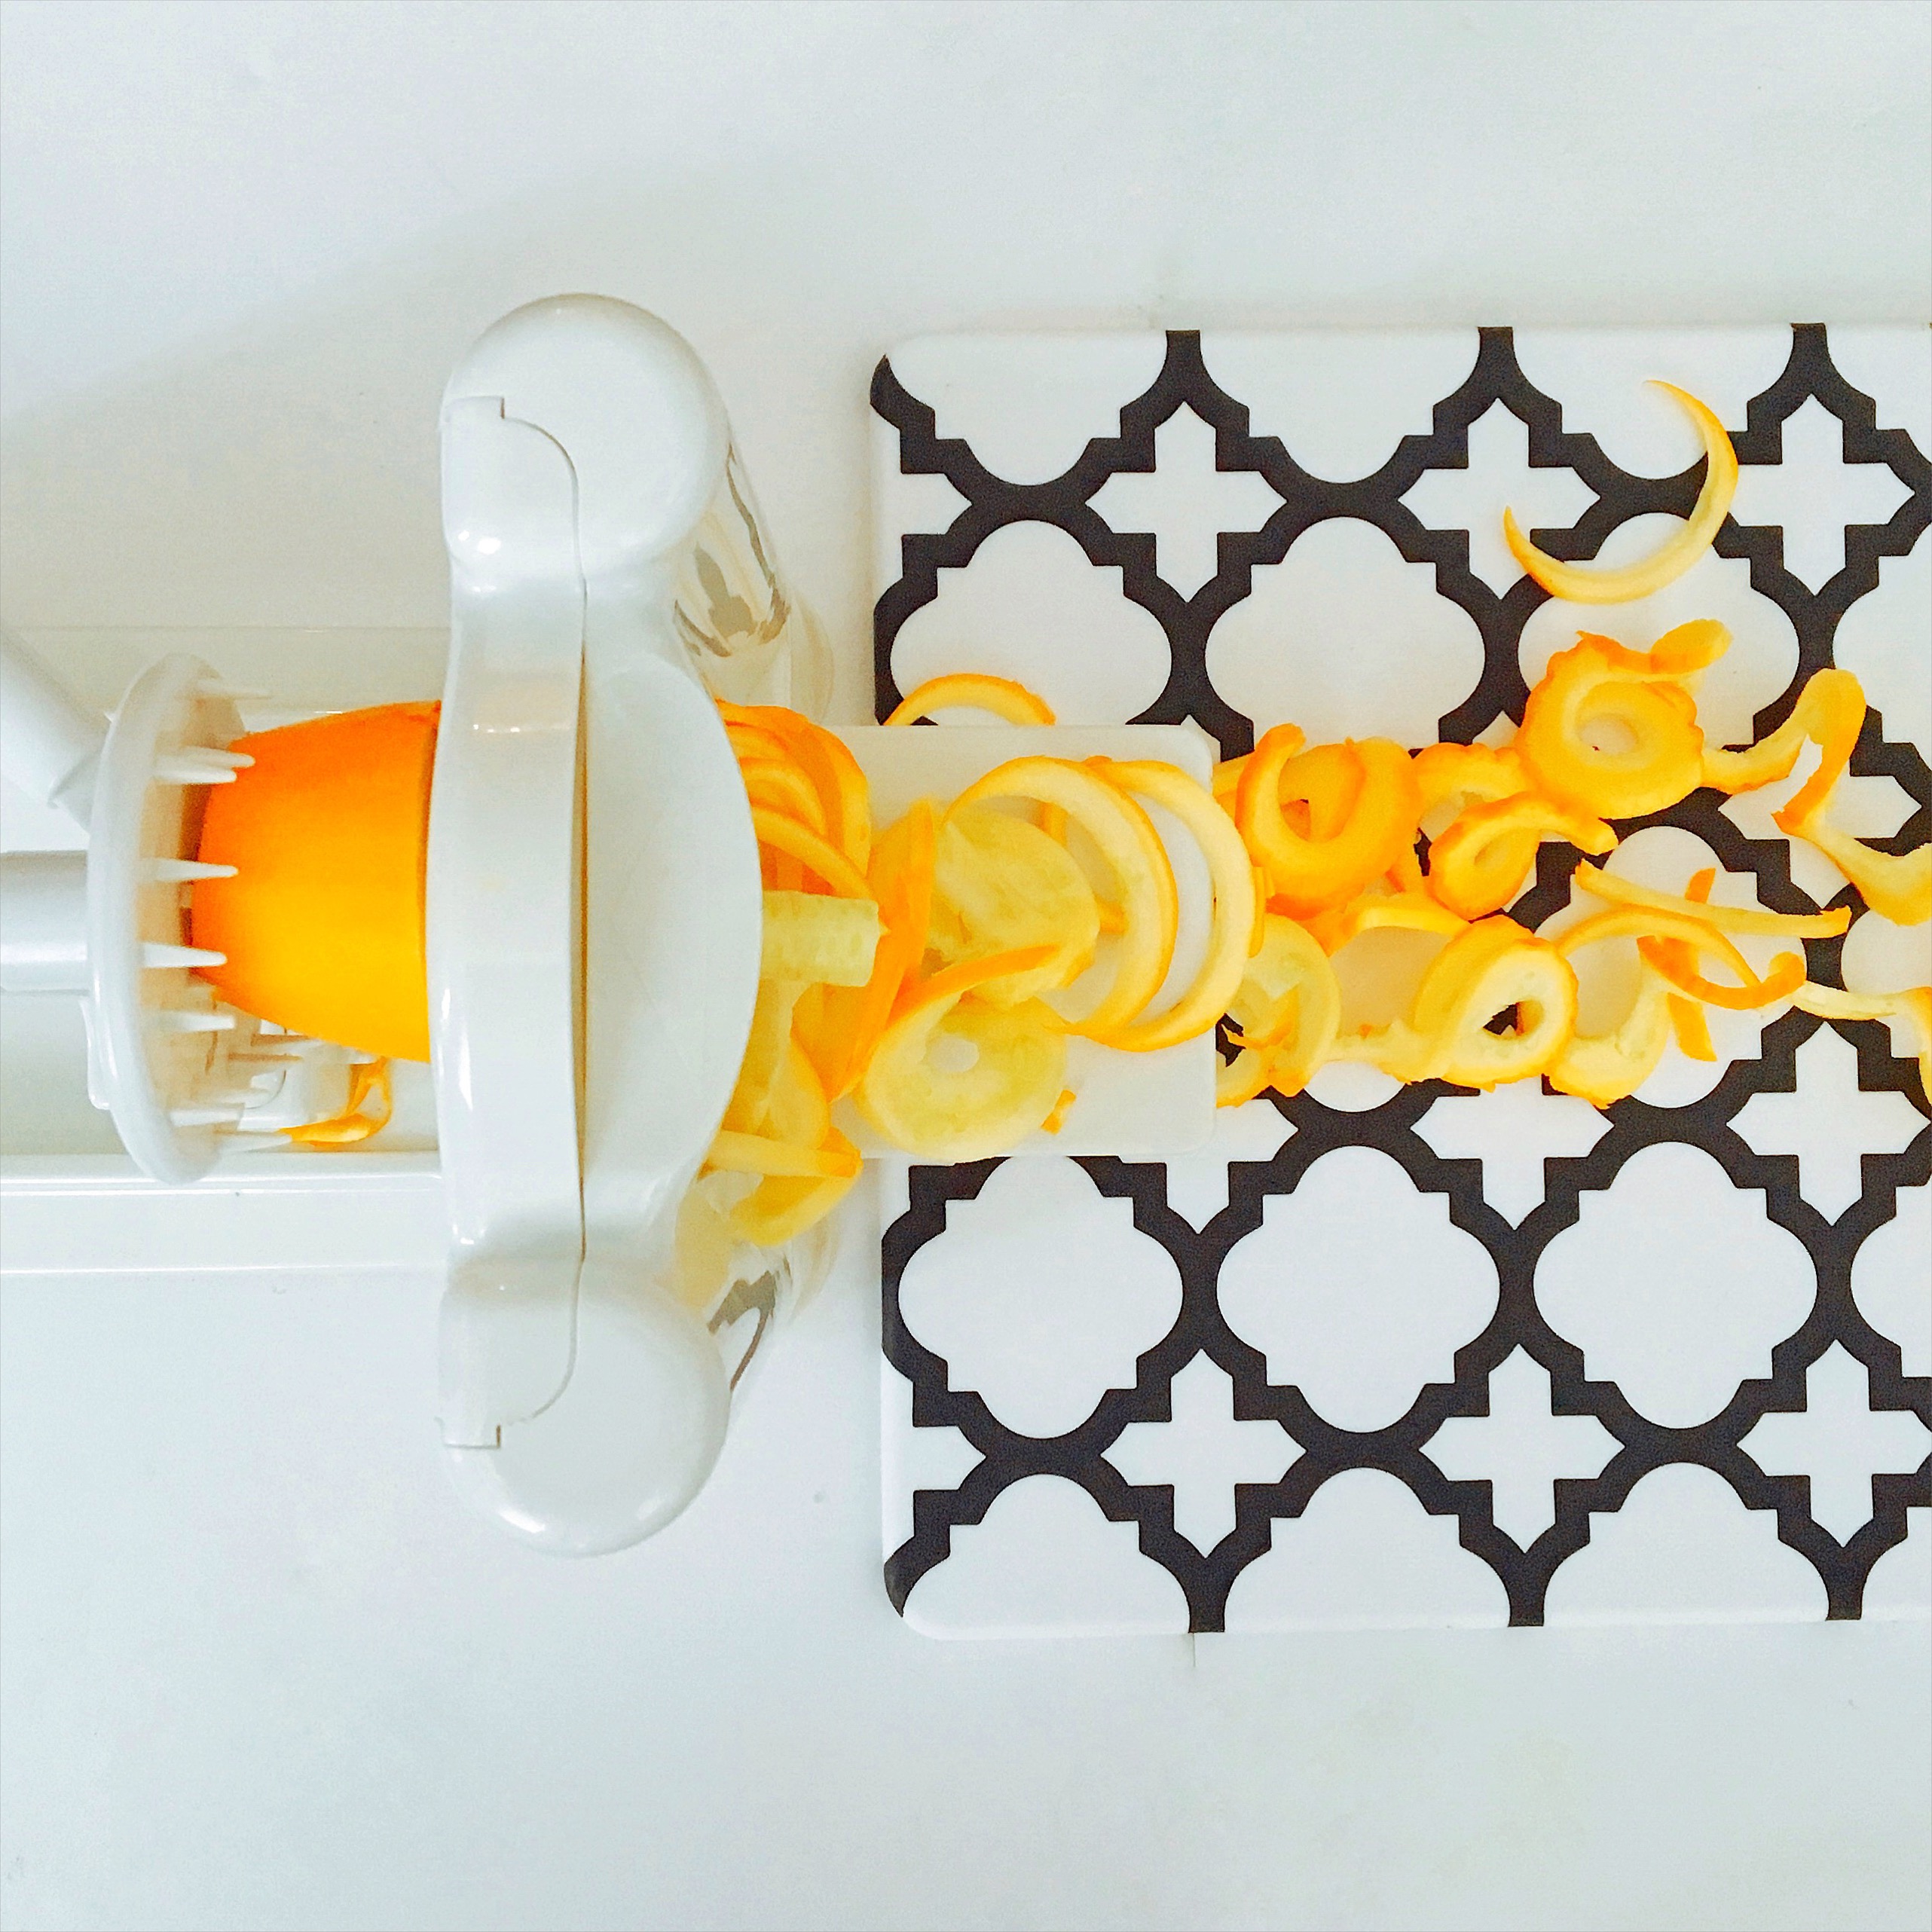
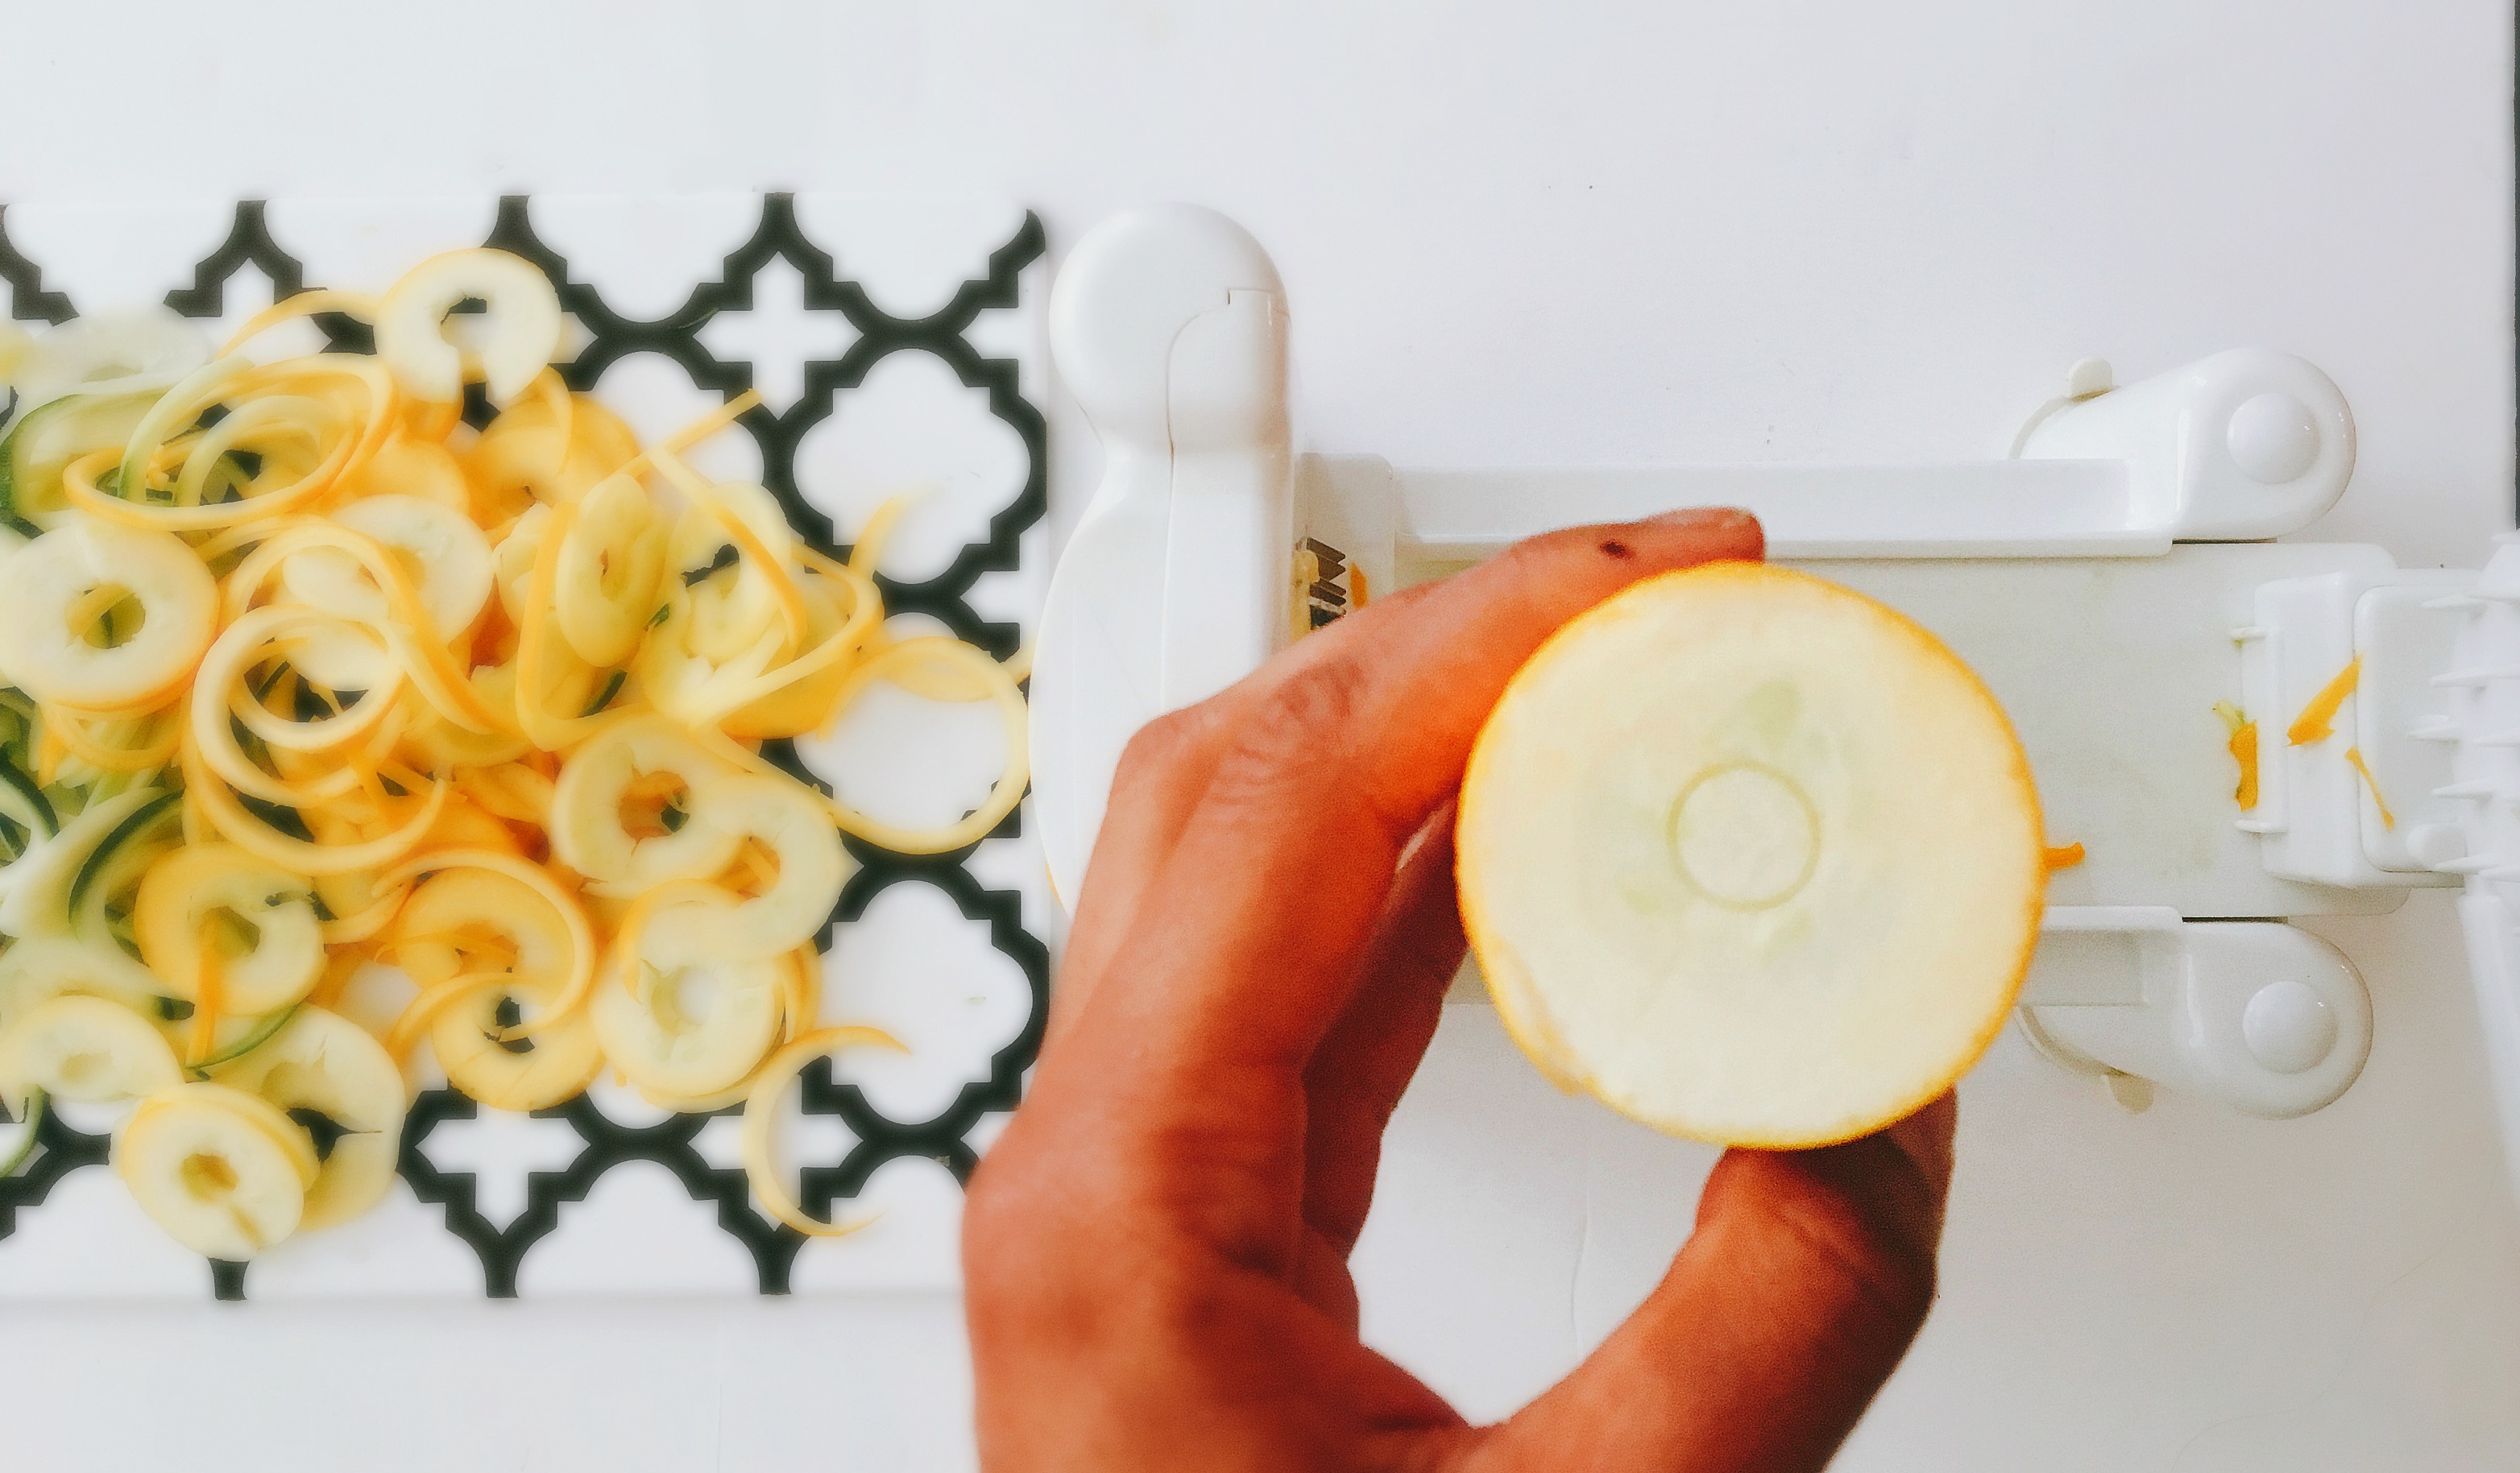
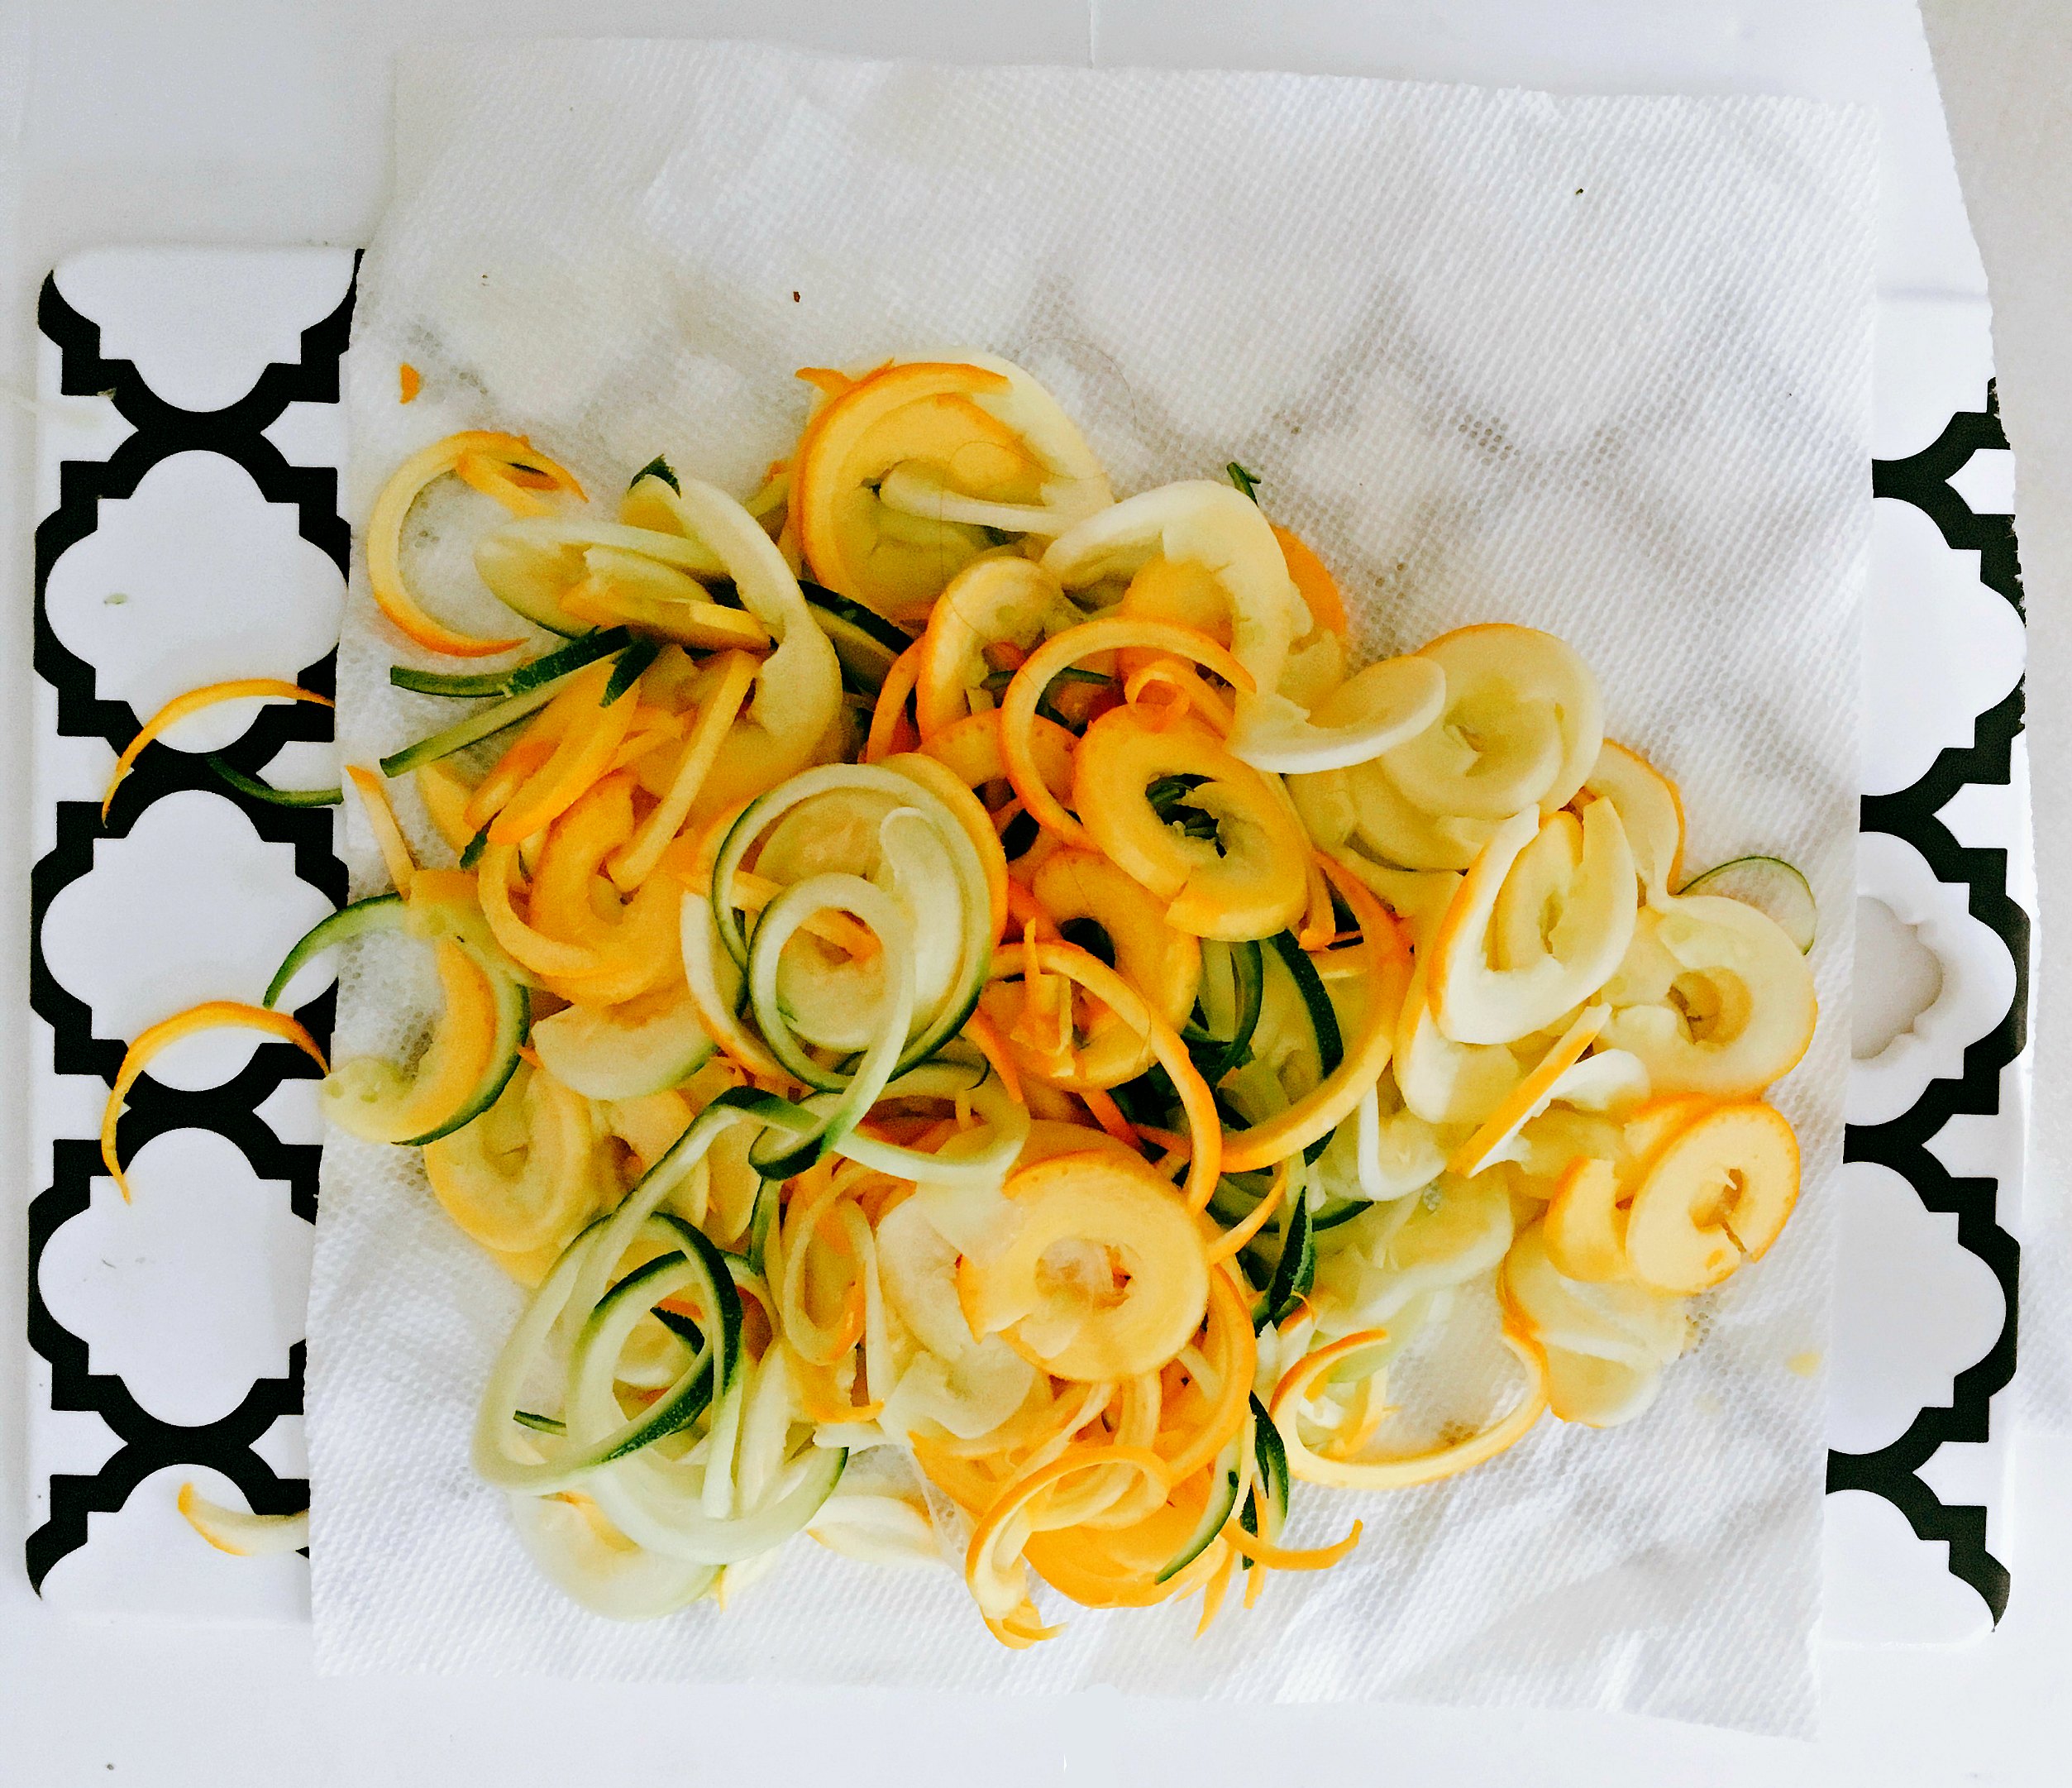
- Stick each one into your spiralizer and turn until you have a full plate of noodles.
- Dump noodles onto a paper towel and put another paper towel on top and blot dry. Set aside till needed.
- Slice onion into thin strips and saute in coconut oil for 5 minutes-ish, until the onions are soft and caramelized.
- Add in plate of noodles and cook for 2 minutes on low to medium heat.
-
Turn off heat and spoon HALF of sauce over noodles in pan.
You can add in more if you’d like, but I purposely doubled the Avocado Alfredo recipe so that you can use some for later. It’s always easier to make sauces with more ingredients rather than less so that your blender can “grab” onto all of it. - Plate the noodles, and sprinkle tomatoes on for garnish, along with Salt and Pepper. Serve.
Belissimo!
I got my spiralizer in March of 2014. The day it arrived, I was like a kid at Christmas. Williams Sonoma basically just told me that I can eat pasta again for the first time since I went gluten-free. Or really what they were sending me was the key to a whole other food group that I never knew existed until it arrived in my hands. The food group? Paleo Pasta. Zucchini, Squash, Sweet Potatoes, Carrots, Parsnips, Kohlrabi – any vegetable large enough to fit into my Paderno was fair game. The pasta-bilities were endless (see what I did there?).
Now with more than two years of experience under my belt, I’d like to think I can teach you a thing or two about using the spiralizer to make vegetable noodles. Per the request of my dear friend Maggie (Hi Mags!), I've created a guide. And per the request of my wonderfully intelligent mum, I put the recipe at the top just in case you had no desire to hear me babble on about my life experiences with my sprializer. But for all of you traditionalists out there, I also nestled it safely at the bottom in a printable and pinnable format.
Five Lessons for an Awesome Spiralized Veggie
Lesson 1: Only use vegetables as large, or larger than, the circumference of your spiralizer’s spiky thing. (Note the technical language)
The vegetable needs to be able to completely carve into the shredder, otherwise it will get caught, or spit out piddly little half moons. This is especially true with carrots since they are skinny. But when you get a good one, carrot-sghetti is one of my favorites. So keep an eye out for carrots with a lot of girth (yeah, I said it).
Lesson 2: Center your vegetable.
I cut my vegetables in half before I put them to the spirazlier. It allows for more control during the process. Most importantly, I make sure the vegetable is completely centered on the circle blade thingy. This allows for long and beautiful noodles and avoids half moons.
Lesson 3: Cook your noodles LIGHTLY, if at all.
Reminder: these are not real noodles. They are vegetables largely consisting of water. And, sometimes, when you slice a vegetable really thin, cooking it is just going to make it soggy and watery. Cucumber, in my opinion, should never be cooked because of its high water content. Zucchini and squash could still be just as good raw, just a little crunchier. A carrot, cucumber “pasta salad” dressed with tahini dressing would be awesome – no cooking required.
IF you’d still like your noodles warm, but not cooked, do this:
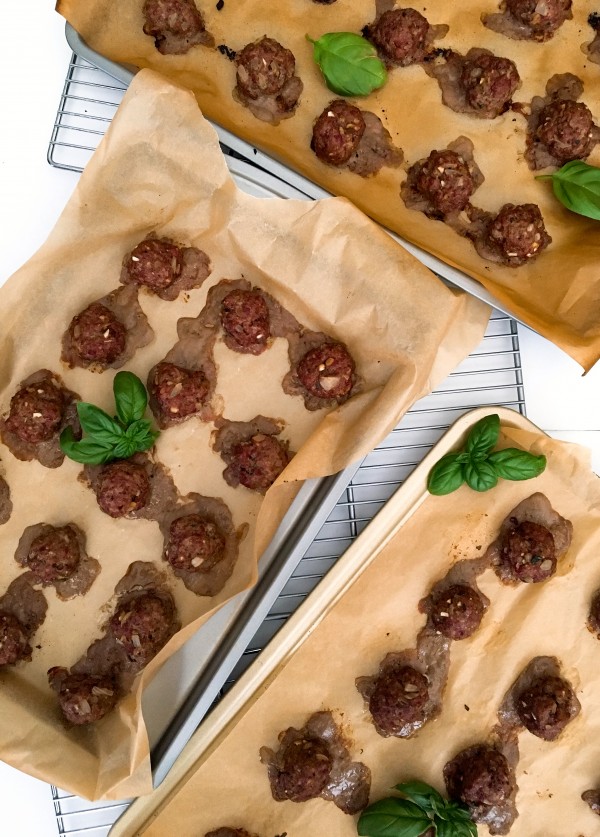
- Cook your meatballs/chicken/ground beef/mushrooms/onions/whatever
- Add your sauce and let it simmer
- Turn off the heat and add your noodles and toss together in the pan with the meat and the sauce
Essentially you are very lightly cooking the noodles in the warmth of the sauce, but not enough to make it soggy.
When you do cook your noodles, do so gently. There is no need to blast them with heat, cover the pan with a lid, or cook them for long periods of time.
Typical Cooking Times for Vegetable Noodles:
- Zucchini – 2 minutes on low to medium
- Squash – 2 minutes on low to medium
- Carrots – 2 – 3 minutes (higher heat will make them crispier, which isn’t a bad thing in my opinion)
- Sweet Potato – 5-7 minutes on medium heat
Lesson 4: Pat your vegetable noodles dry after spiralizing.
I resisted this one for a while because I tend to be a fast, hungry cooker who doesn’t want to slow the process down for anything that I don’t HAVE to do. But drying off my noodles has made a big difference in my final pasta dish. The less moisture they have, the better they cook and the better they absorb any yummy sauce that you make for them. All you need to do is:
- Put a paper towel on a plate and your noodles on top
- Put another paper towel on top and blot dry
- If they’re REALLY watery (i.e. cucumbers), do a second blotting with new paper towels
Lesson 5: The spiralizer isn’t ALWAYS the answer.
If your vegetable is too skinny or your spiralizer isn’t strong enough OR YOU DON'T OWN ONE, never underestimate the power of the vegetable shredder (the old school paleo pasta maker). Take your shredder to a carrot or a sweet potato and you’ll get stick straight veggie noodles. They may not be as noodly looking, but they still taste great. ESPECIALLY when you saute them in coconut oil and spices.

| Servings | Prep Time |
| 2 people | 20 minutes |
| Cook Time |
| 7 minutes |
|
|
|
|
This recipe is for all of you who out there who don't think you can be decadent on a Paleo diet. Creamy, rich and lick-the-blender satisfying, you won't believe that you're eating an entire bowl of vegetables - including high in omega-3 ingrdients like avocados and hemp seeds. Best part is, it's not even that hard to make! I'd say on a scale of 1 to 10, it's about a Tuesday. Not a Monday where you're still trying to recover from over-eating and over-drinking and you barely have enough energy to order take-out. But a Tuesday. You're getting back in the swing of things, but still aren't looking for anything with a lot of effort.
|
- 1 zucchini
- 2 squash
- 1 cup cherry tomatoes chopped
- 1 small Onion
- 1-2 tablespoons Coconut Oil
- 2 avocados
- 1/2 cup fresh basil
- 1/2 cup spinach
- 2 cloves garlic
- 2 tablespoons lemon juice
- 1/3 cup extra virgin olive oil
- 1 tablespoon hemp seeds
- salt and pepper to taste
- Toss all Avocado Alfredo ingredients into your high powered blender or food processor EXCEPT the Extra Virgin Olive Oil.
- Power on and slowly pour in the Extra Virgin Olive Oil. Blend until creamy, and taste as you go (add in more S&P, lemon juice, red chili pepper, whatever floats your boat). Note: I added a tiny bit of water to get the ingredients moving around and blending better.
- Cut your zucchini and squashes in half.
- Stick each one into your spiralizer and turn until you have a full plate of noodles.
- Dump noodles onto a paper towel and put another paper towel on top and blot dry.
- Slice onion into thin strips and saute on pan for 5 minutes-ish, until the onions are caramelized and a little browned.
- Add in noodles and cook for 2 minutes on low to medium heat.
- Turn off heat and spoon HALF of sauce over the noodles in the pan. NOTE: You can add in more if you’d like, but I purposely doubled the Avocado Alfredo recipe so that you can use some for later. It’s always easier to make sauces with more ingredients rather than less so that your blender can “grab” onto all of it.
- Plate the noodles, and sprinkle tomatoes on for garnish, along with Salt and Pepper. Serve.